As in past years, I once again built an entry for the Los Alamos Arts Council’s Halloween Scarecrow Contest this year. And, also like in past years, I stretched the definition of “scarecrow” and challenged myself to go overboard with the construction.
For a long time, I’ve thought it would be fun to build a life-sized Lego minifig, but I’ve never had a reason to do it and I didn’t have a place to keep one even if I did build it. But… What if I built one and claimed it was a scarecrow? And what if I could put it on display at SteamLab when it was done? Now we’re talking.
Design
If I was going to do this, I knew I wanted to do it right. And that meant I needed to do some solid planning early in the year. I started much earlier than normal, sketching up some ideas and searching for inspiration in the middle of March, and I immediately ran into problems: while there are a ton of 3d models and drawings out there that claim to be accurate representations of minifigs, most of them have minor or major flaws. Some of them are clearly not correctly proportioned, while other ones are missing subtle details. For example, have you ever noticed that minifig legs are slightly tapered toward the top on the outside? It’s what makes their hips slightly less wide than their feet, making room for their hands to swing down at their sides. That’s the kind of detail I wanted to capture with mine.
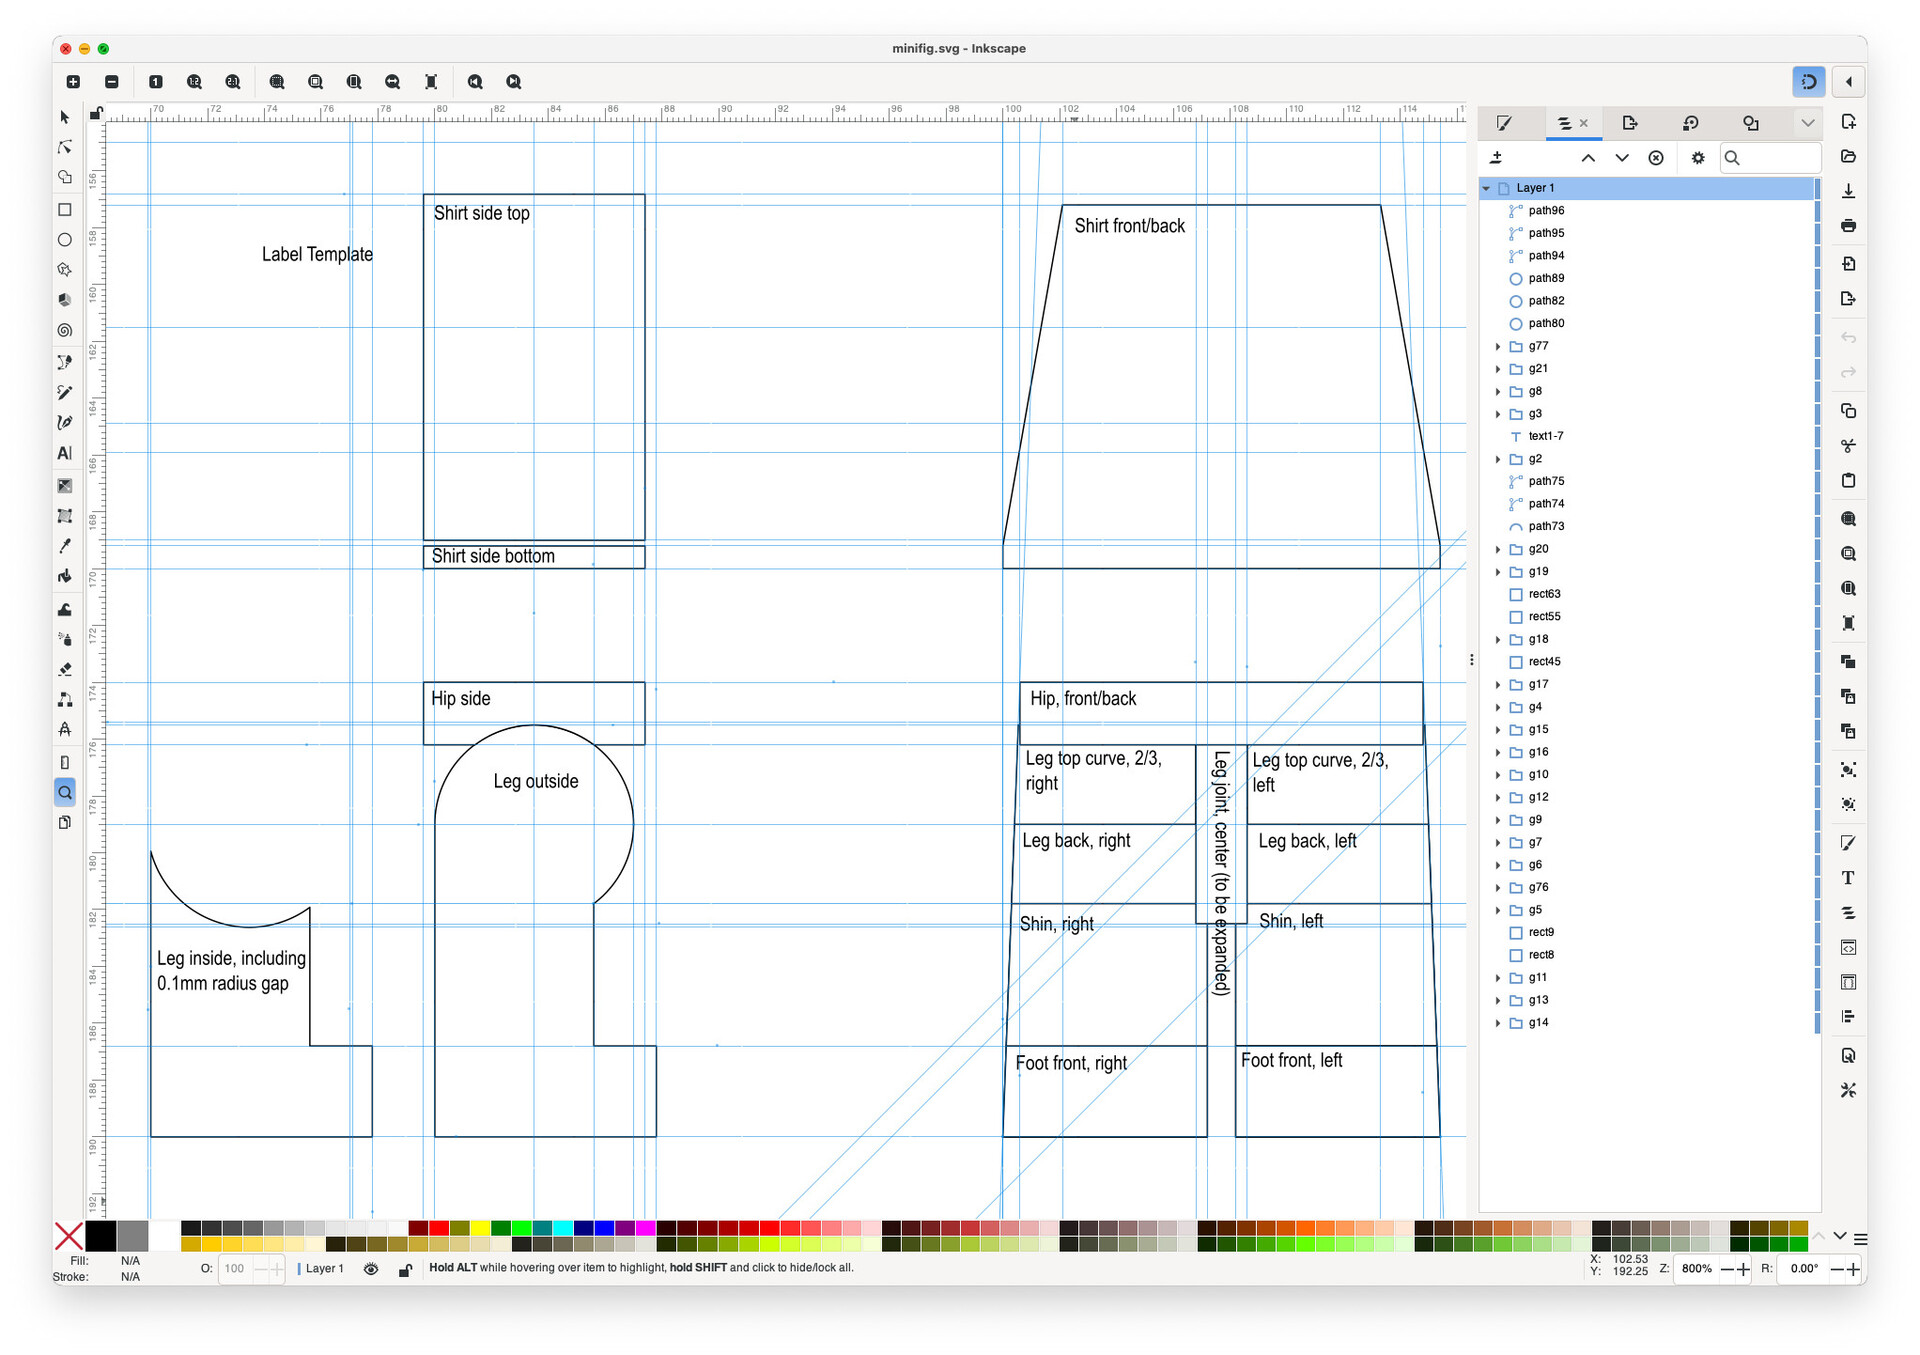
So, I pulled out my trusty digital calipers, carefully measured a real minifig, and drew it out in Inkscape. There were a few details that were hard to measure exactly – that small flat spot on the sides at the bottom of the torso, for example – but I was able to make some strong educated guesses on those parts by combining my own measurements with known Lego brick dimensions that can be found online. I think I got mine pretty accurate in the end.
Construction
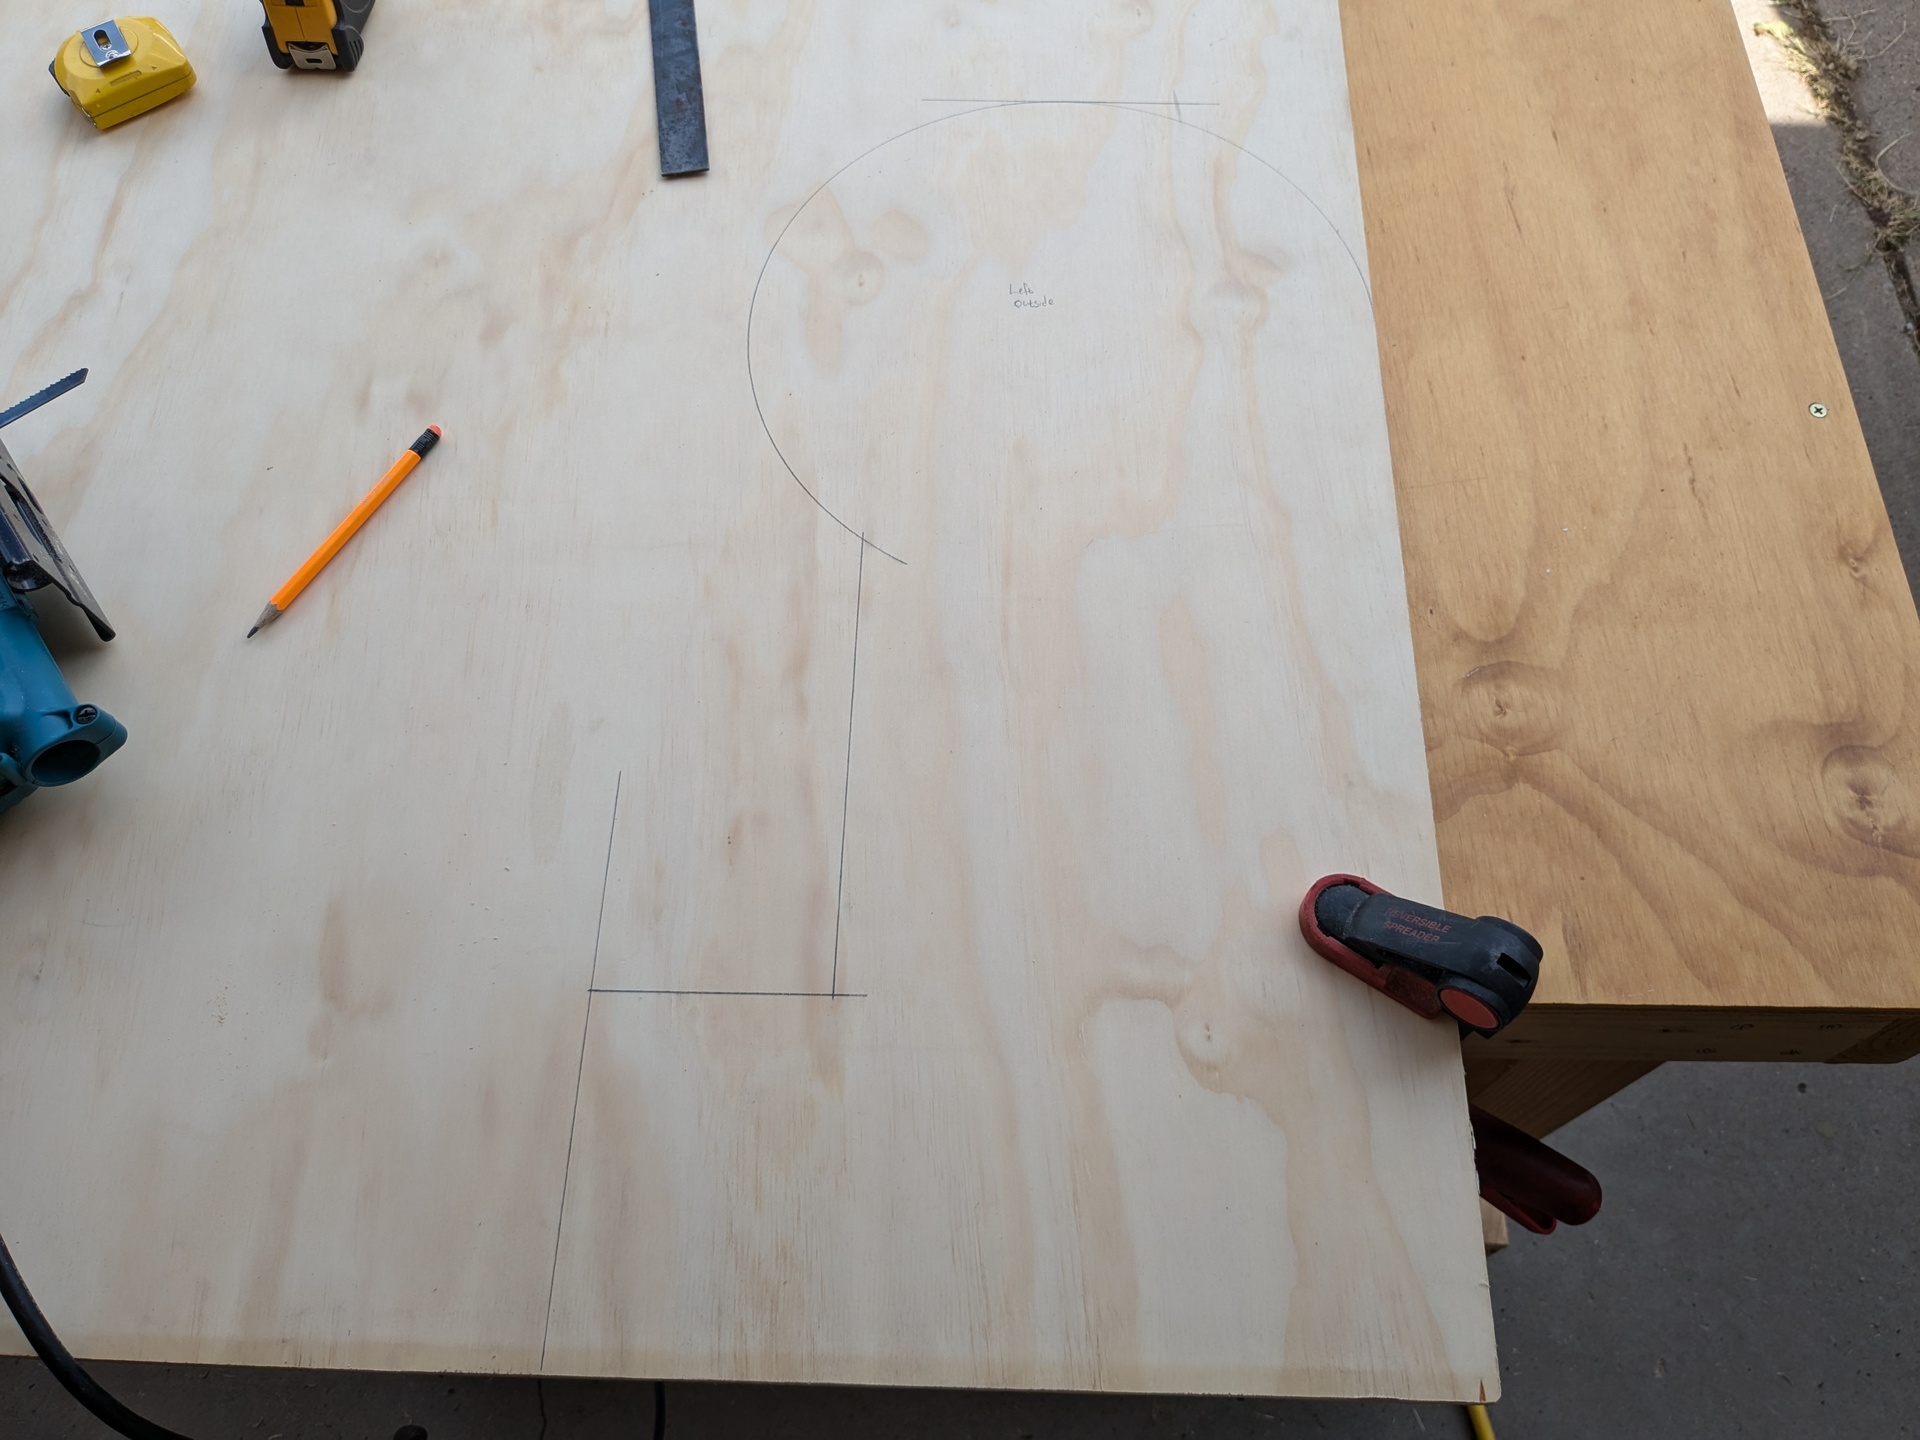
I drew the plans at a 1:1 scale in Inkscape, which made it a simple matter of scaling them by 44x to get the dimensions I needed for my life-size version. I used 3/4 inch plywood for the entire thing, carefully drawing out the expanded plans for each part and even more carefully cutting them out with a variety of saws.
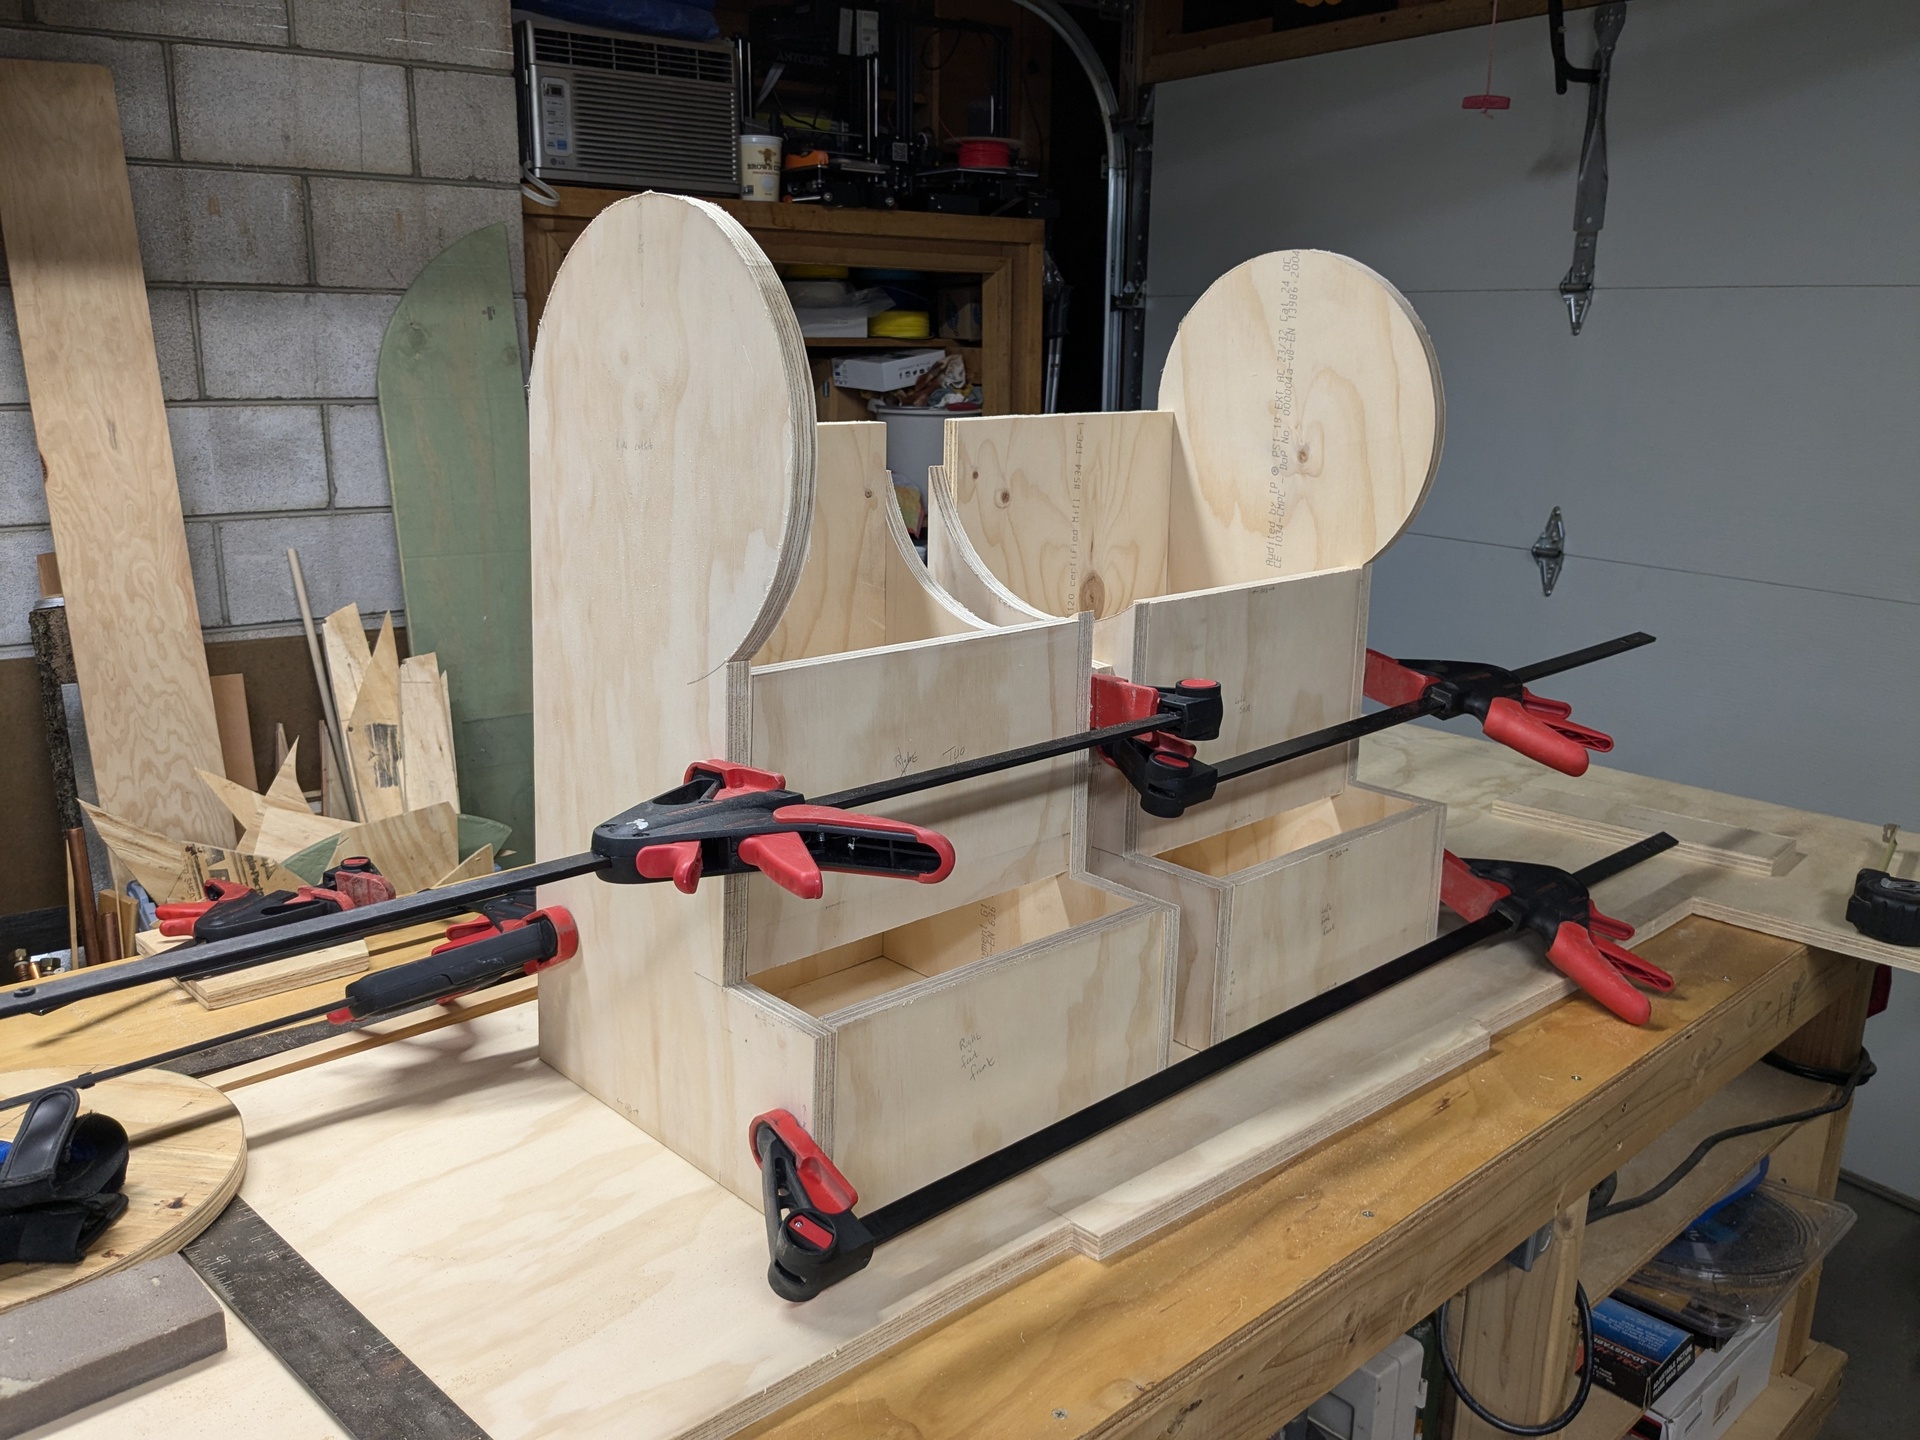
With most of the leg pieces cut, I was able to clamp them together to get an idea of how it would look. And it looked pretty good! Later work will involve beveling all of the inside edges at 45 degrees so they can fit together nicely, but this quick test fitting gave me the confidence that it was all going to work out.
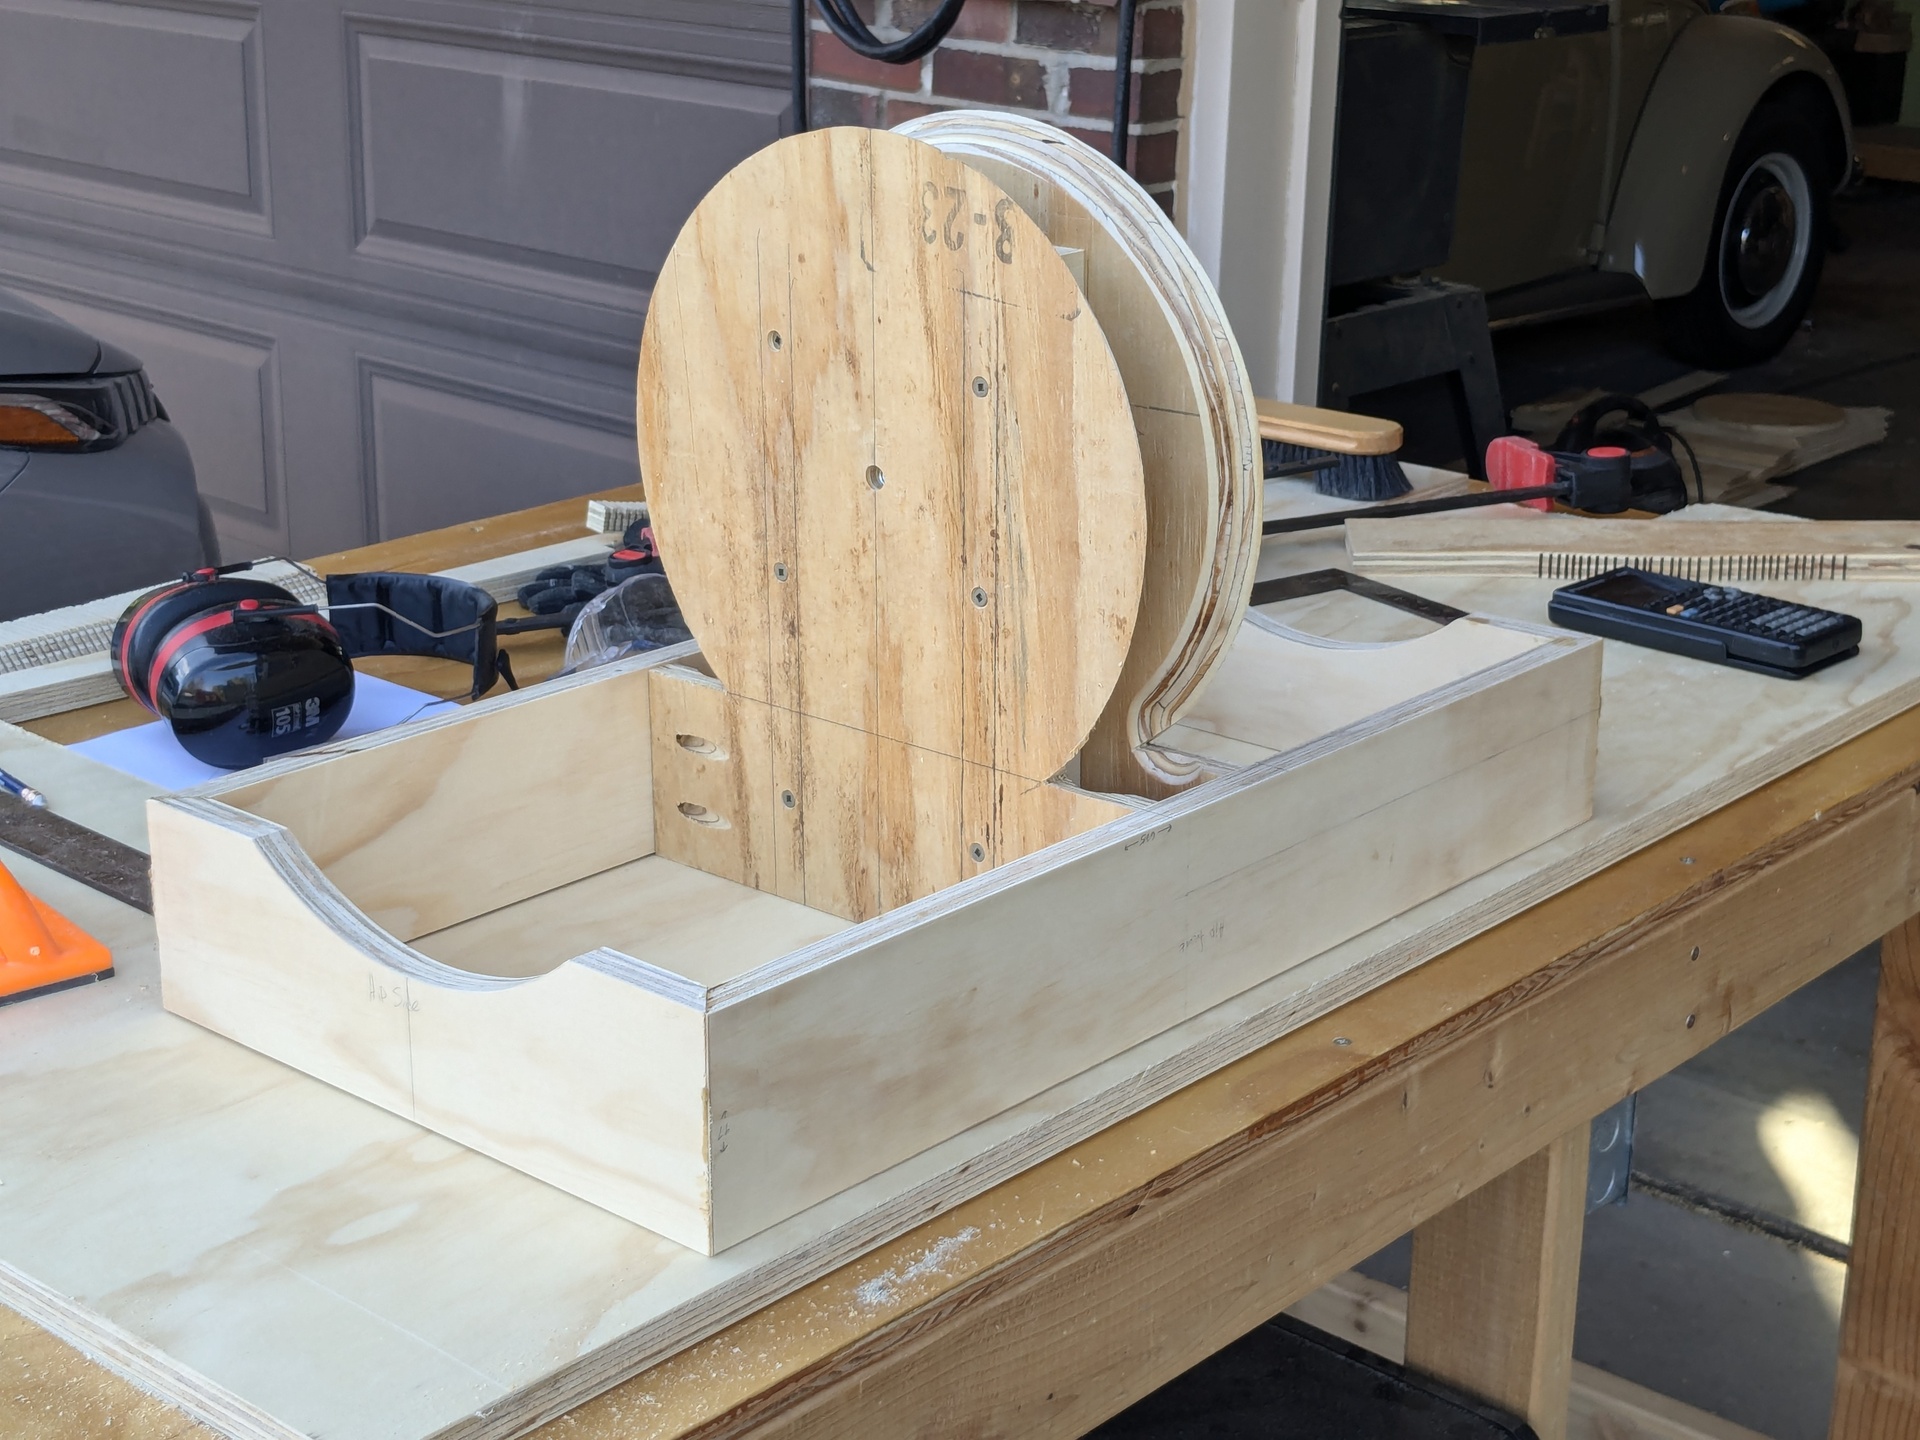
I started at the bottom and worked my way up, so with the legs coming along nicely, it was time to start building the hips. The inside of this piece will eventually be covered by the legs, so I used a scrap from last year’s scarecrow instead of the nicer plywood I was using for the exterior pieces. The curved piece in the middle also needed to support the entire weight of the body, head, and arms, so build it with a solid framework on the inside. It held up very well.
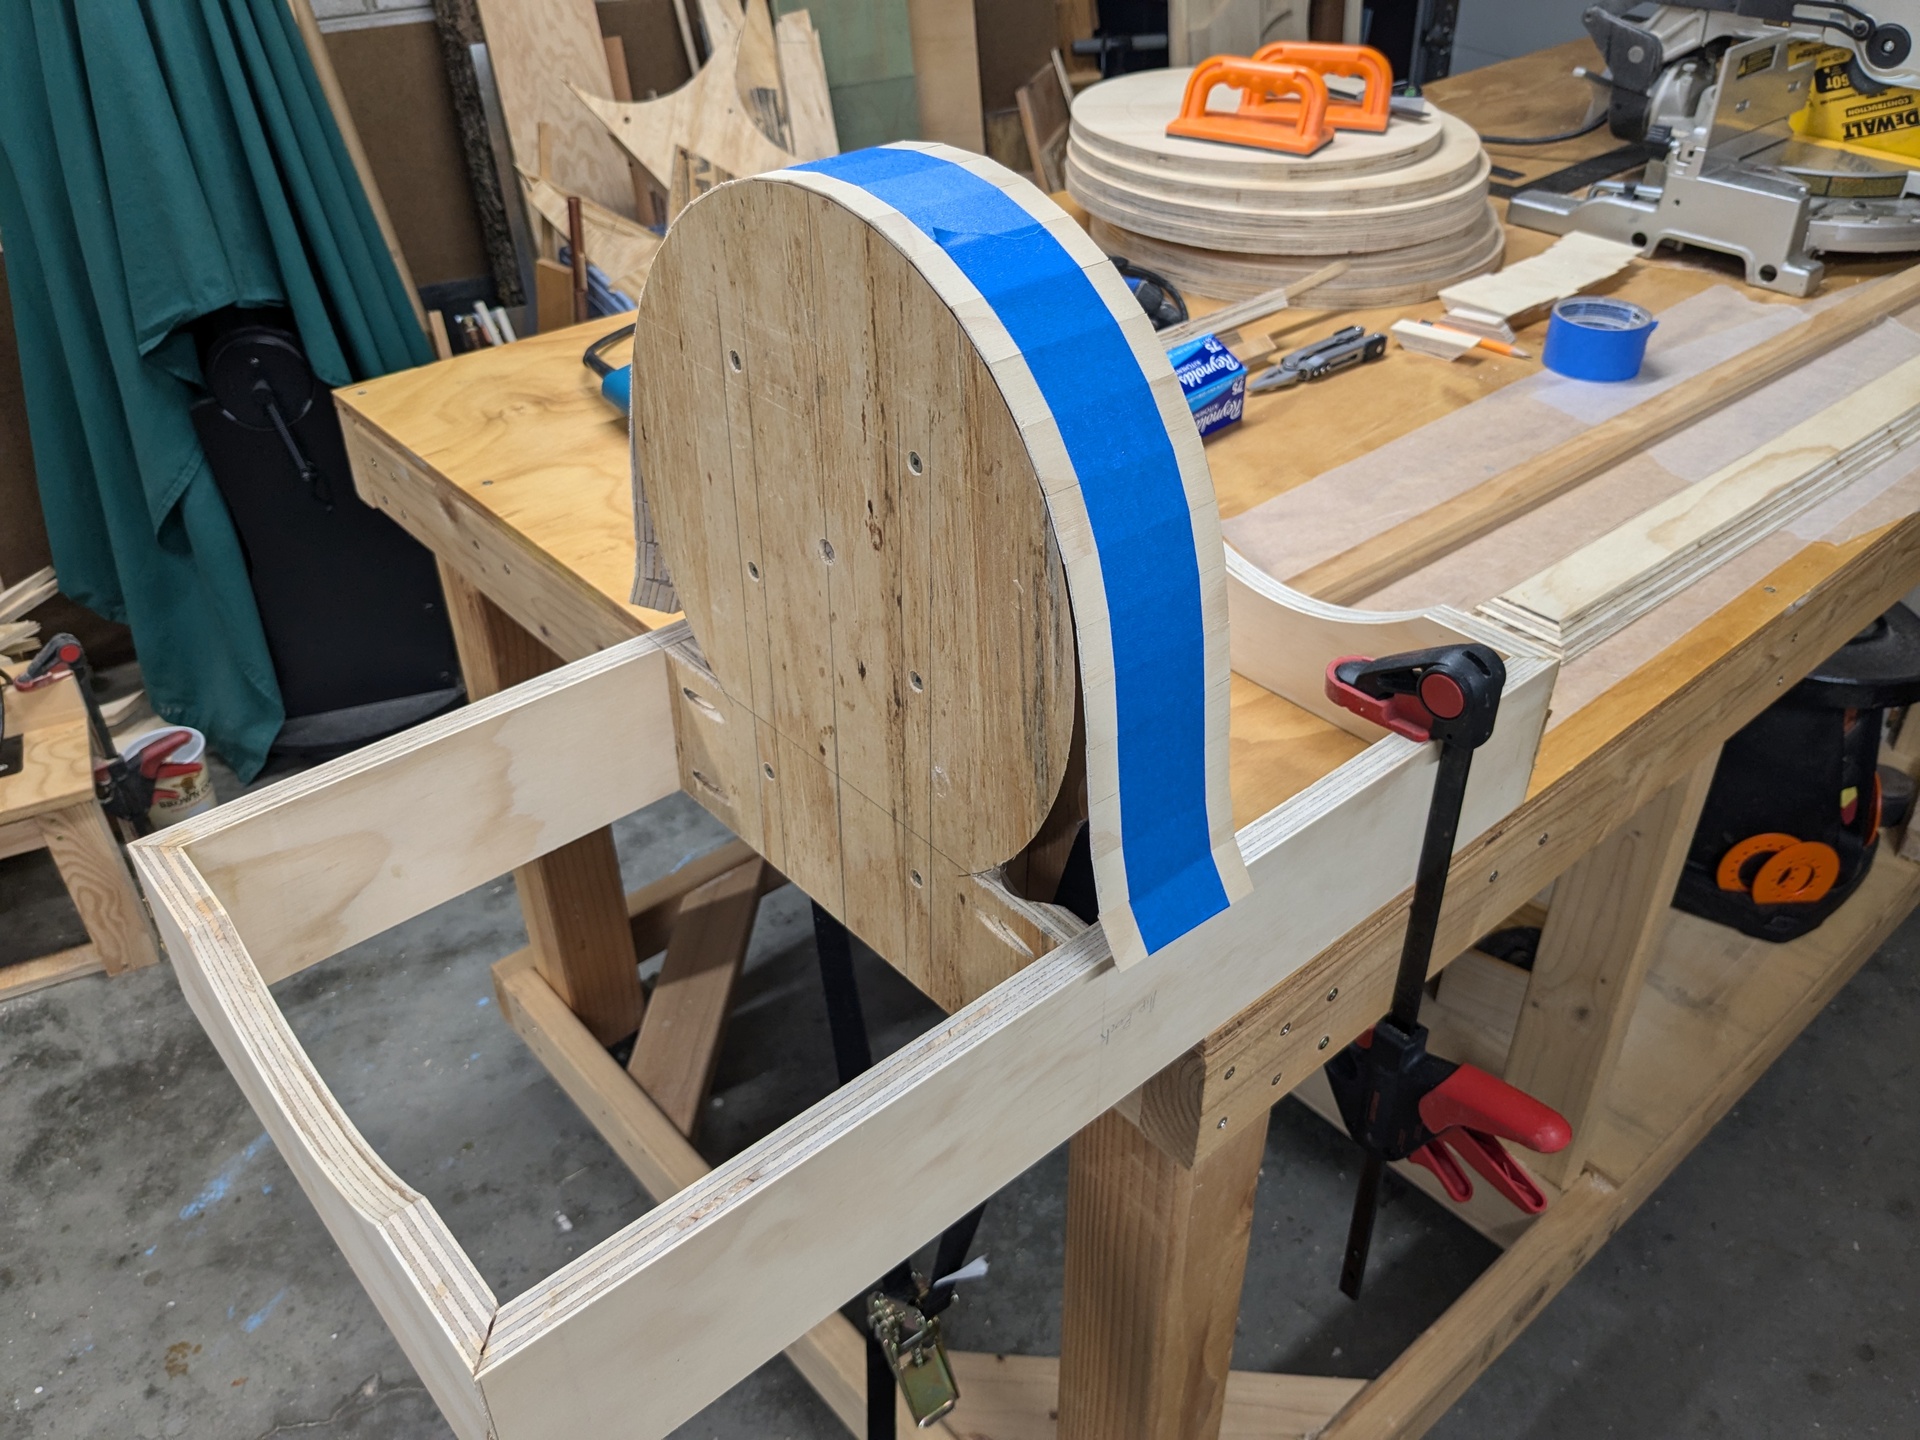
There are a number of curved sections on a minifig, and this was the first one I had to deal with. My original plan was to use a single long, thin piece of plywood with a lot of slits cut in the back to make it flexible, but a test run quickly convinced me that that was going to be a lot of work and not very strong. Instead, I cut a ton of little one-inch blocks with beveled edges, and they fit the curve nicely. For this first try, I used blue tape to hold them together and glued them down as a single continuous line, but I found it easier to just glue each piece individually when I used this same technique on later parts.
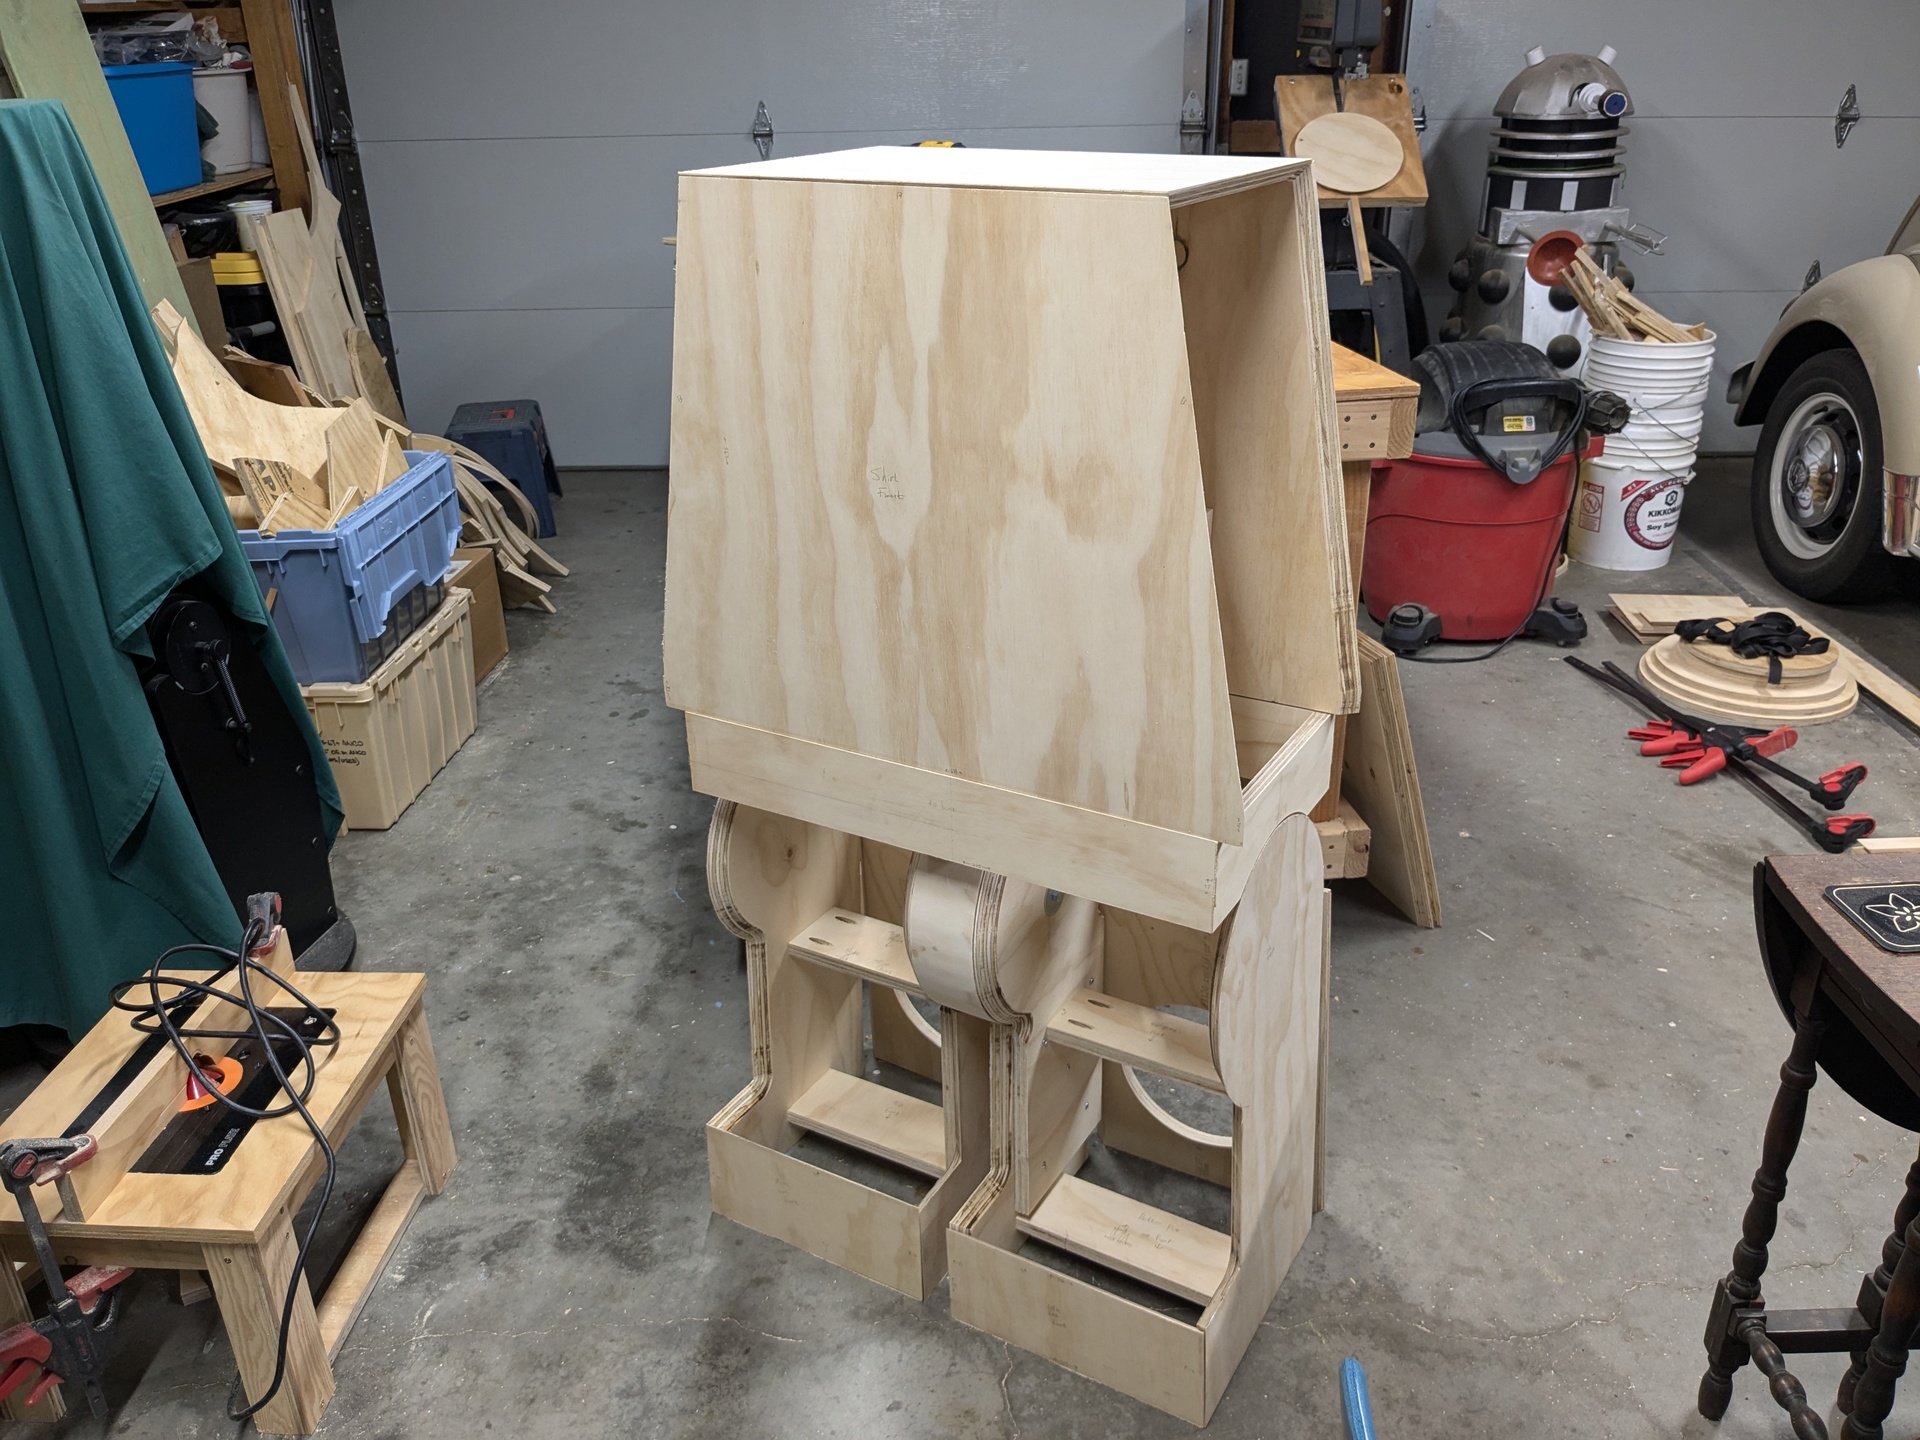
By the time the hips were glued up, the legs and body were structurally sound enough to test stacking all of the pieces I had so far on top of each other. This gave me more confidence that this really was going to work out in the end.

Time for more curves! As I noted before, this time I glued the pieces on one by one. My glue was firm enough that I only needed to hold each one for a few seconds until it was set well enough in place before moving on to the next one. But I definitely had to make sure the first one was perfectly straight since it set the stage for all of the rest!
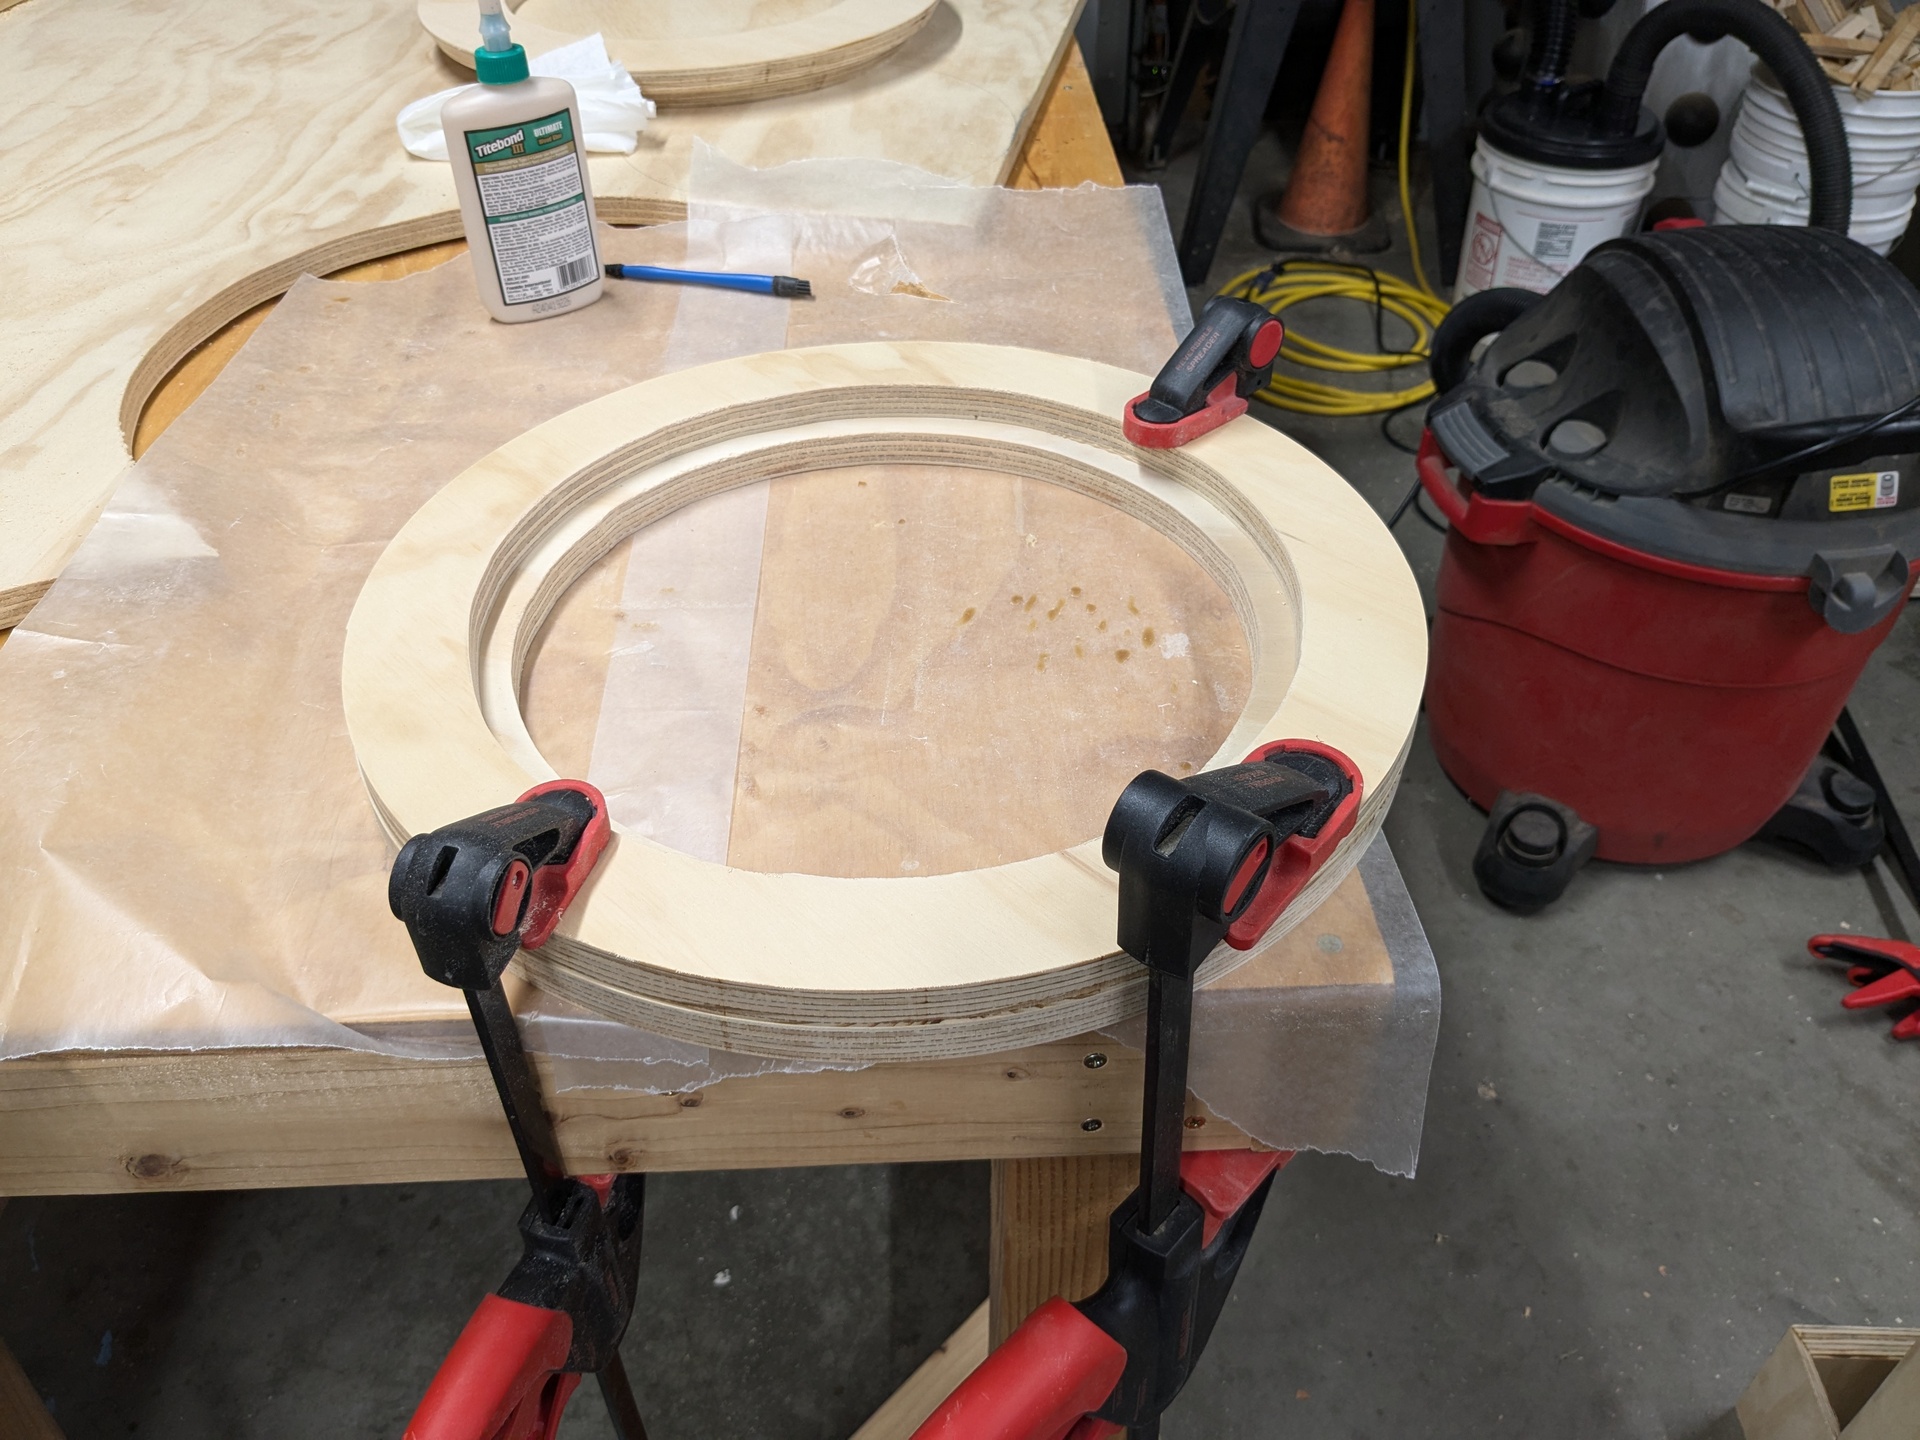
Despite its blocky appearance, a minifig has a bunch of curves on it. Especially the head, which is essentially a cylinder between two rounded-off disks. For my head, I started by roughing out the top and bottom disks with a stack of hollow stepped rings.
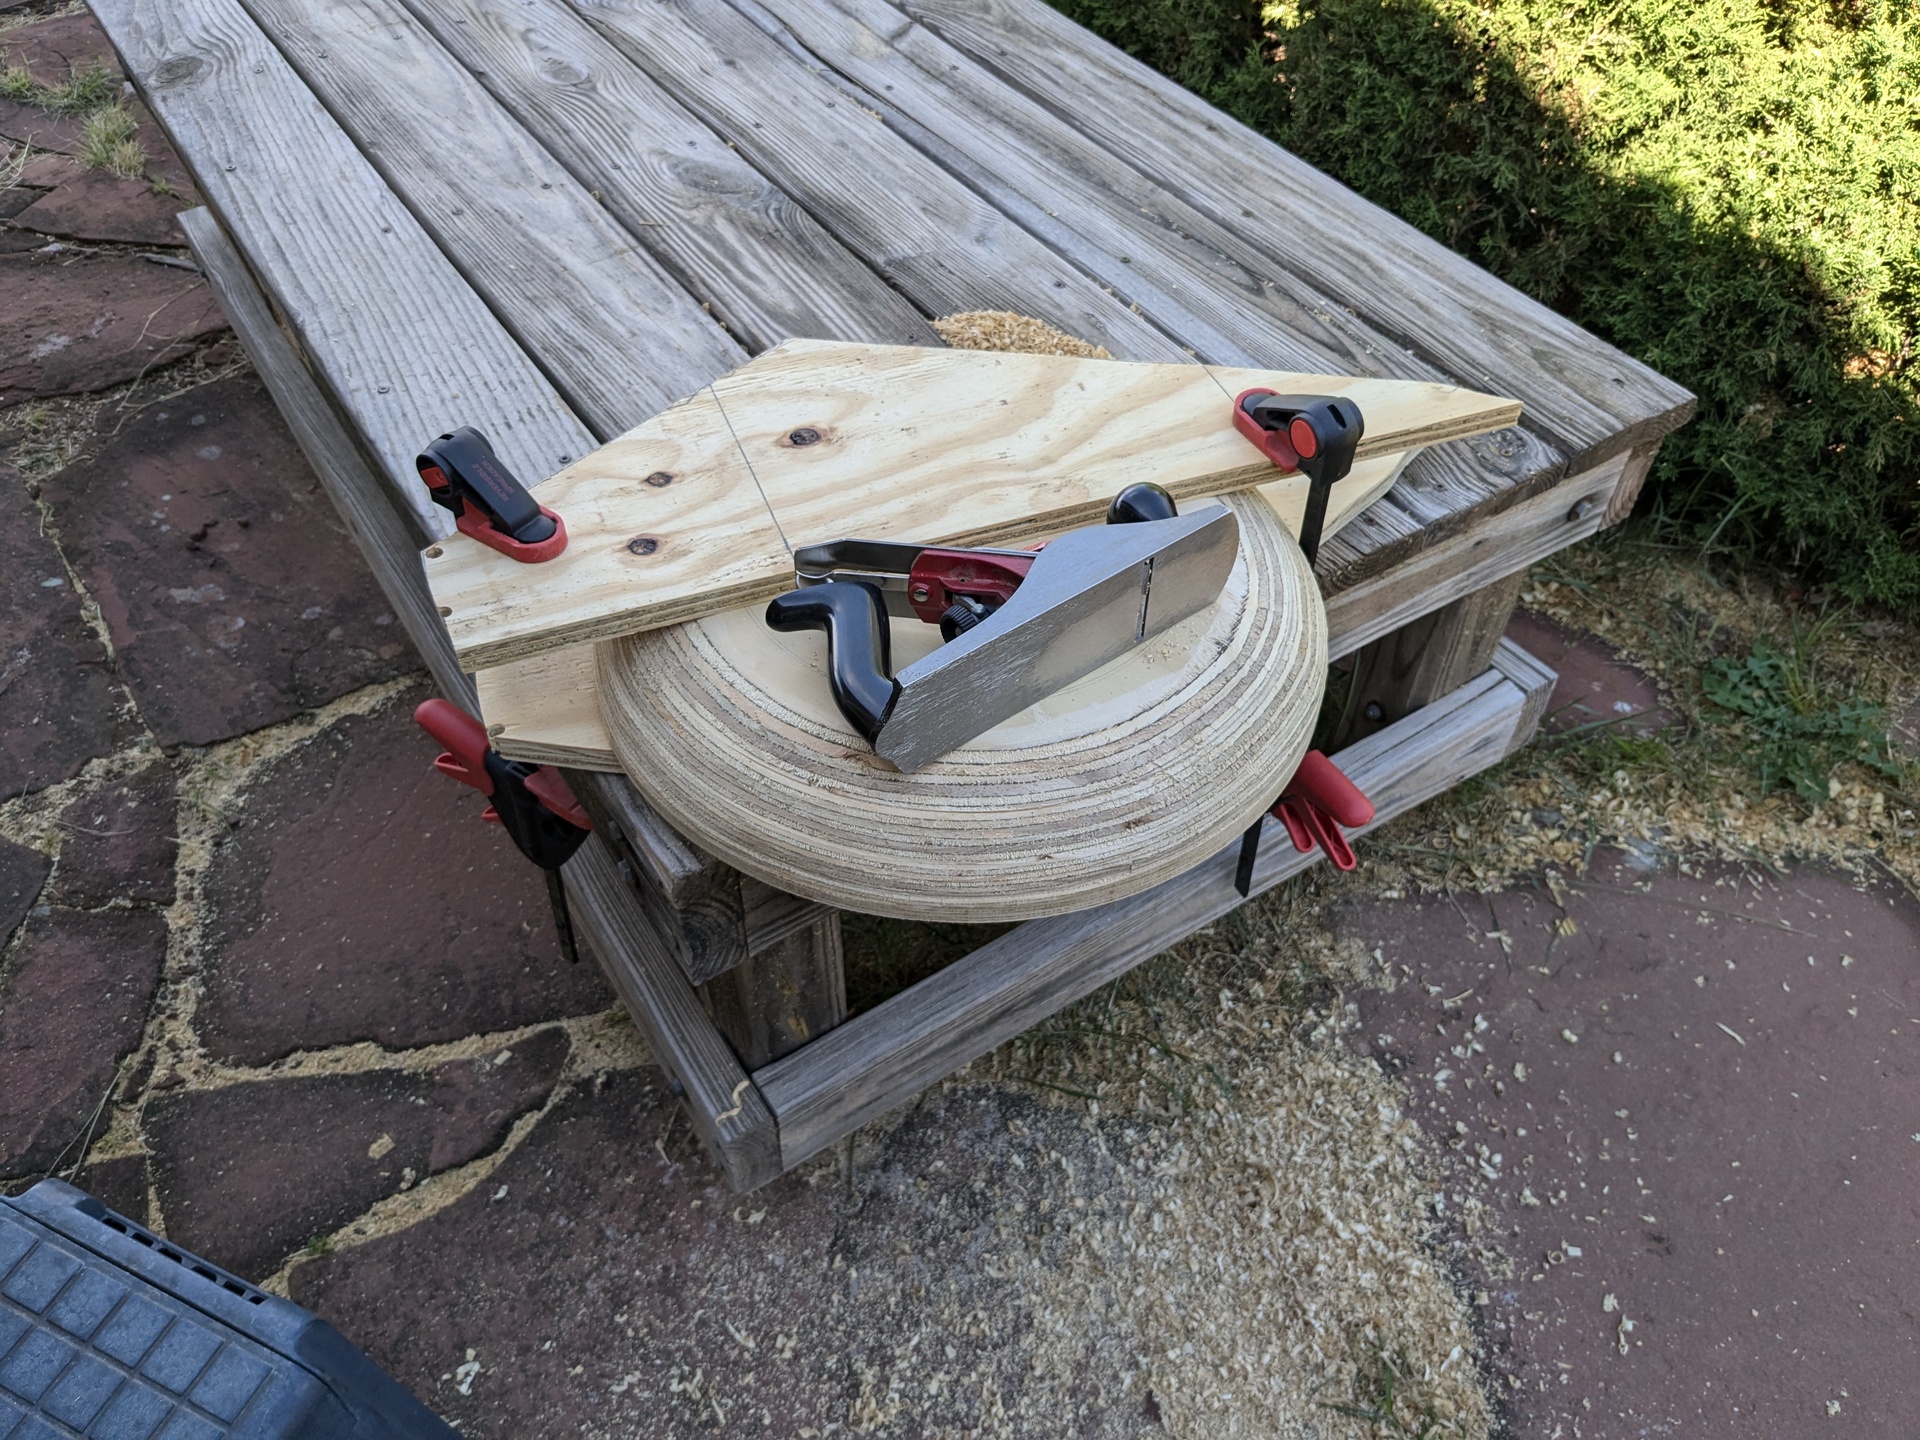
Then I used a hand plane to finish getting the right curved shape on each. It was a lot of work!
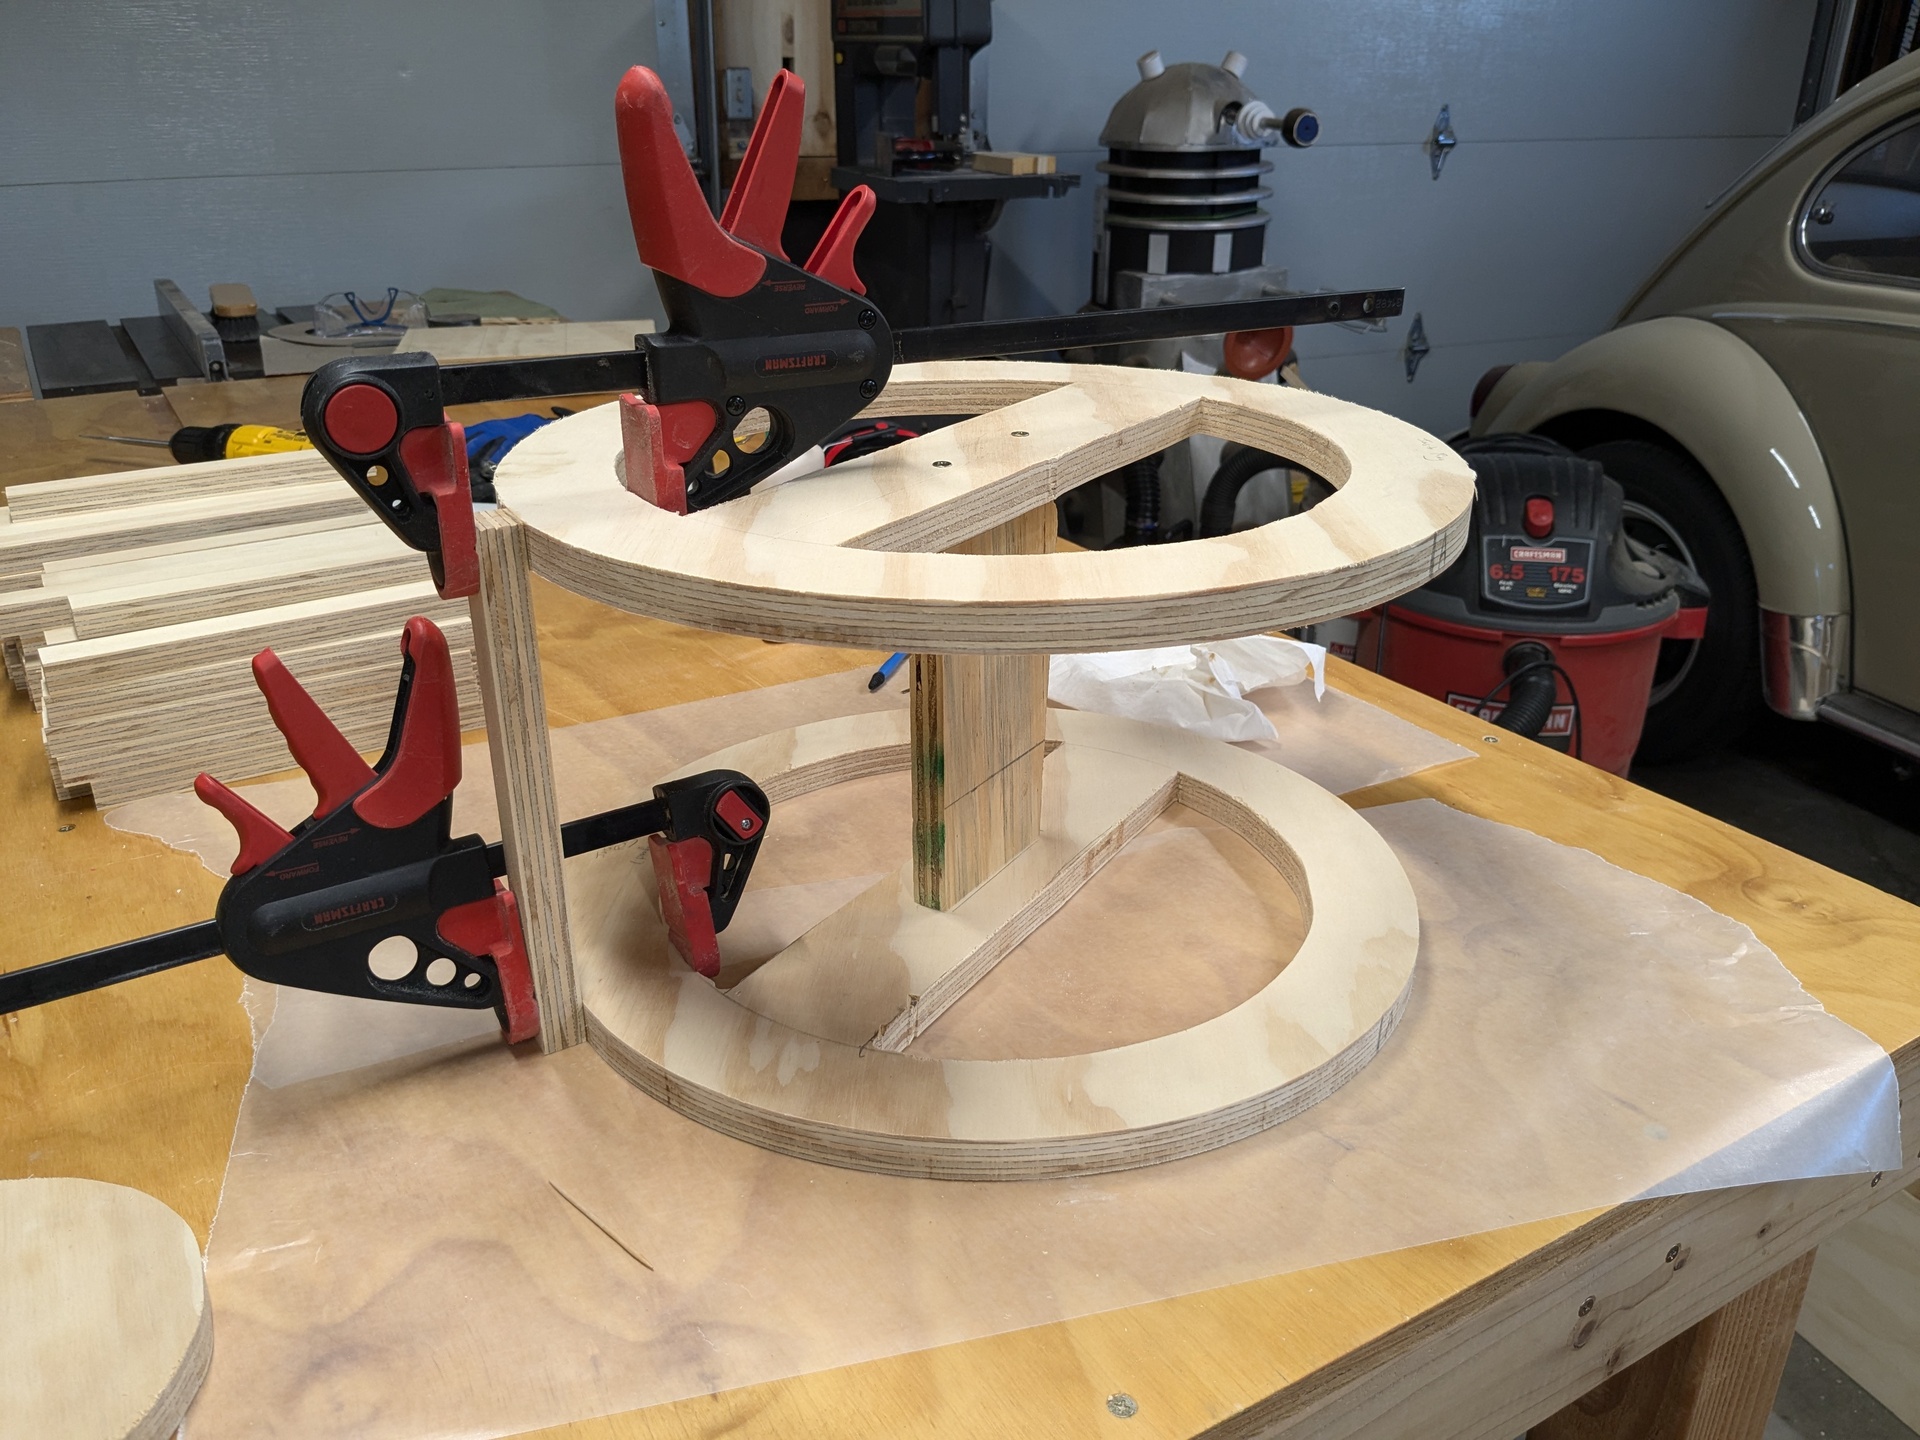
The cylinder in the middle was comparatively easy to build and uses the same technique I used for the top of the legs. I started out by building the space station frame in the middle, and then worked my way around the whole thing, gluing strip after strip in place. I clamped the first strip in place to make sure it was perfectly straight, and then did about ten strips at a time until the whole cylinder was done.
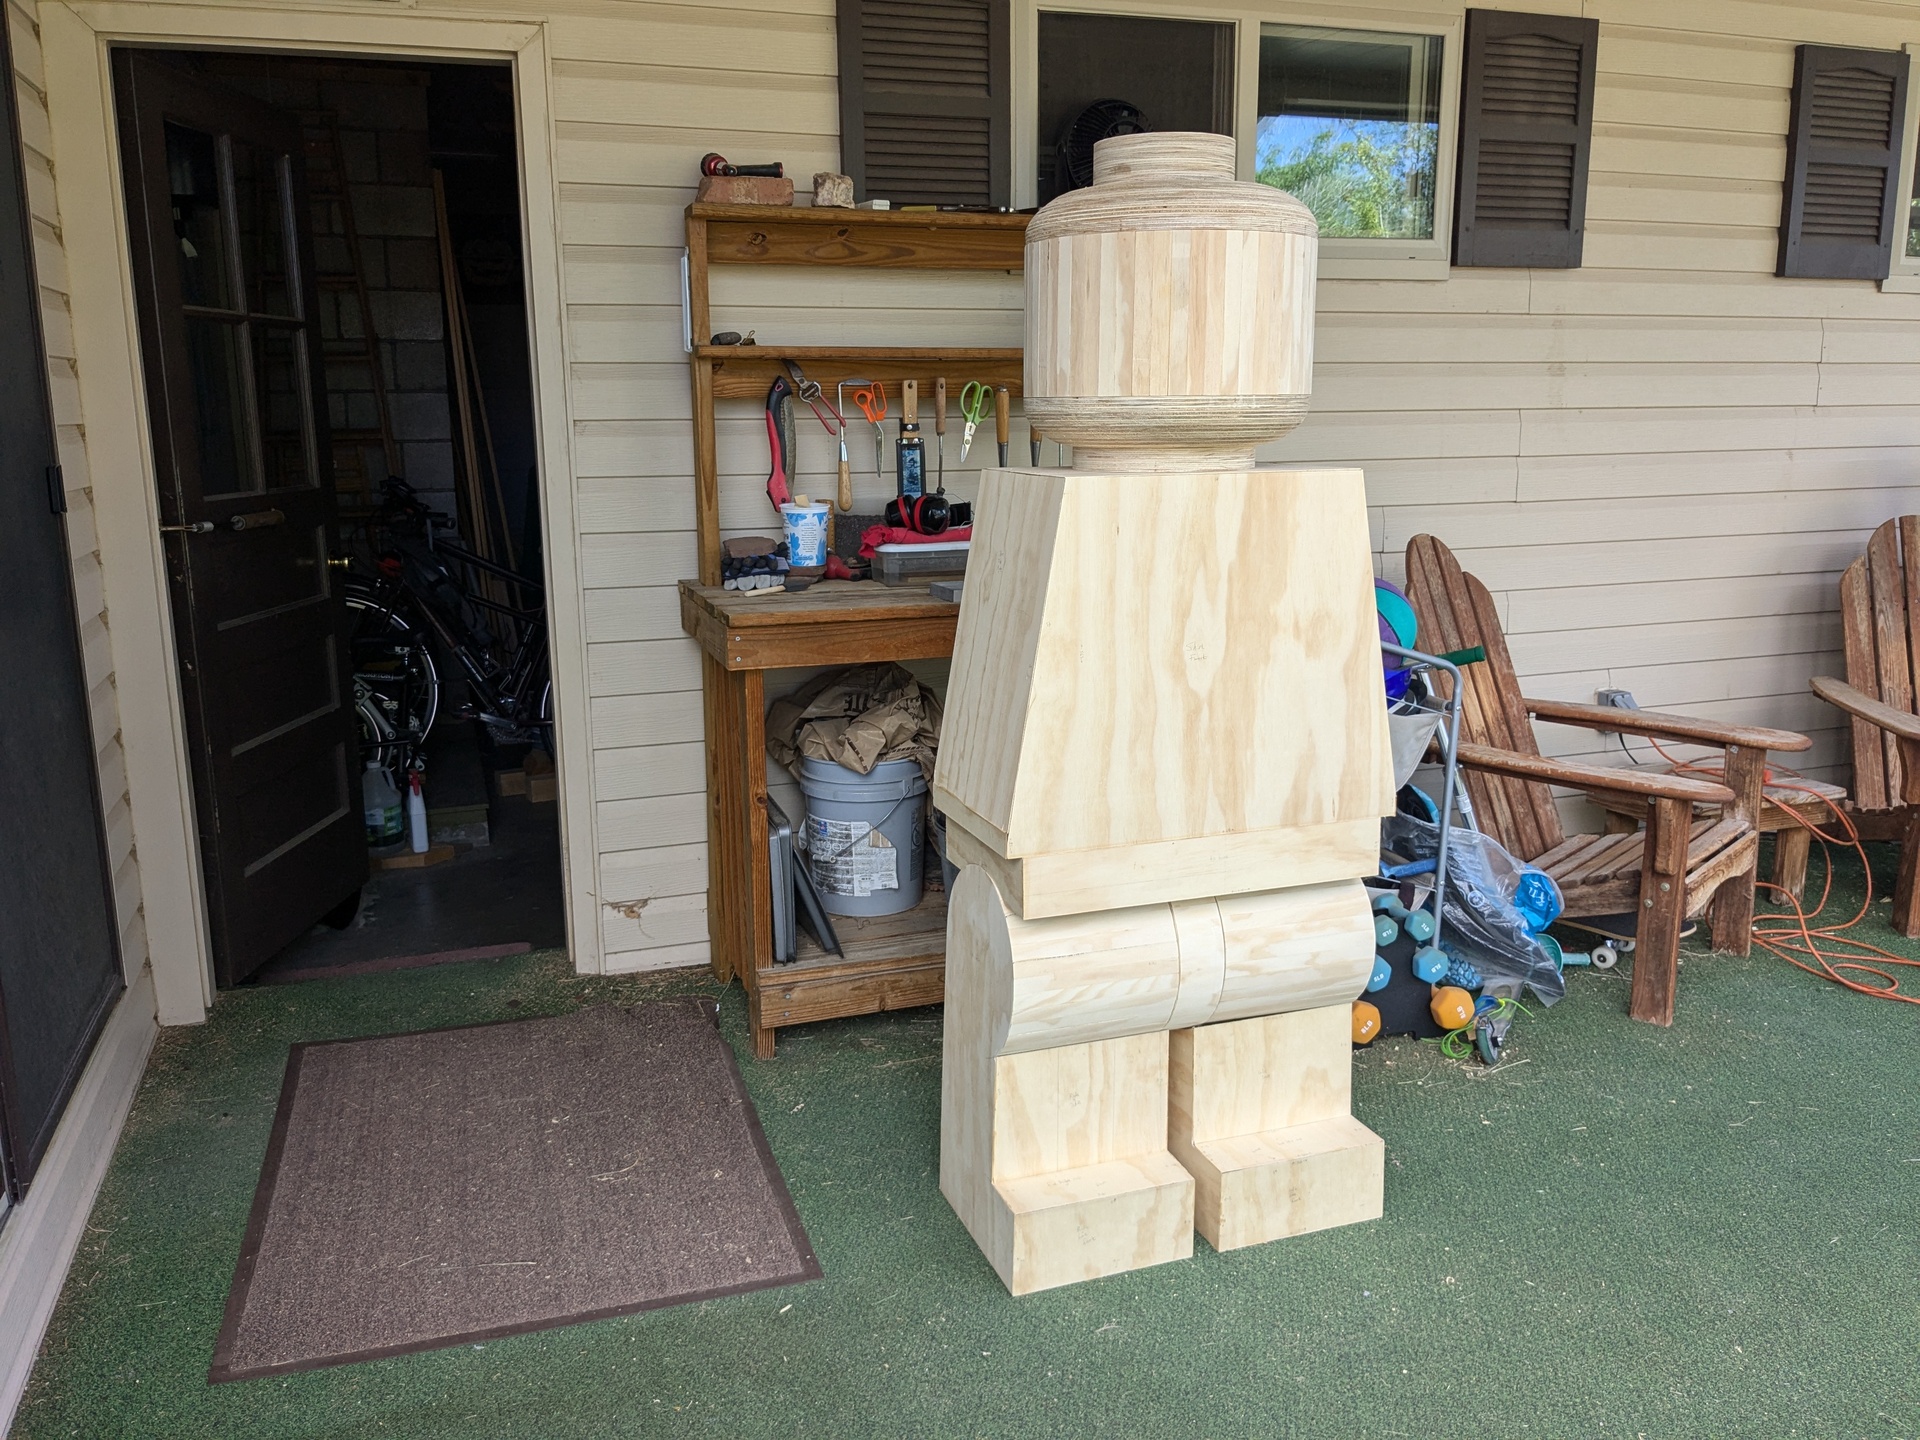
After some liberal sanding on the curves with an electric hand sander, it was really looking like a giant minifig!
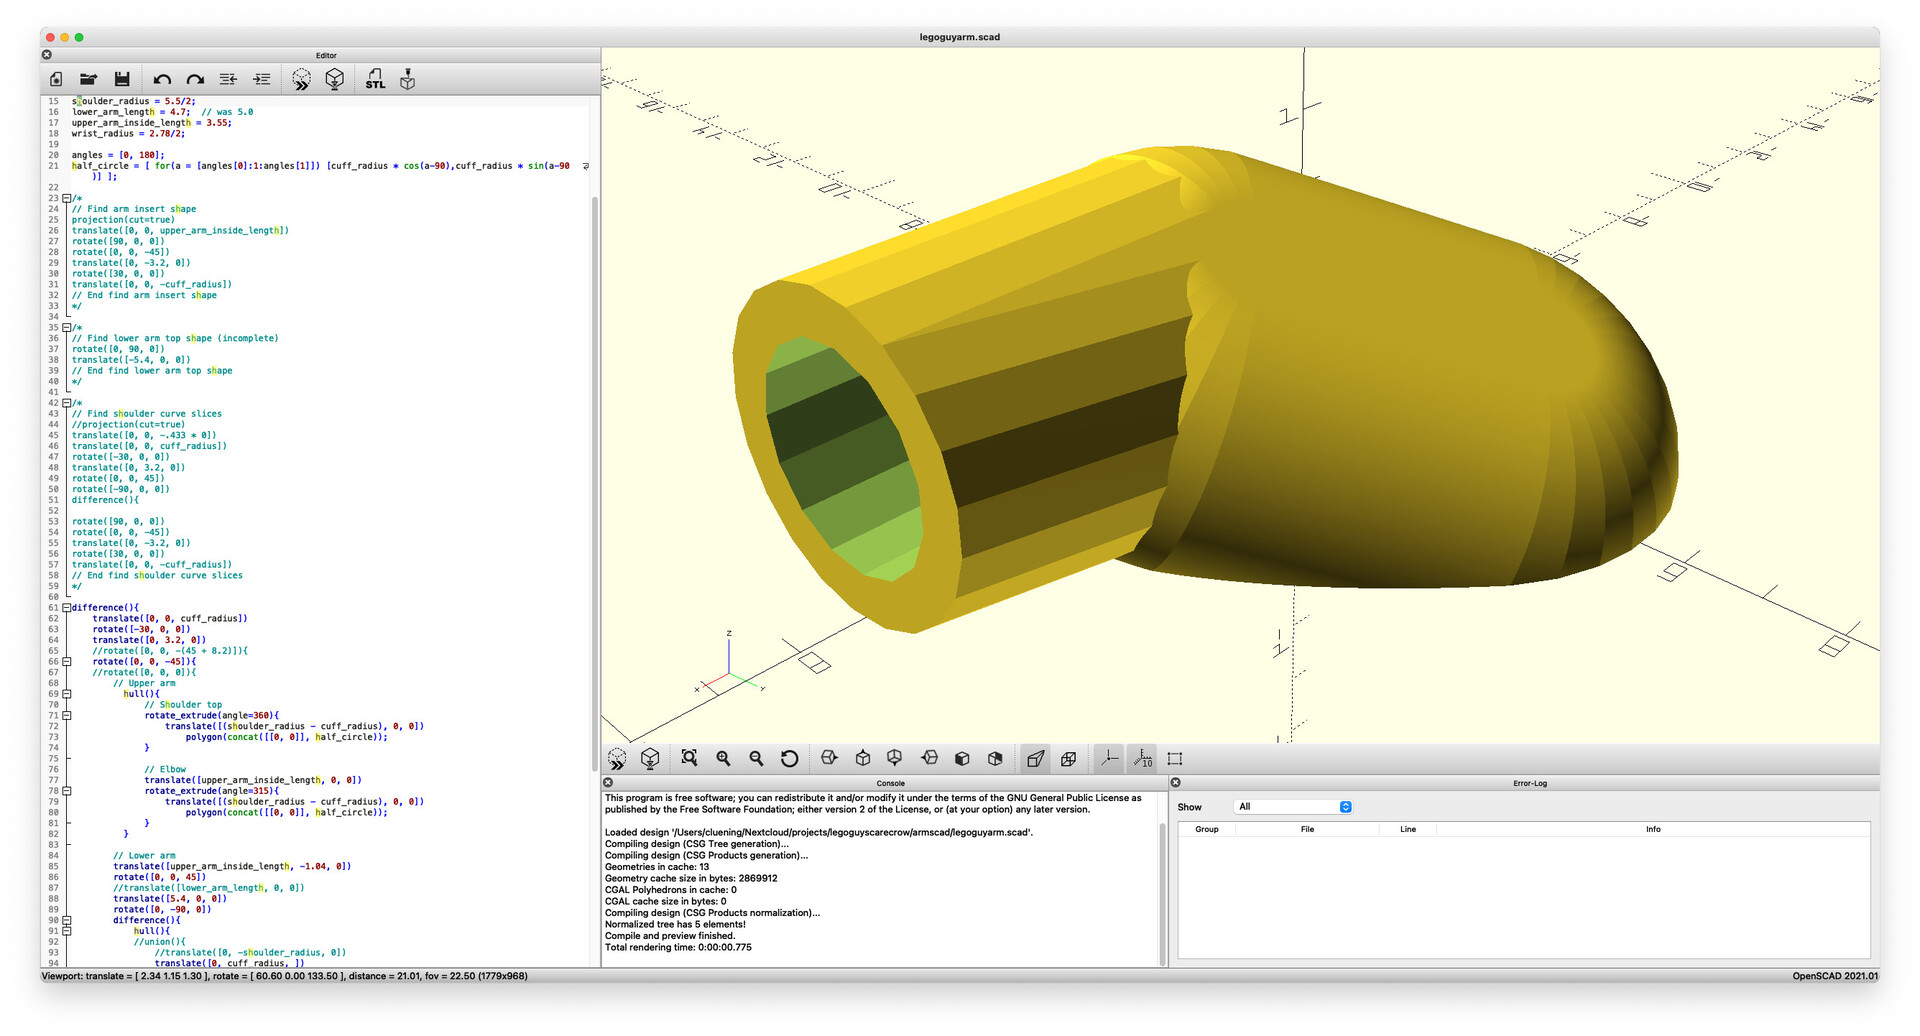
I saved the arms for last because I had no idea how to build them when I started. And, when I got to the point where I needed them, I still had no idea how to do them. They’re complex, hard to measure on a real minifig, and hard to model with anything. I ended up studying real minifig arms and others’ approaches for a loooong time before coming up with a plan, which I eventually modeled in OpenSCAD so I could more easily visualize it.
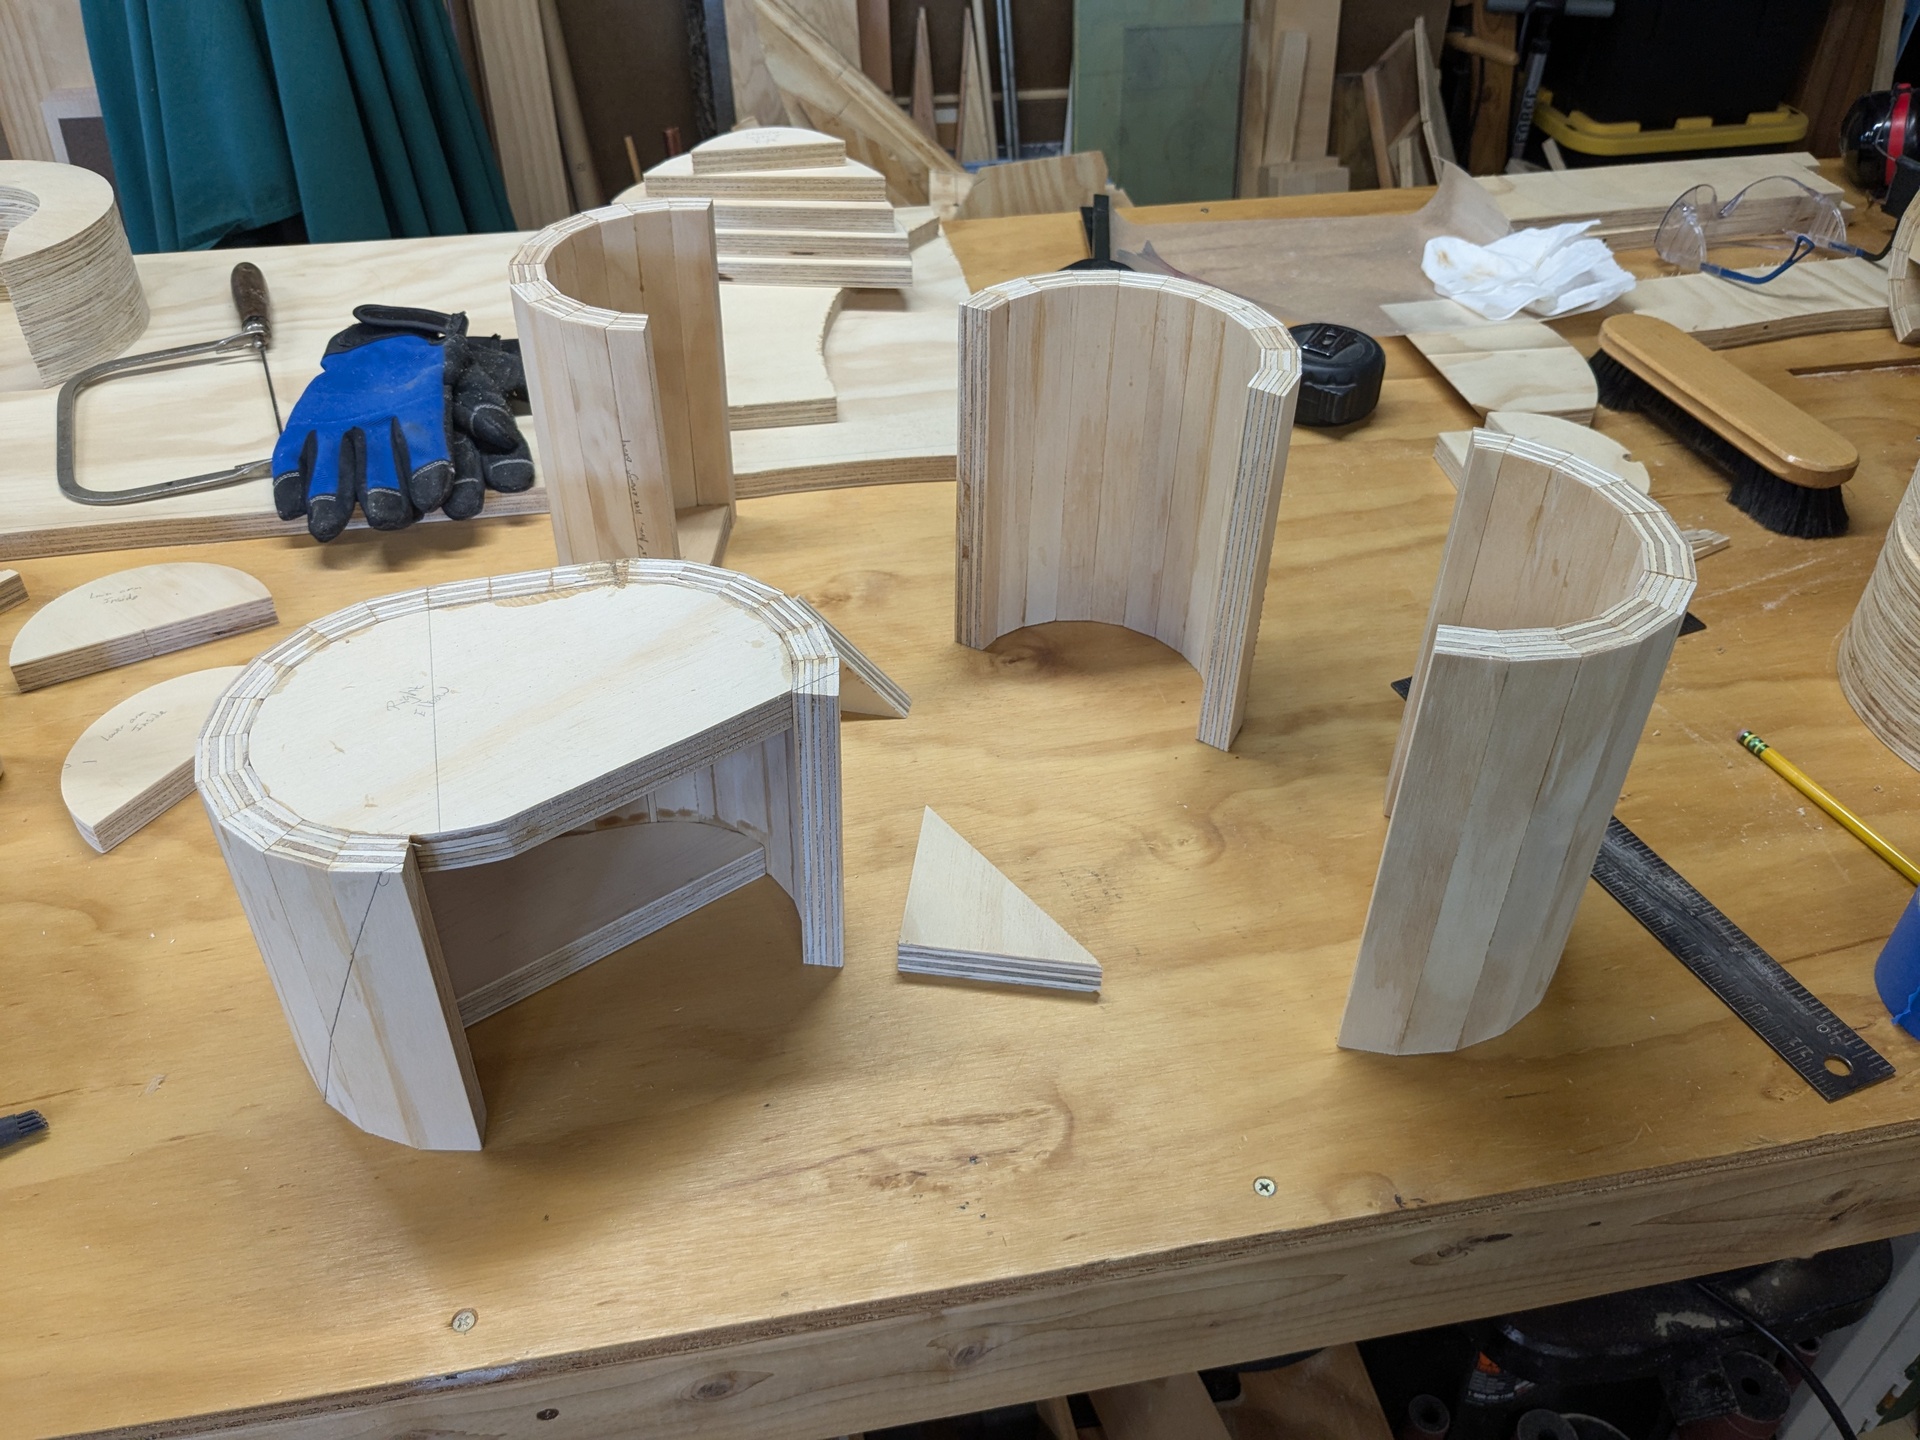
The construction method I settled on involved making several barrel-shaped pieces that I put together with an internal framework that made them arm-shaped. The individual components were all built in the same way as the tops of the legs and the head, but in this case they got combined in a more complex way.
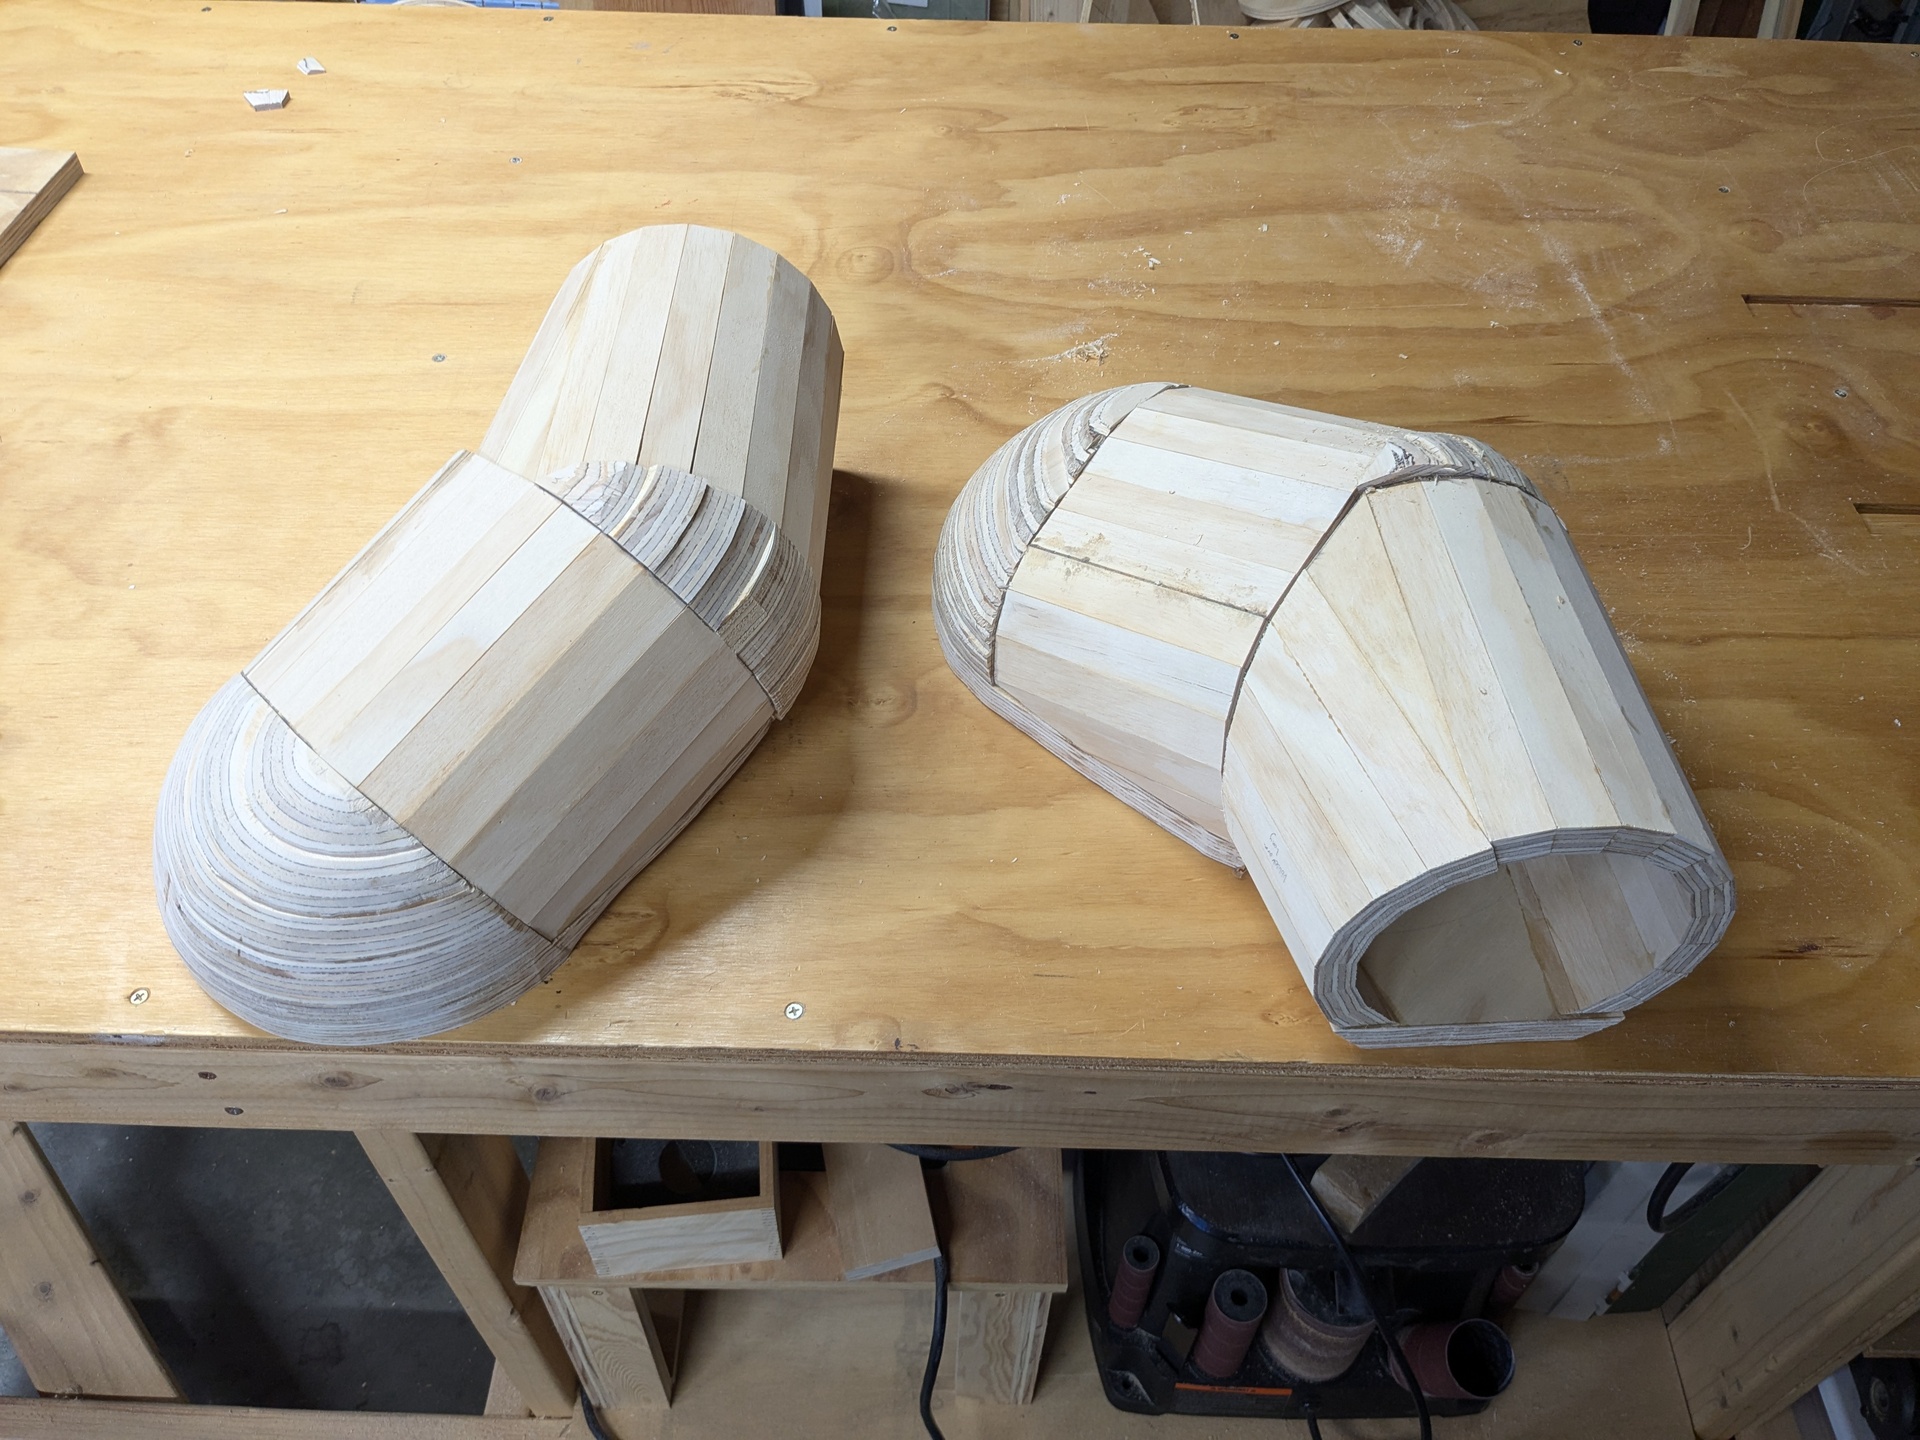
Building these two arms took nearly a month of fiddling and problem solving, but they came out pretty nice in the end. Here they are before I started sanding and filling in gaps. They ended up slightly smaller than I would have liked, but given their complexity, I’m fine with that.

The arms were intense, but the hands were pretty easy: they’re just two stacks of C-shaped pieces glued together and cut down to the right shape. I realized after I was done that I could have drilled holes in the middle pieces to make the hands lighter, but they worked out fine in the end.
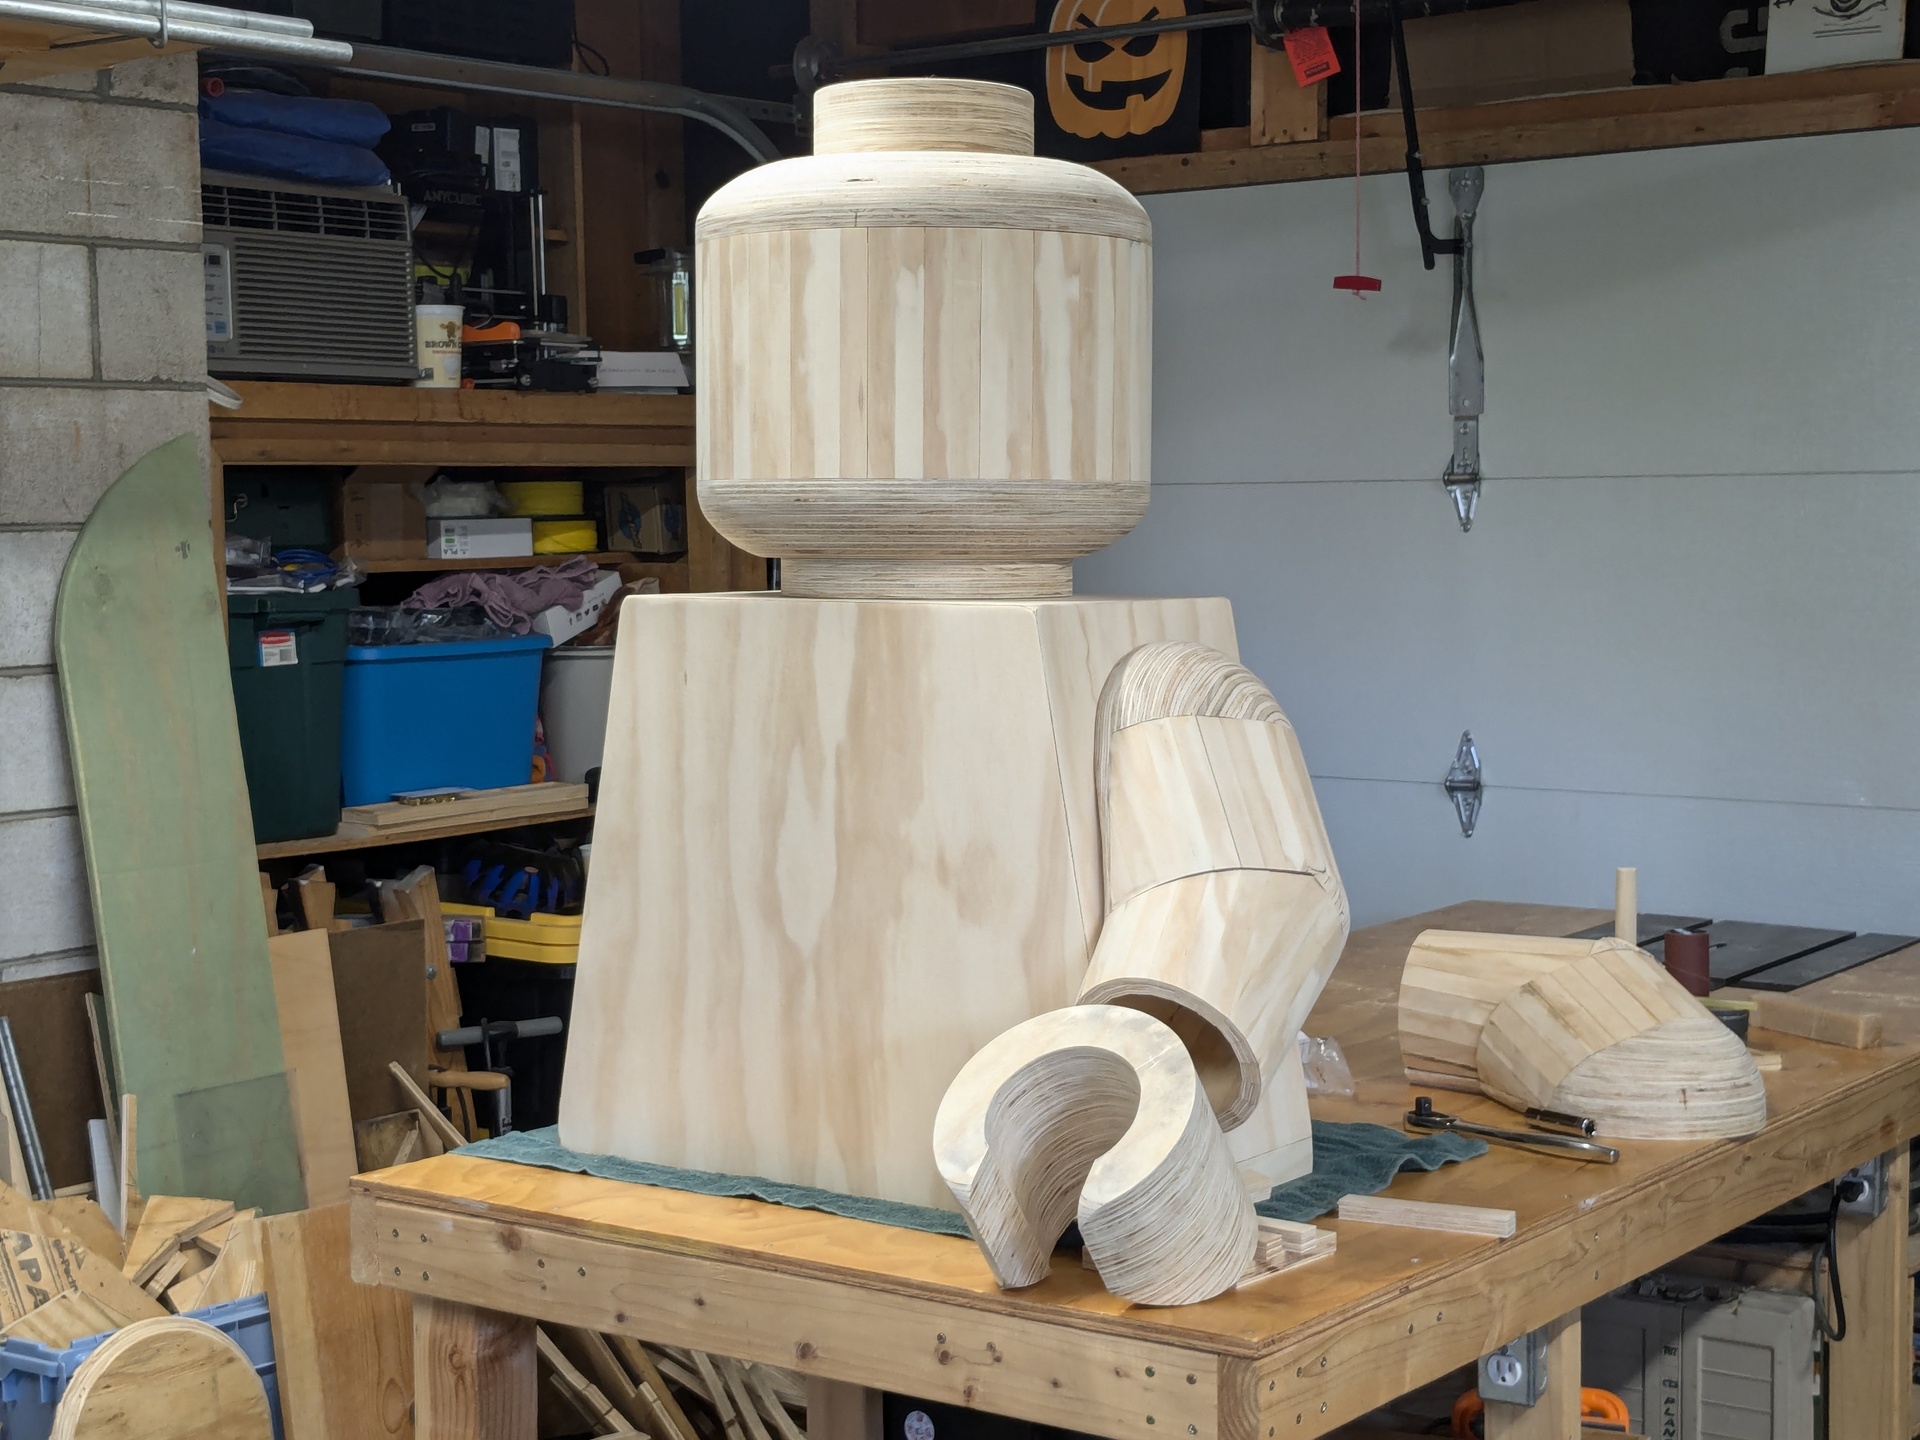
A quick workbench mockup proved that I was almost done.
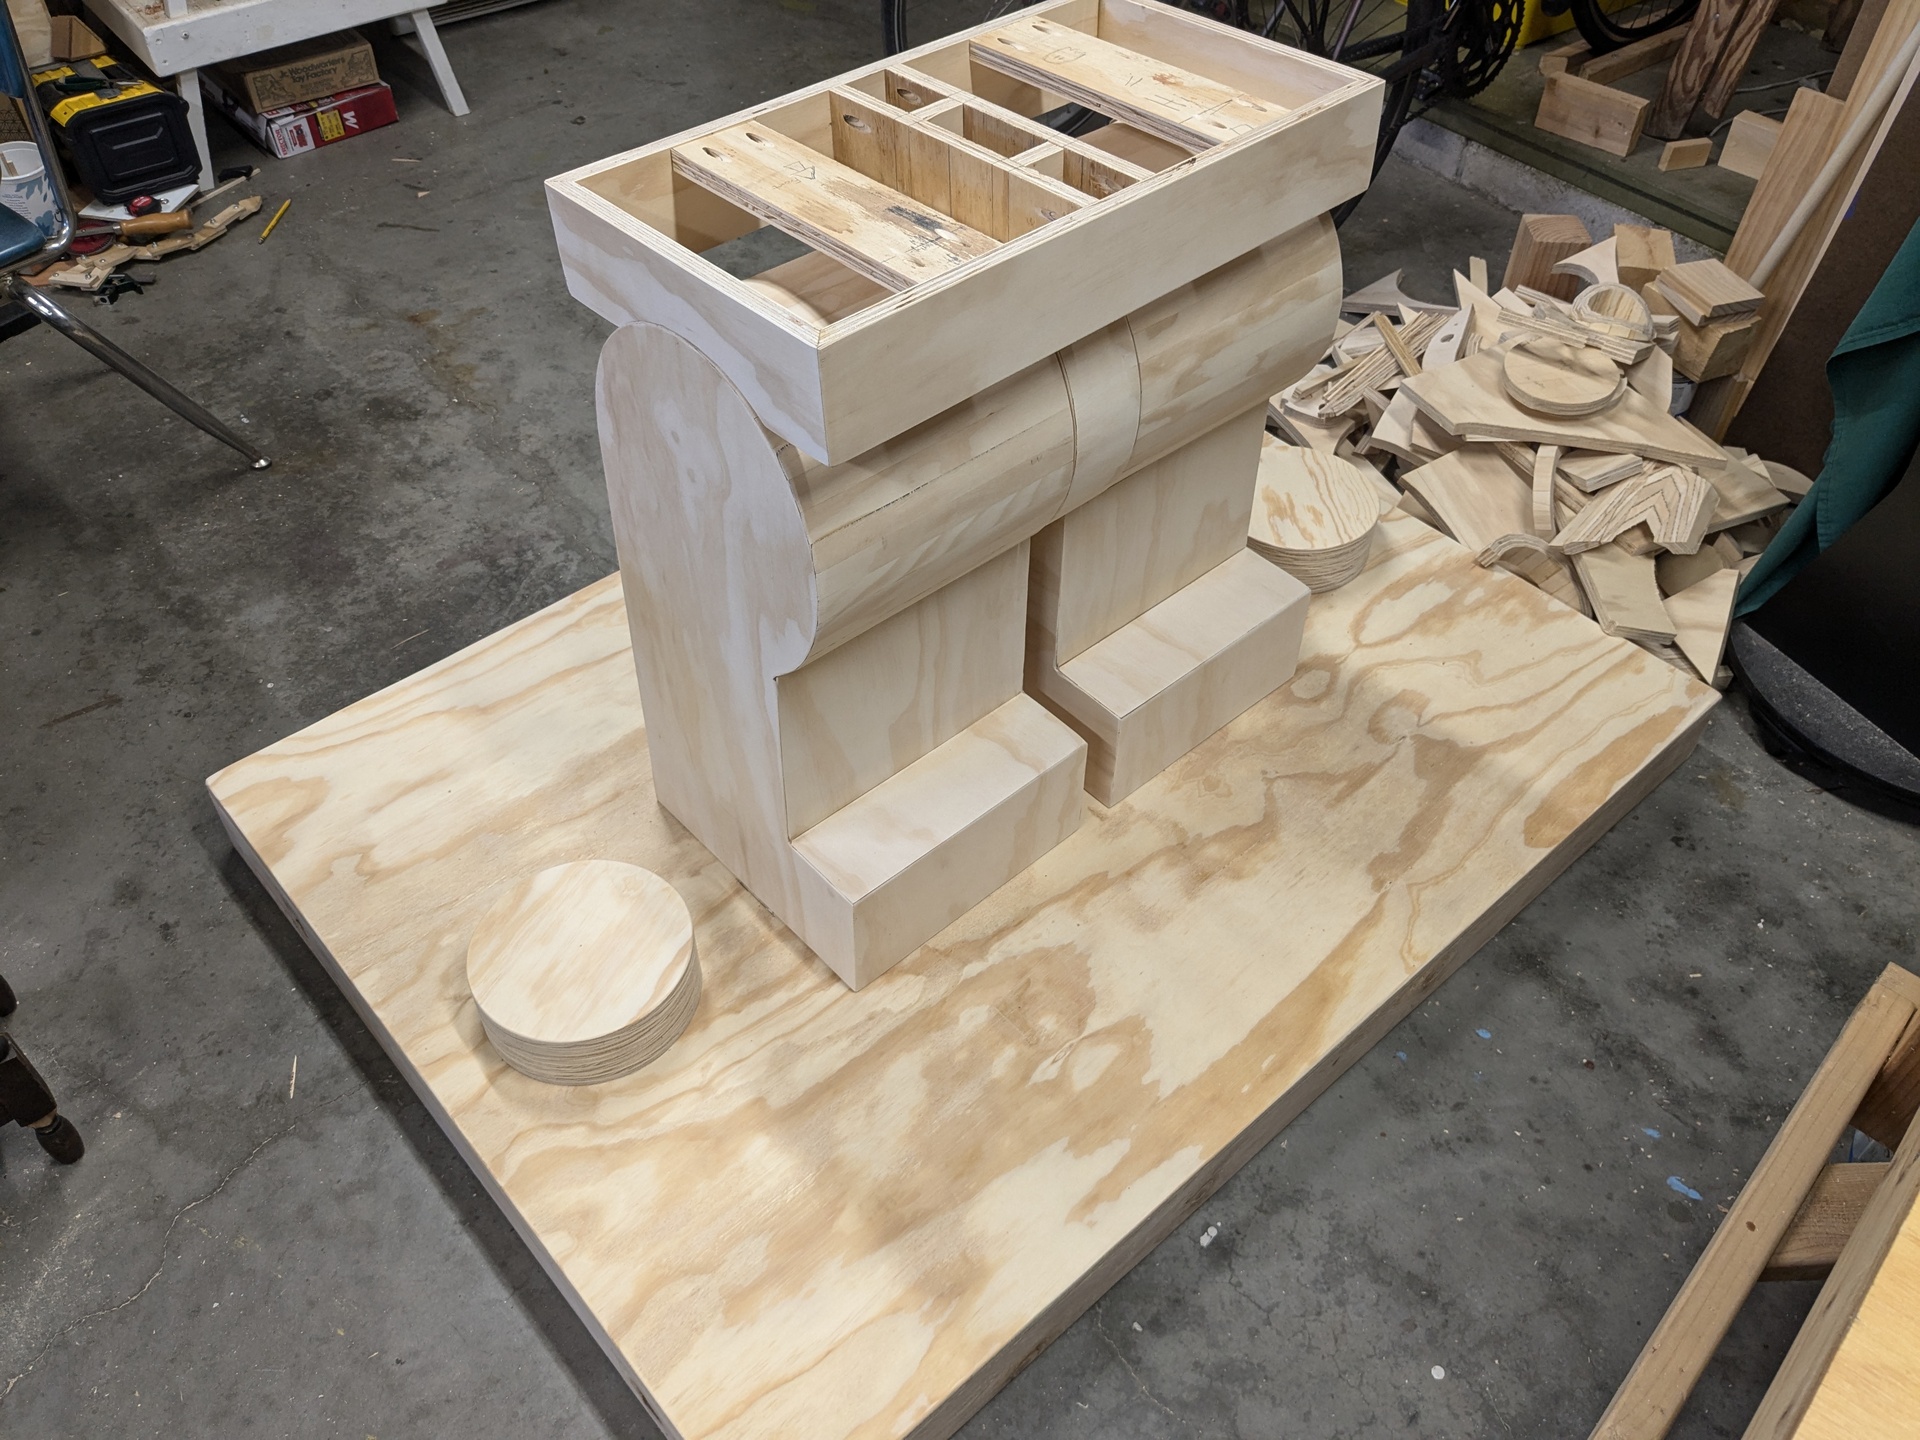
Lego has a Collectible Minifig line, all of which come with a distinct base for them to stand on. I knew from the start that I wanted to replicate one of those for my minifig to stand on. Compared to the rest of the project, it was really easy to build.
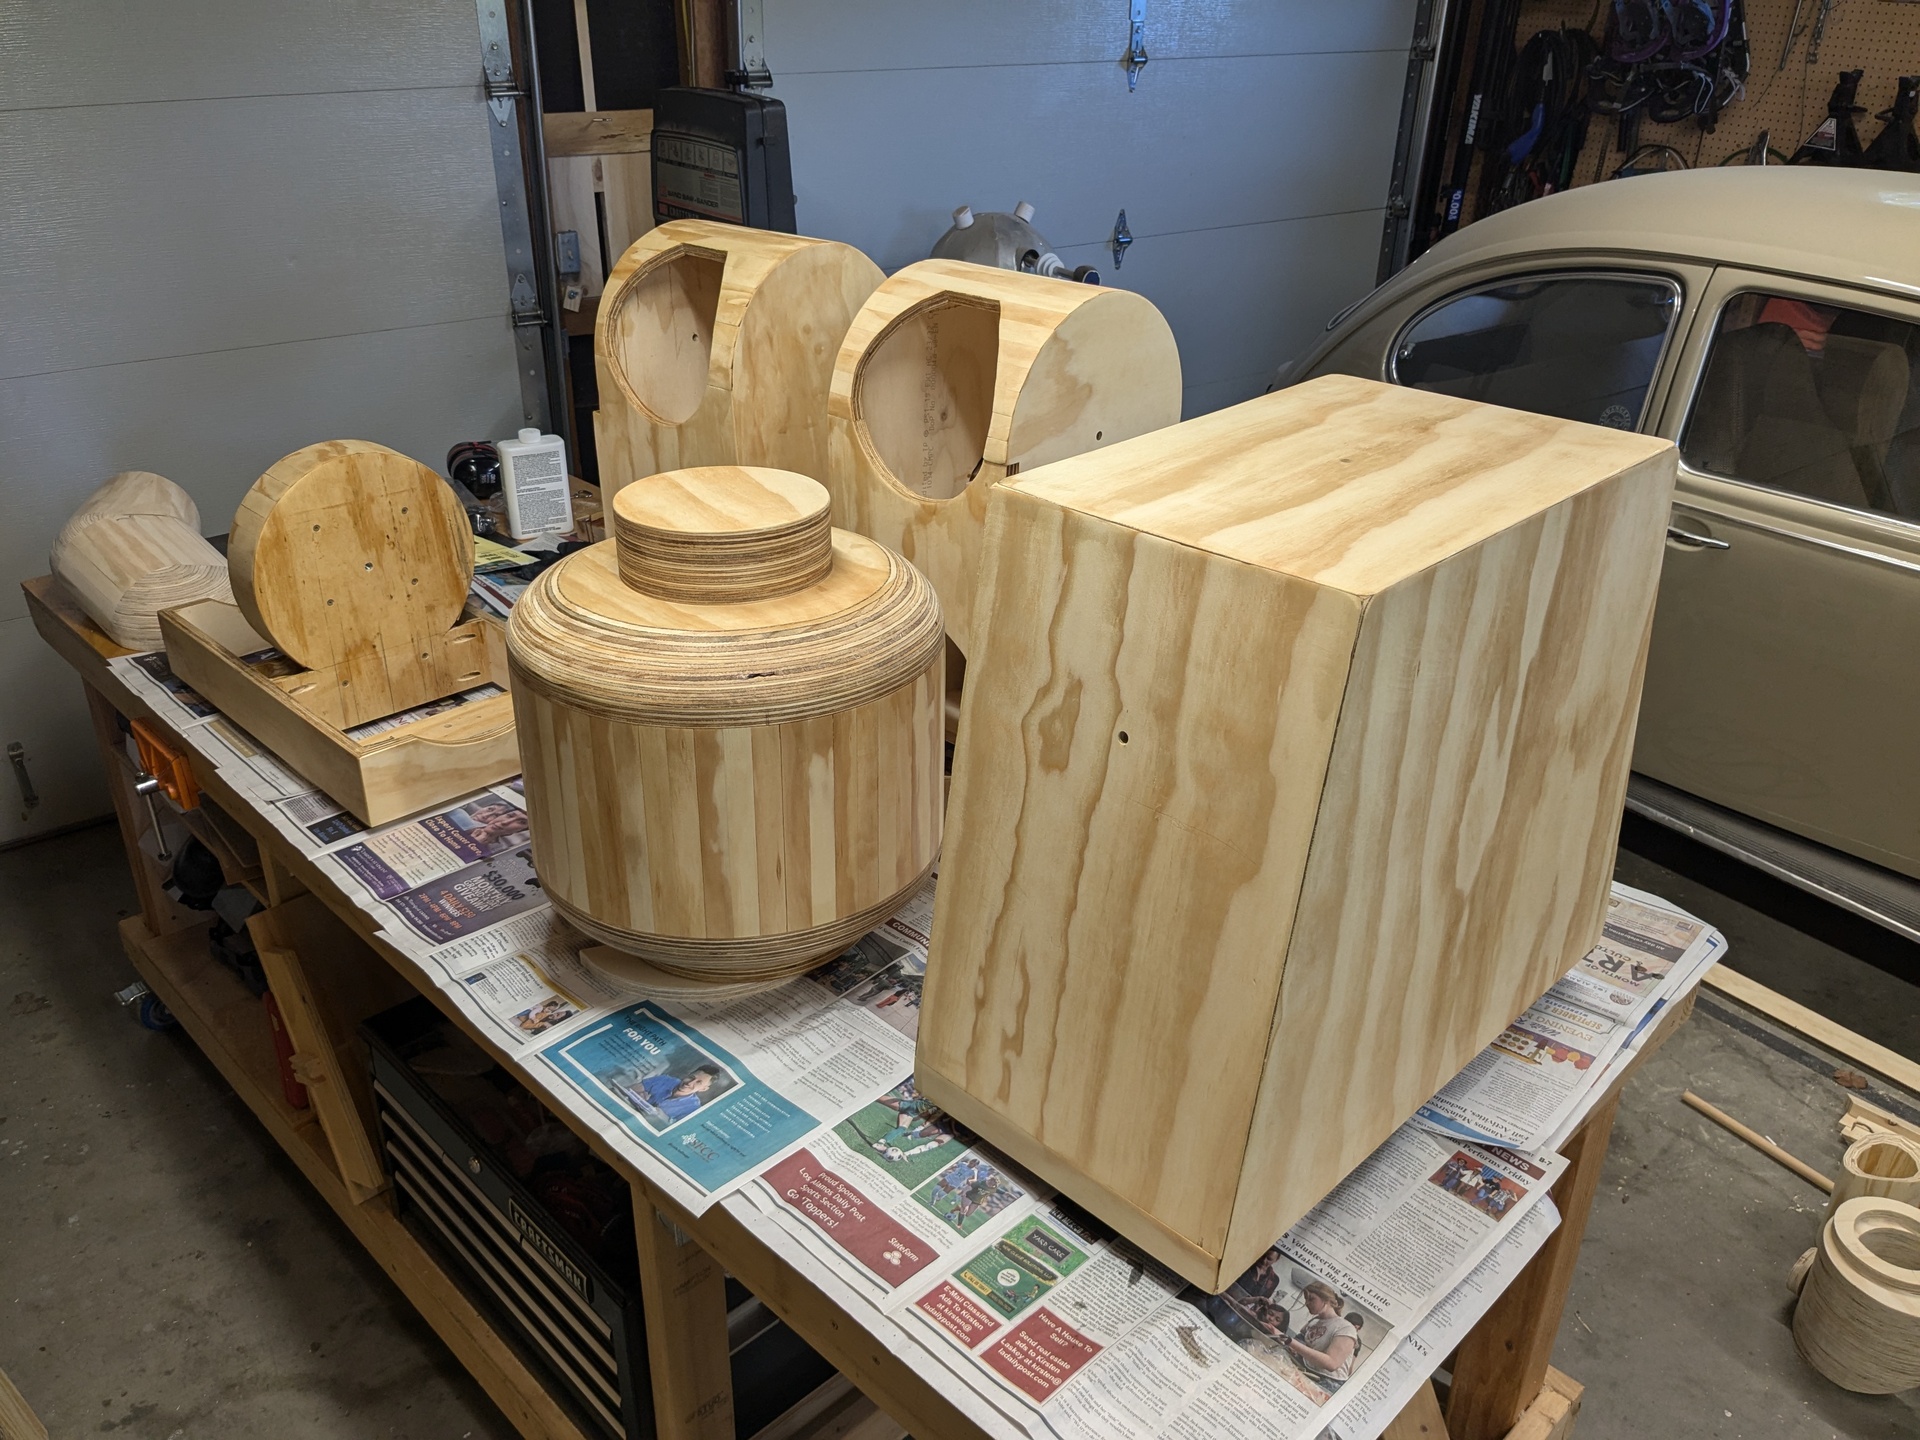
I had originally planned to paint the pieces in classic minifig colors: yellow hands and head, red shirt, and blue pants. But the more I worked with the raw pieces, the more I liked the wooden look. So in the end I coated them in a bunch of Minwax polyurethane. It gave them an ambered color, and made the grain of the wood really pop.

Finally, after two and a half months of work, it was done! I carted the pieces down to STEAMlab’s traditional scarecrow location on Central Avenue and bolted them all together, and it looked great.
This was one of the most complex things I’ve ever built, which is part of why I decided to undertake the challenge. I can’t imagine wanting to build another one of these, but I figured out a lot of new techniques and had some fun with solving the problems inherent in building something this big and detailed.
