I was really busy in the fall of 2025, which meant that building one of my traditionally complex scarecrow wasn’t going to work this year. But I still wanted to make something! Something that was easy to do, but still had an interactive aspect to it. After considering a few ideas, I decided to go with some large chalkboard panels with 3D designs on them to give some inspiration to passing artists. A do-it-yourself scarecrow of sorts.

Northern New Mexico is prone to windy days in the fall (also the spring, winter, and summer), so a single panel wasn’t going to work. It would get blown away! I was confident that a six-sided hexagon of panels would be impervious to the wind, though, and it also gave me lots of options for characters to put on them. I started out by drawing their designs in Inkscape.

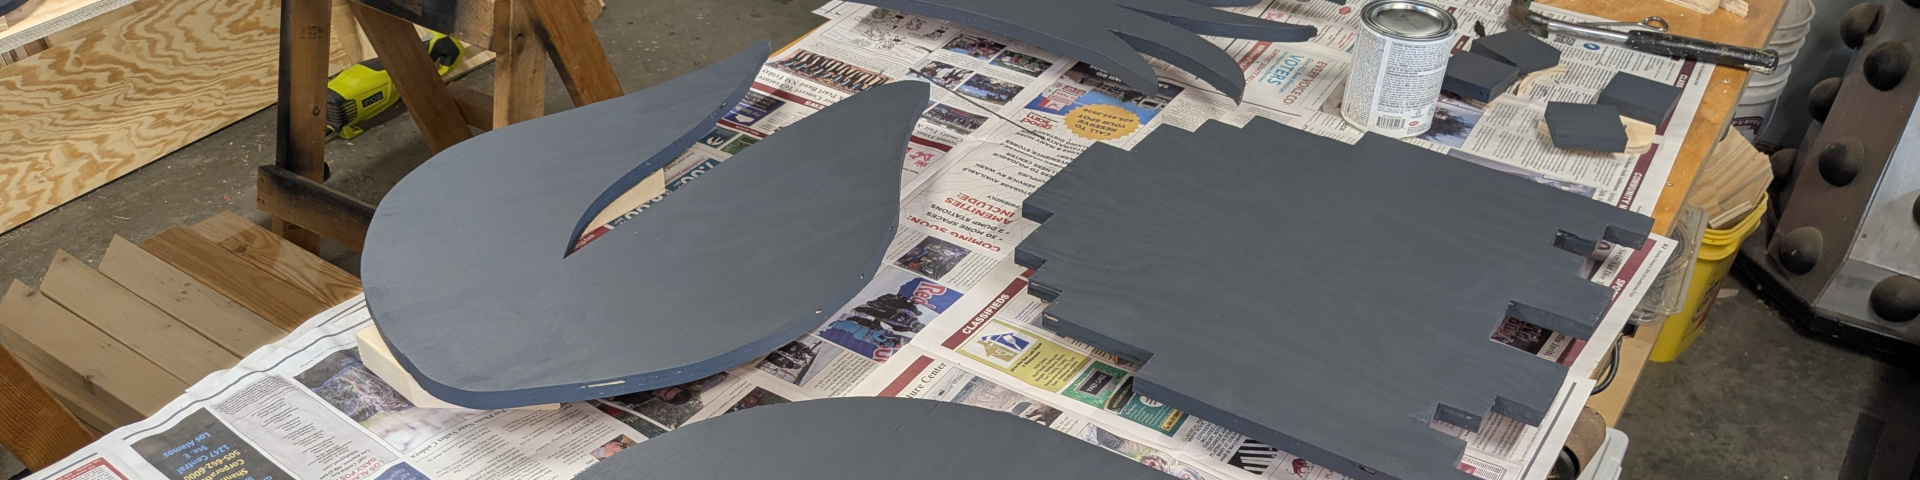
The back panels are just cut from sheets of plywood, while the designs on the front are cut from 1/2 inch and 3/4 inch plywood to give them some depth. This mockup proved that the depth was worthwhile and that the panels would look nice. They’ll eventually be covered in chalkboard paint.

For the backgrounds, I needed to leave bare wood for gluing on the designs. It also helped conserve chalkboard paint, but I ended up having plenty in the end.

I used some white paint I had laying around to lighten up the chalkboard paint on the designs, adding some contrast between the layers. The background panels are full black, and this layer of parts is a little bit lighter.

These ones, meanwhile, are even lighter.

With the painting done, it was time to start gluing the images on the panels. I had to get creative with the clamps for some of them. They all worked out great in the end.

Here’s a group that are done. They looked so good! You can see the depth of the designs and the different paint colors especially well on the middle one with the alien eye stalks.

With the panels done, I just needed a way to make them all stand up. I built two hexagon frames for this purpose, one for the top and one for the bottom.

It was finally time to take it downtown! Putting it together was relatively straightforward, and it immediately got some action. It was great! Sadly, we got a solid week of rain right after I put it up, so designs didn’t last very long, but the upside was that there was a clean slate for new drawings every morning.