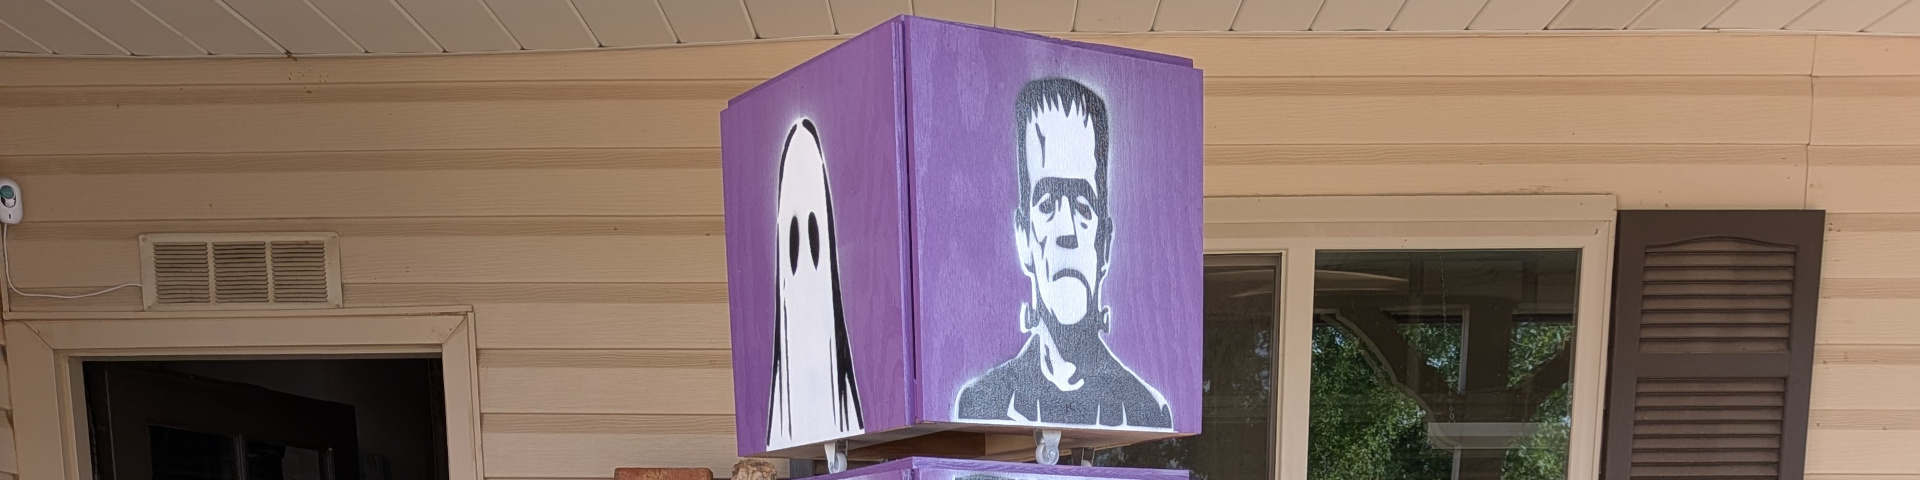
The second part of 2026 has been a crazy time for me, but I wasn’t going to let that stop me from building my yearly entry for the Los Alamos Arts Council’s scarecrow contest. And like in previous years, I aimed to include an interactive component to this year’s scarecrow. But unlike previous years, I outsourced some of the artwork to AI. Sorry!
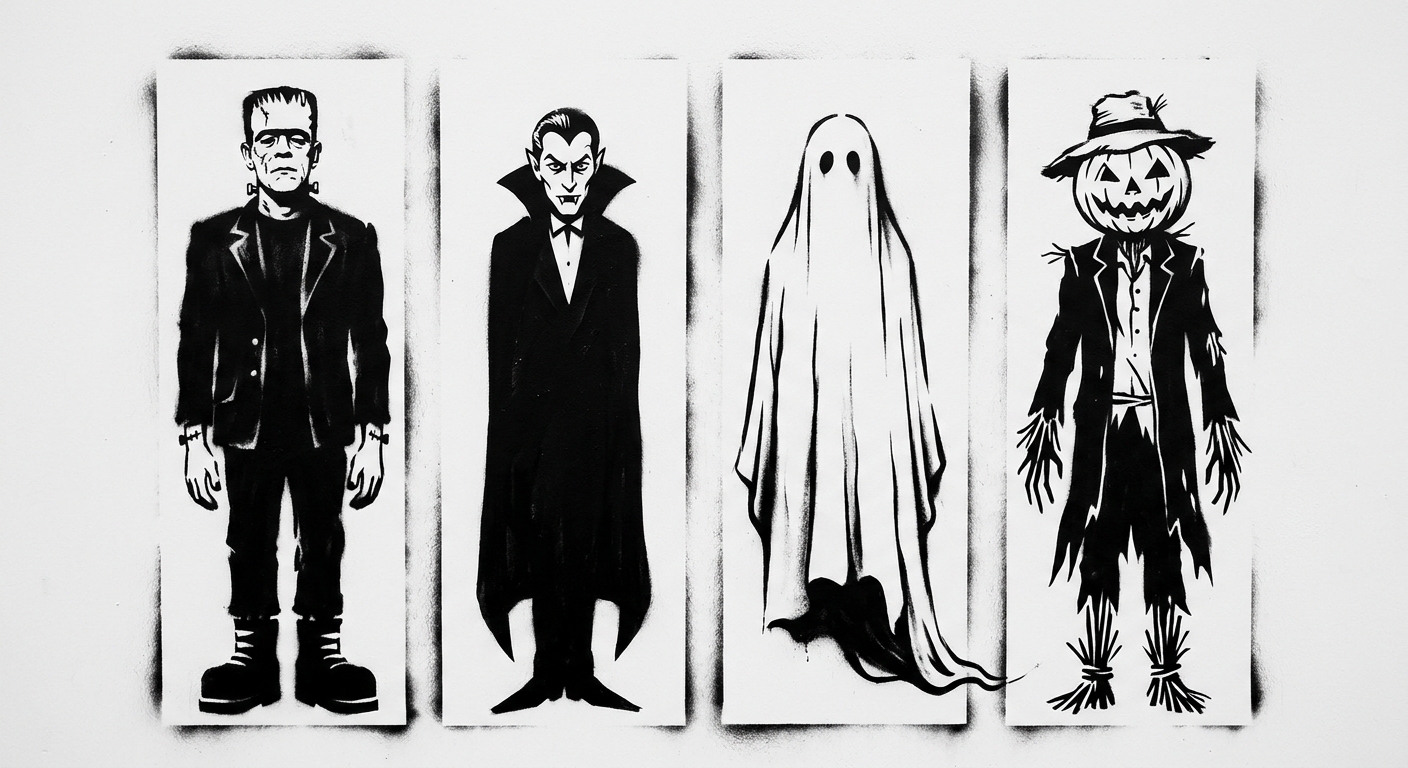
My plan for this year was to build a stack of four rotating blocks, each with part of a traditional Halloween monster painted on its sides: heads on one block, bodies on the next, legs on the next, and feet on the last. With them all stacked up, passers-by could then rotate each of them to mix-and-match designs and make new monsters as they pleased. Only I wanted the characters to look good, and I wanted them to paint them using stencils so they would look reminiscent of Banksy’s style. I can build stuff, but I’m not that great of a graphic artist, so I outsourced the drawings to Google’s AI engine. After several rounds of prompts, I got something I liked.
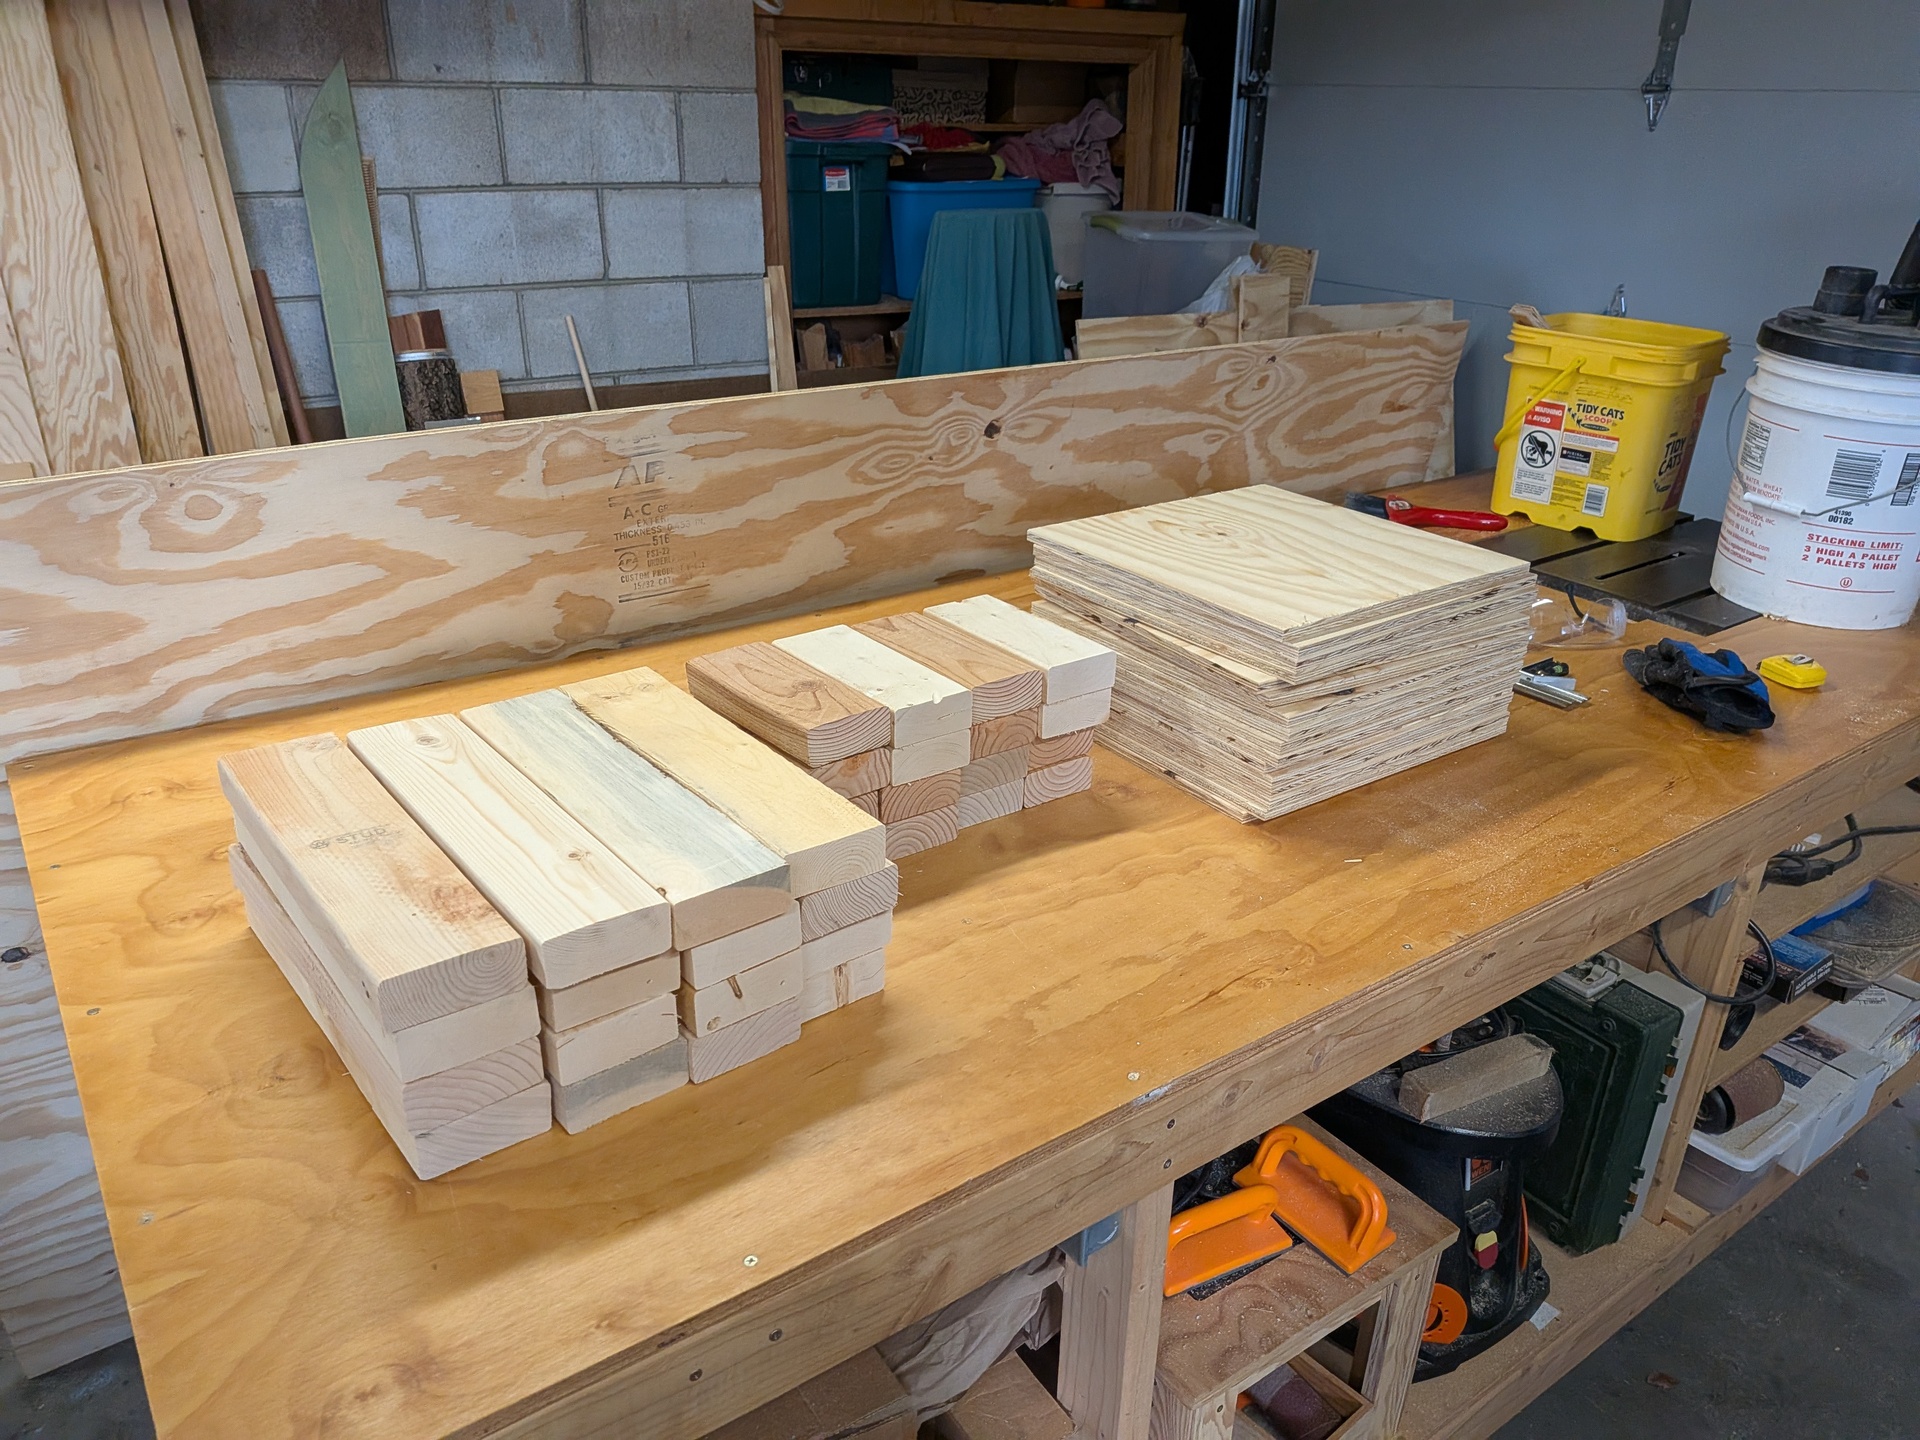
With the artwork done, I was ready to start building the blocks. I had a bunch of 2x4 scraps left over from last year’s display, which I used as frames, and I cut some 1/2 inch plywood squares to make the sides.
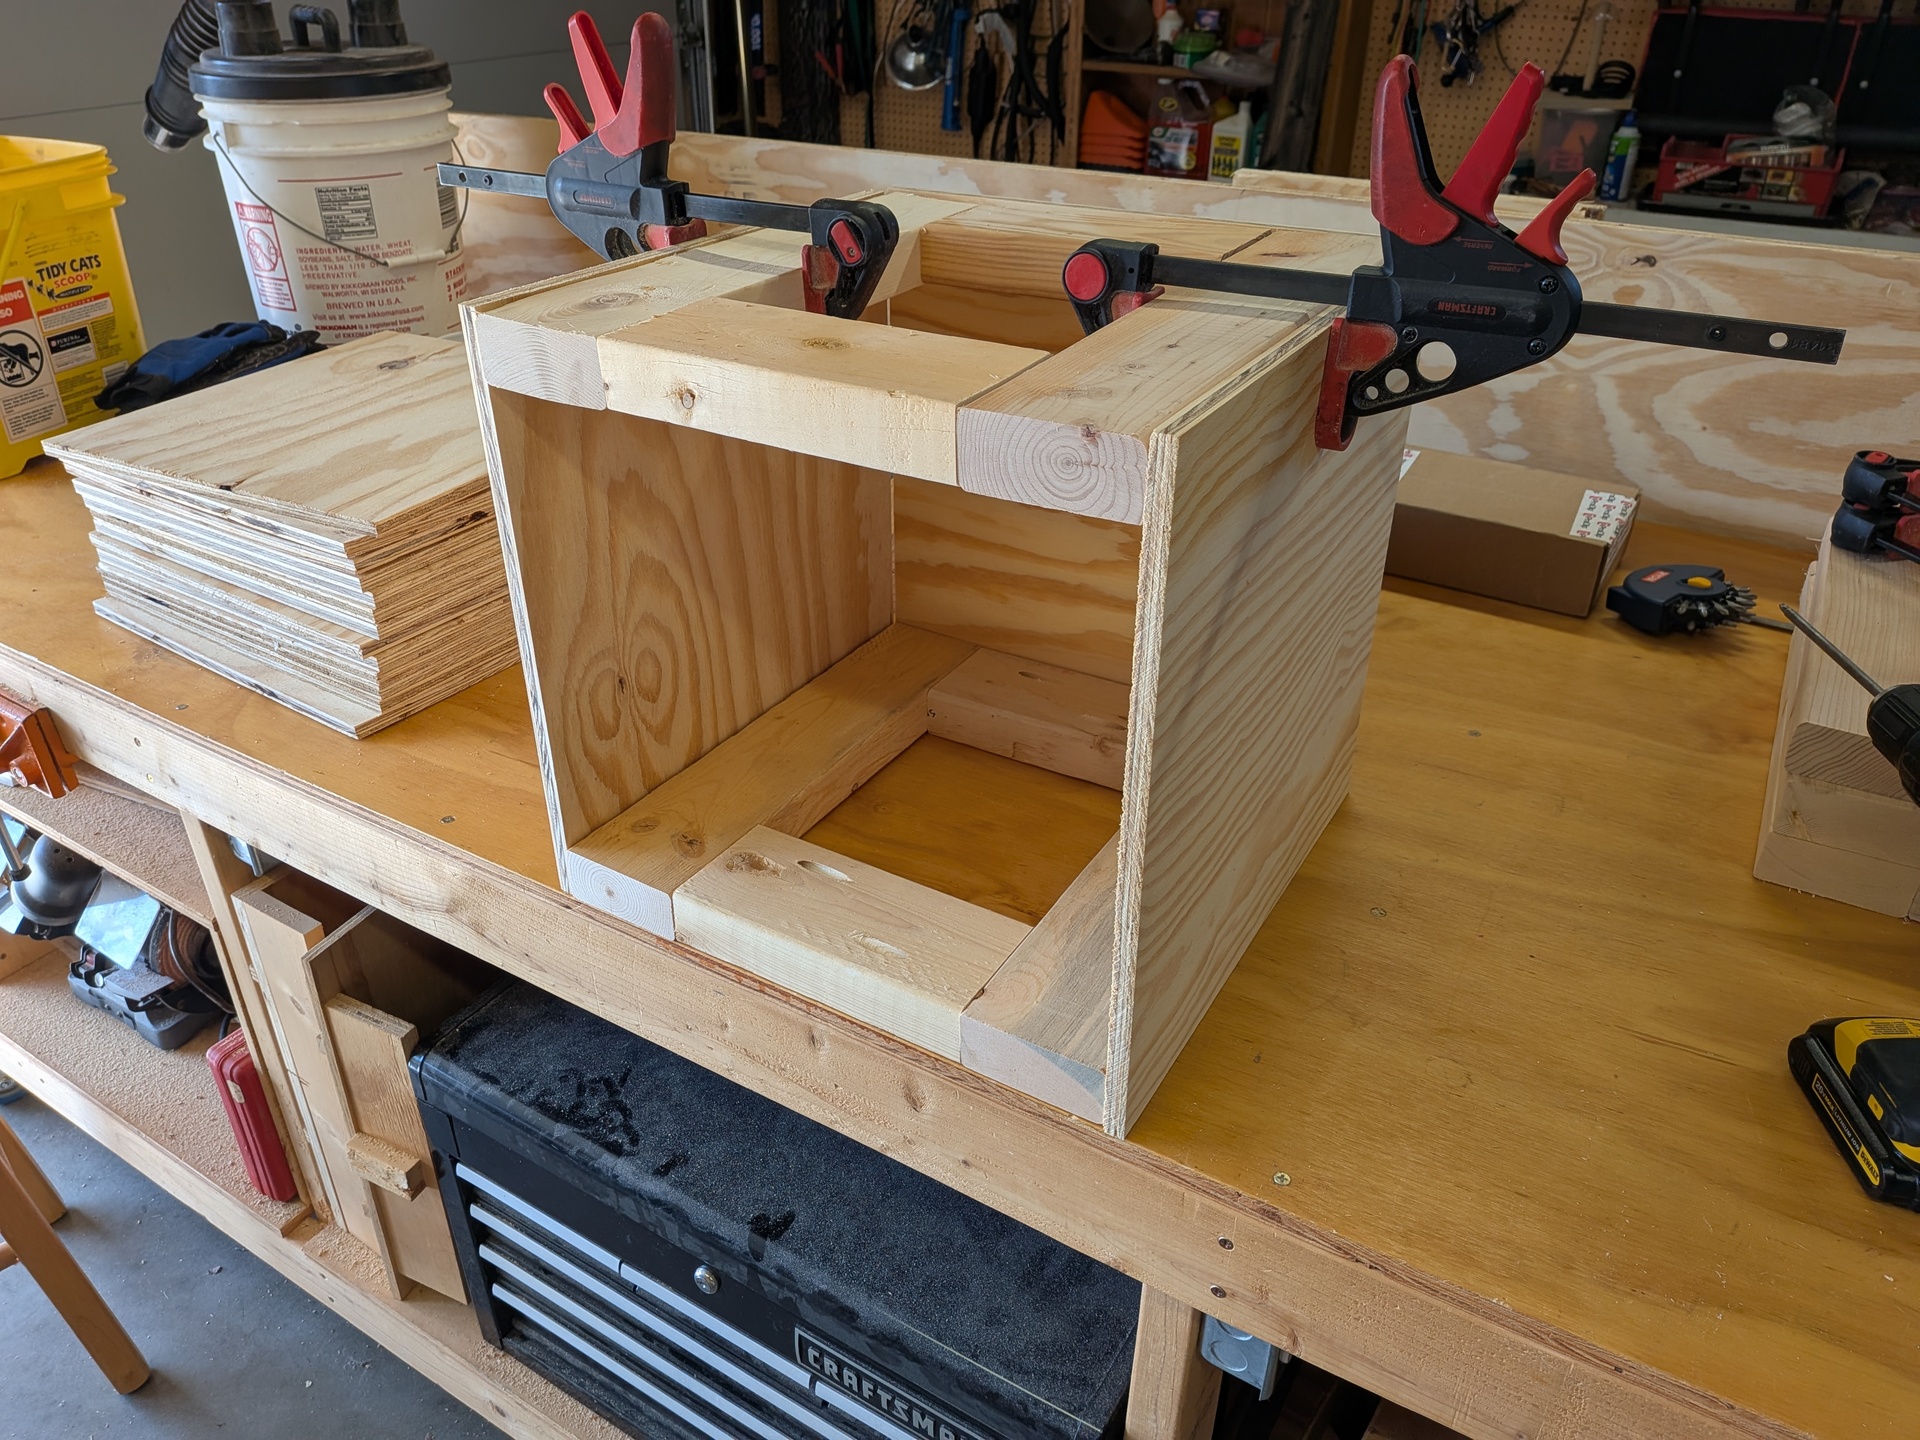
I used pocket screws to hold the frame pieces together, but then I used an air nailer to attach the sides. I’ll probably regret that when I want to take them apart, but it was quick and easy and made nice clean sides.
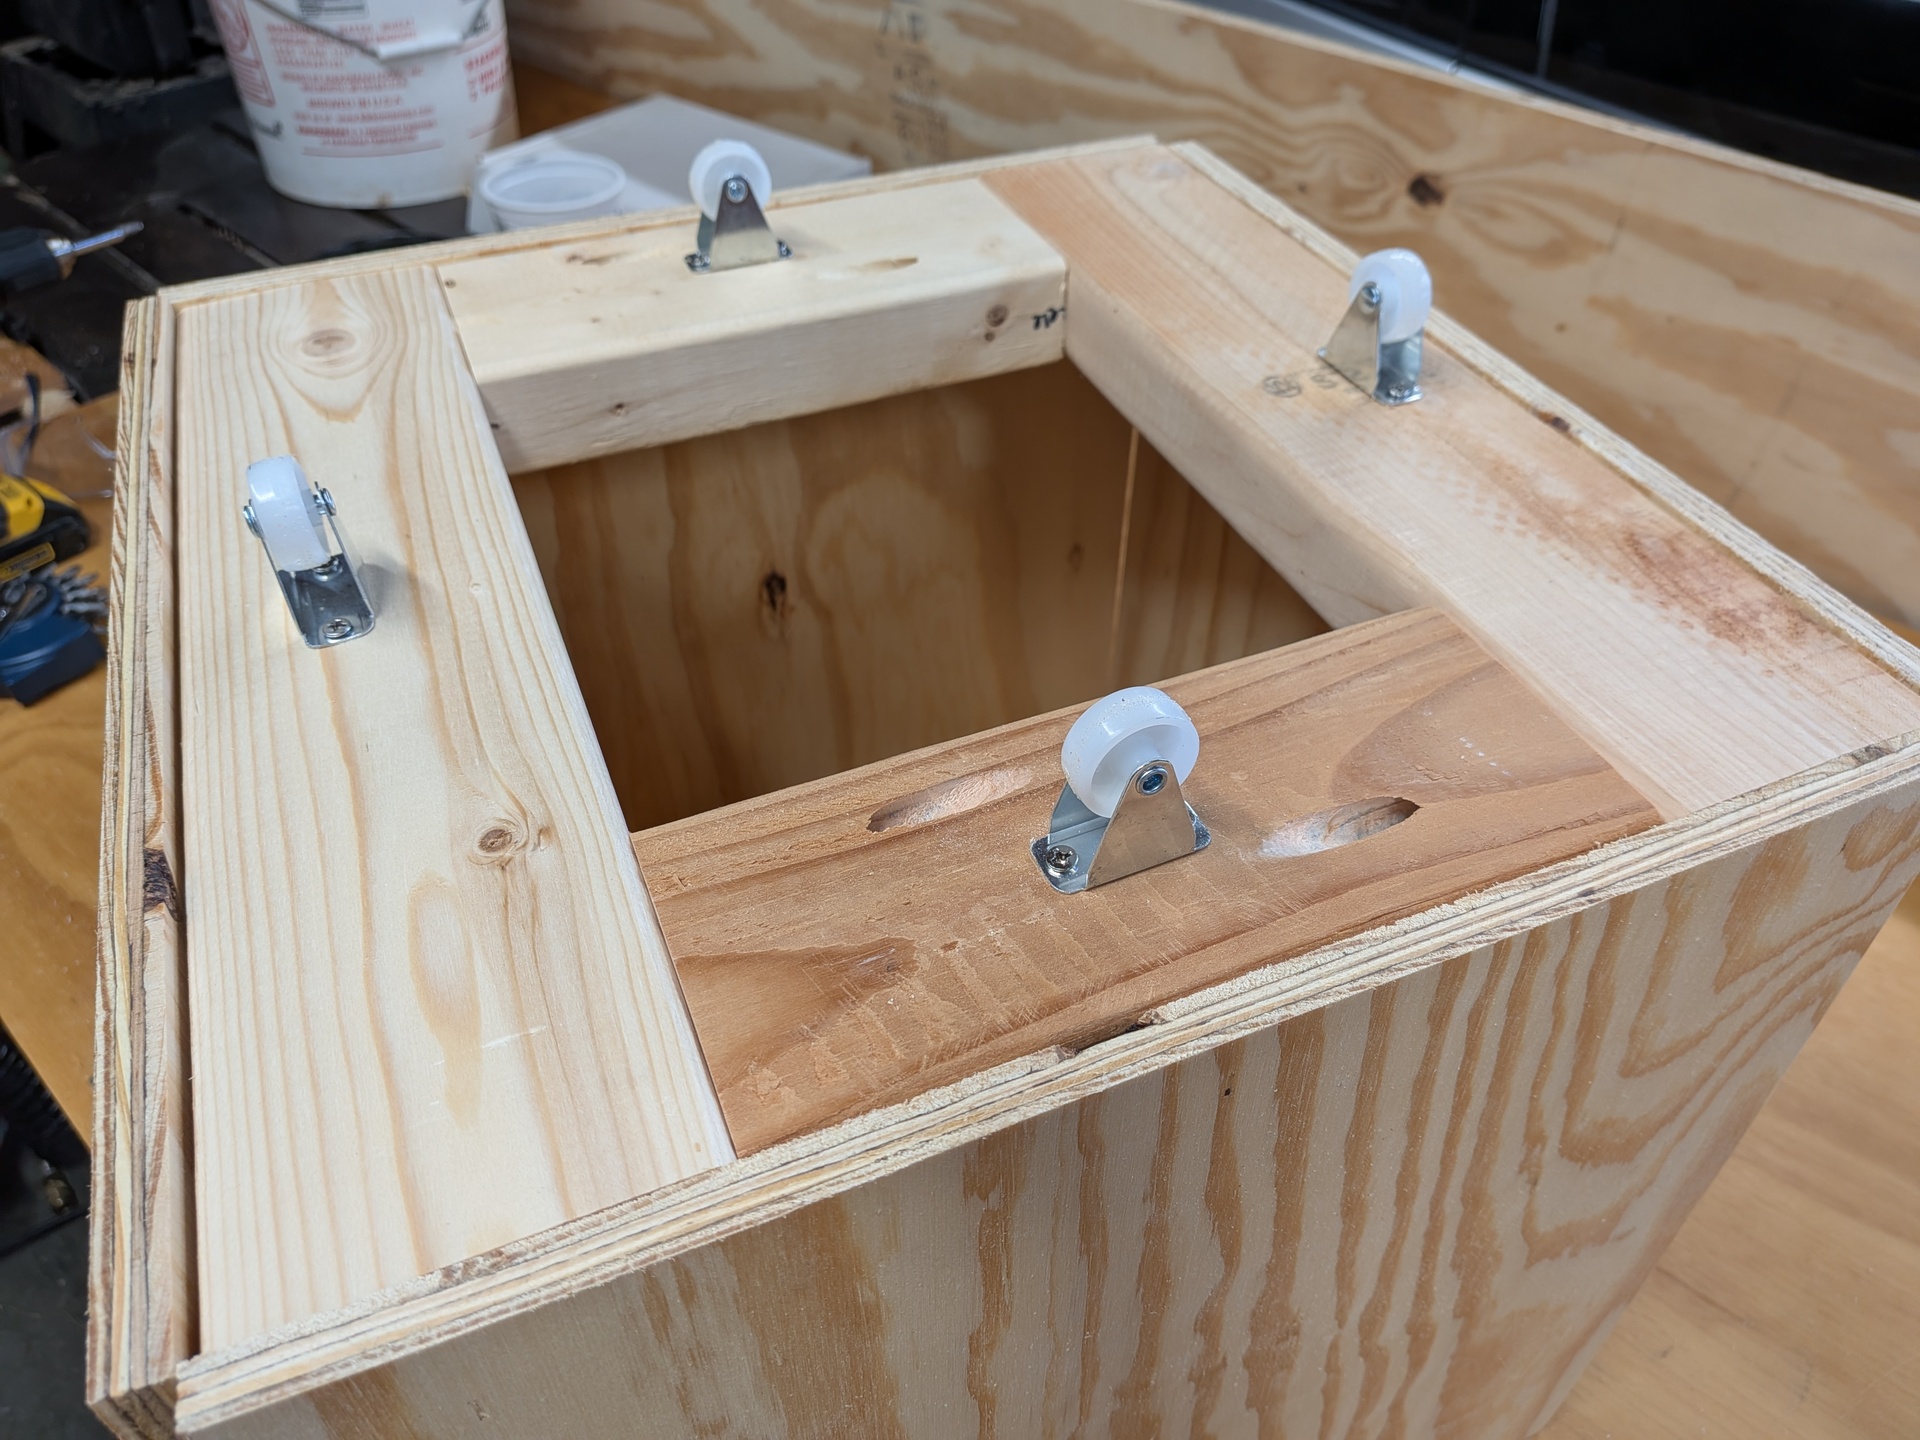
The boxes needed a way to rotate, and I spent a bunch of time thinking about the best way to do that. Most of them were too complex, until I realized I could just put wheels on the bottom of each box and have them rotate on the top of the next block down.
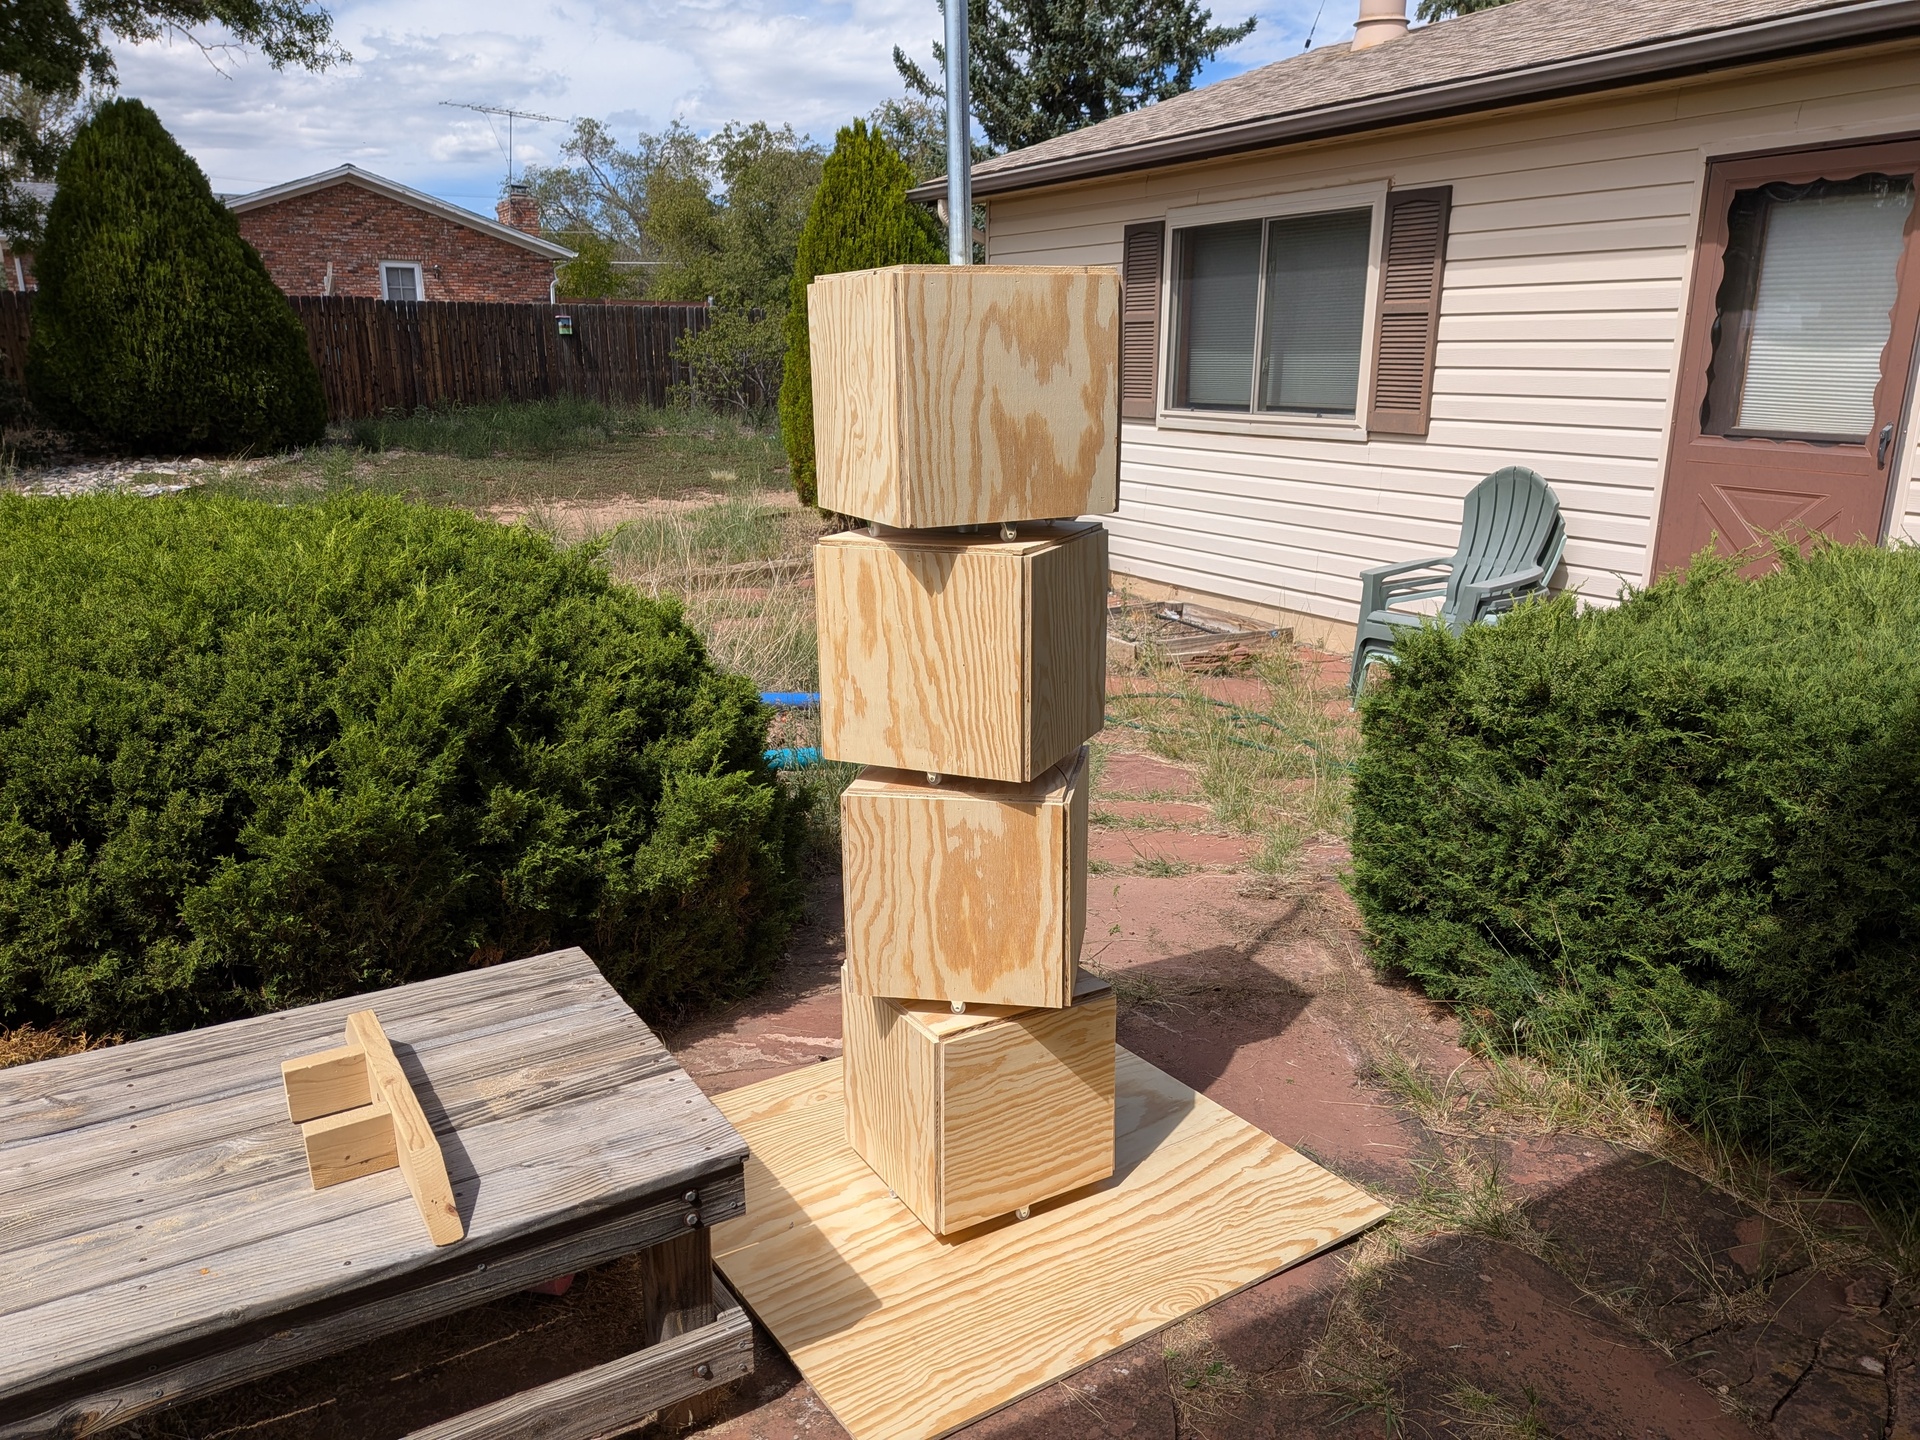
I drilled a 1.5 inch hole in the top of each block so I could use a length of 1.5 inch EMT as the axis of rotation. With the four blocks done, I was able to stack everything up and see how it worked. It looked good and worked really well!
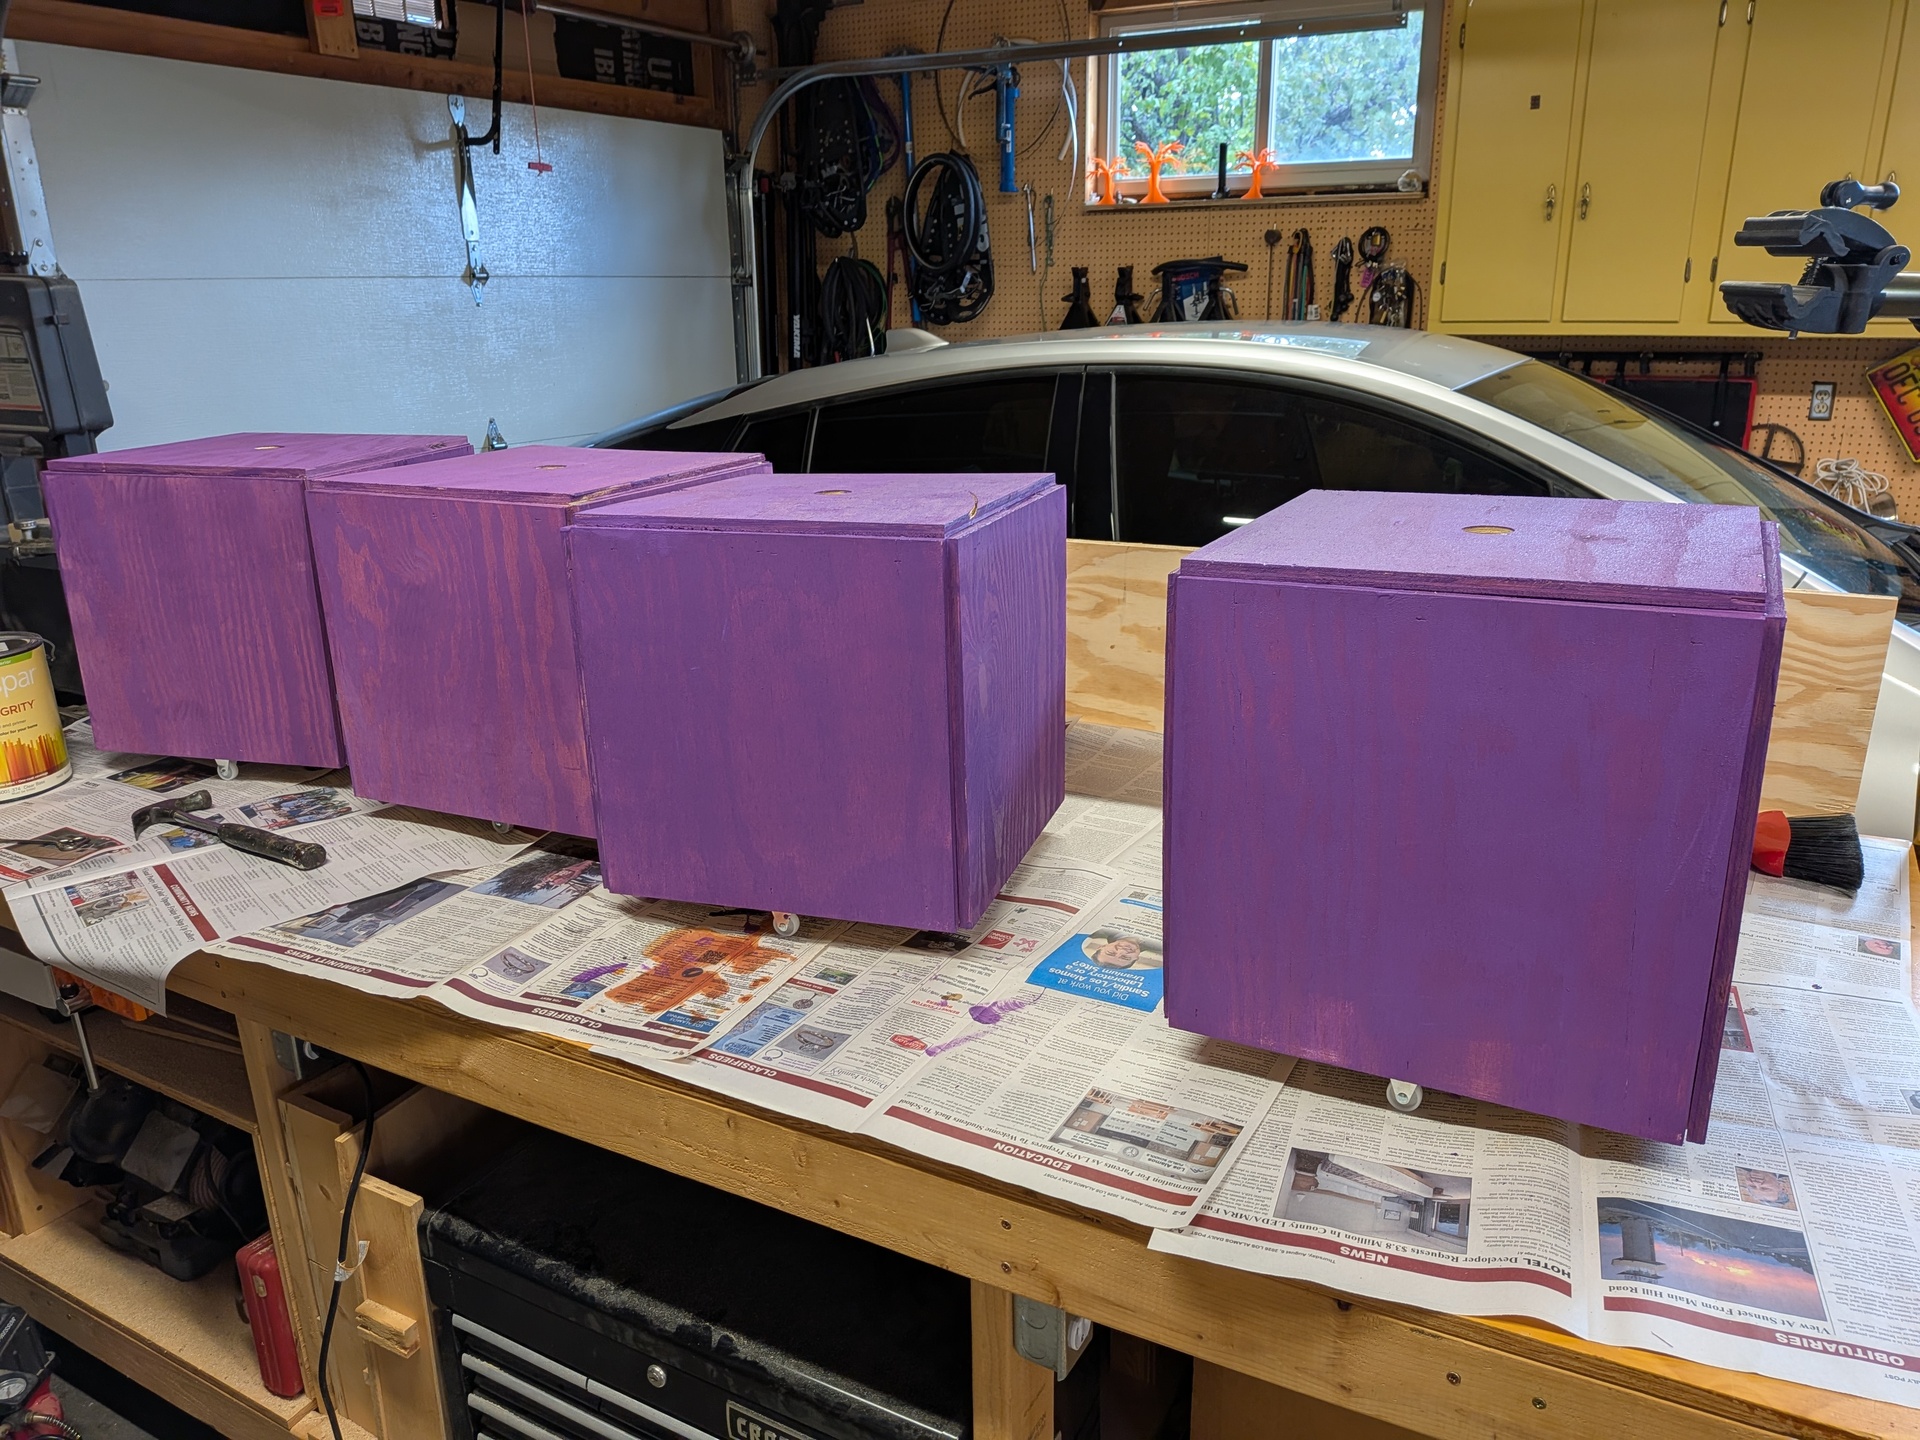
My plan was to paint each character with two stencil layers: a white base with black details. That meant I wanted a dark but colorful background color on each block, which was easily accomplished with some paint left over from a previous year’s scarecrow. After a couple of coats, they were looking good.
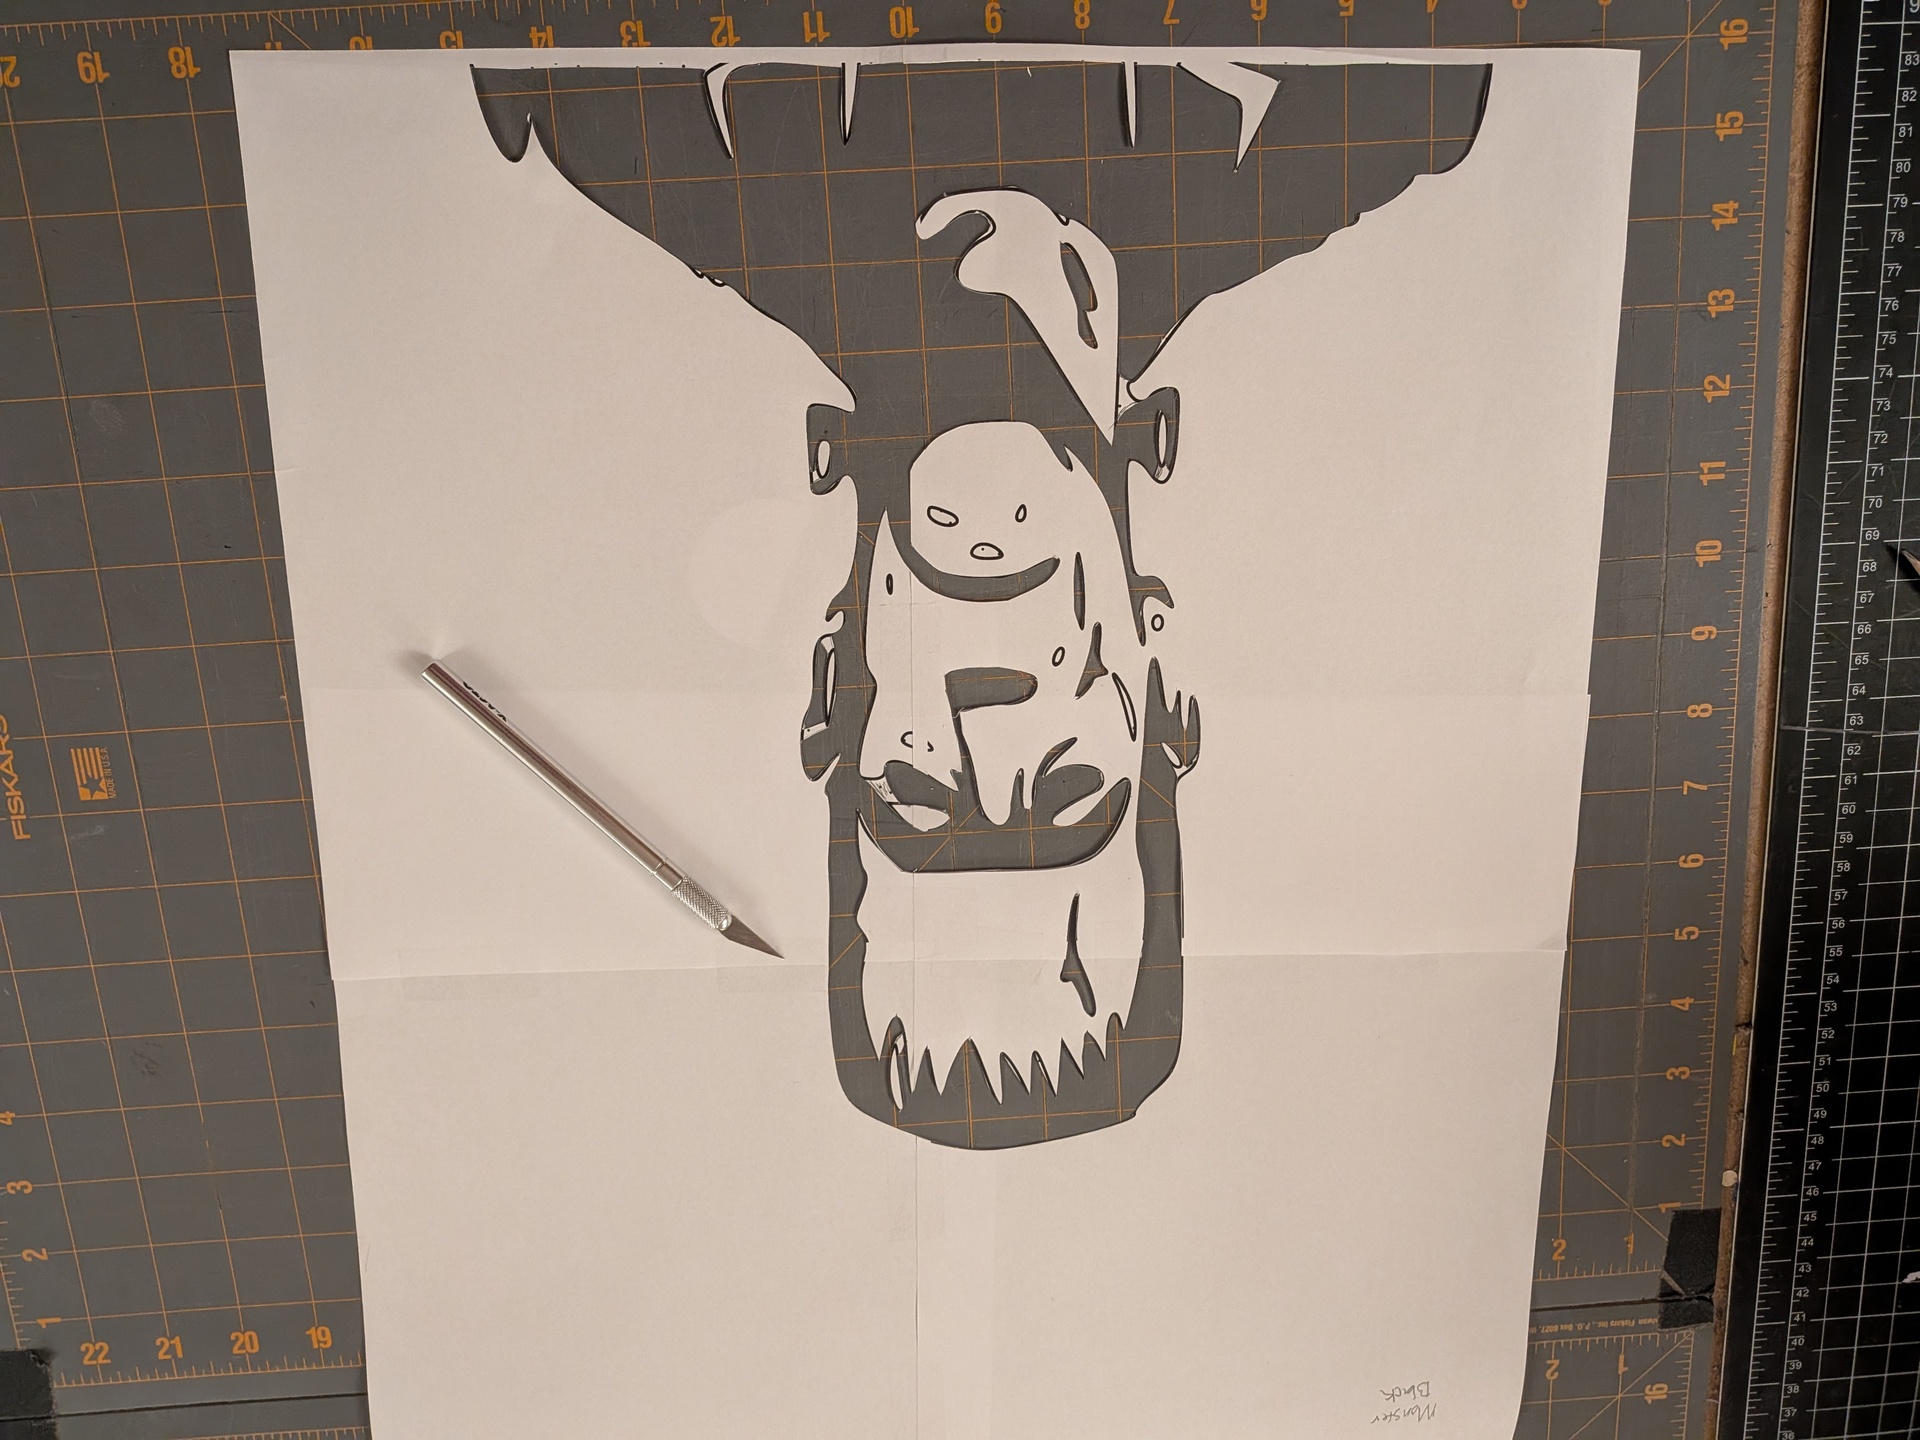
While I was building the blocks, I was also preparing the stencils. I imported the outsourced artwork into Inkscape and vectorized it, and then I fed the resulting PDFs into a tool to print them across several pages. I was able to easily tape those together, and then carefully cut them out with a knife.
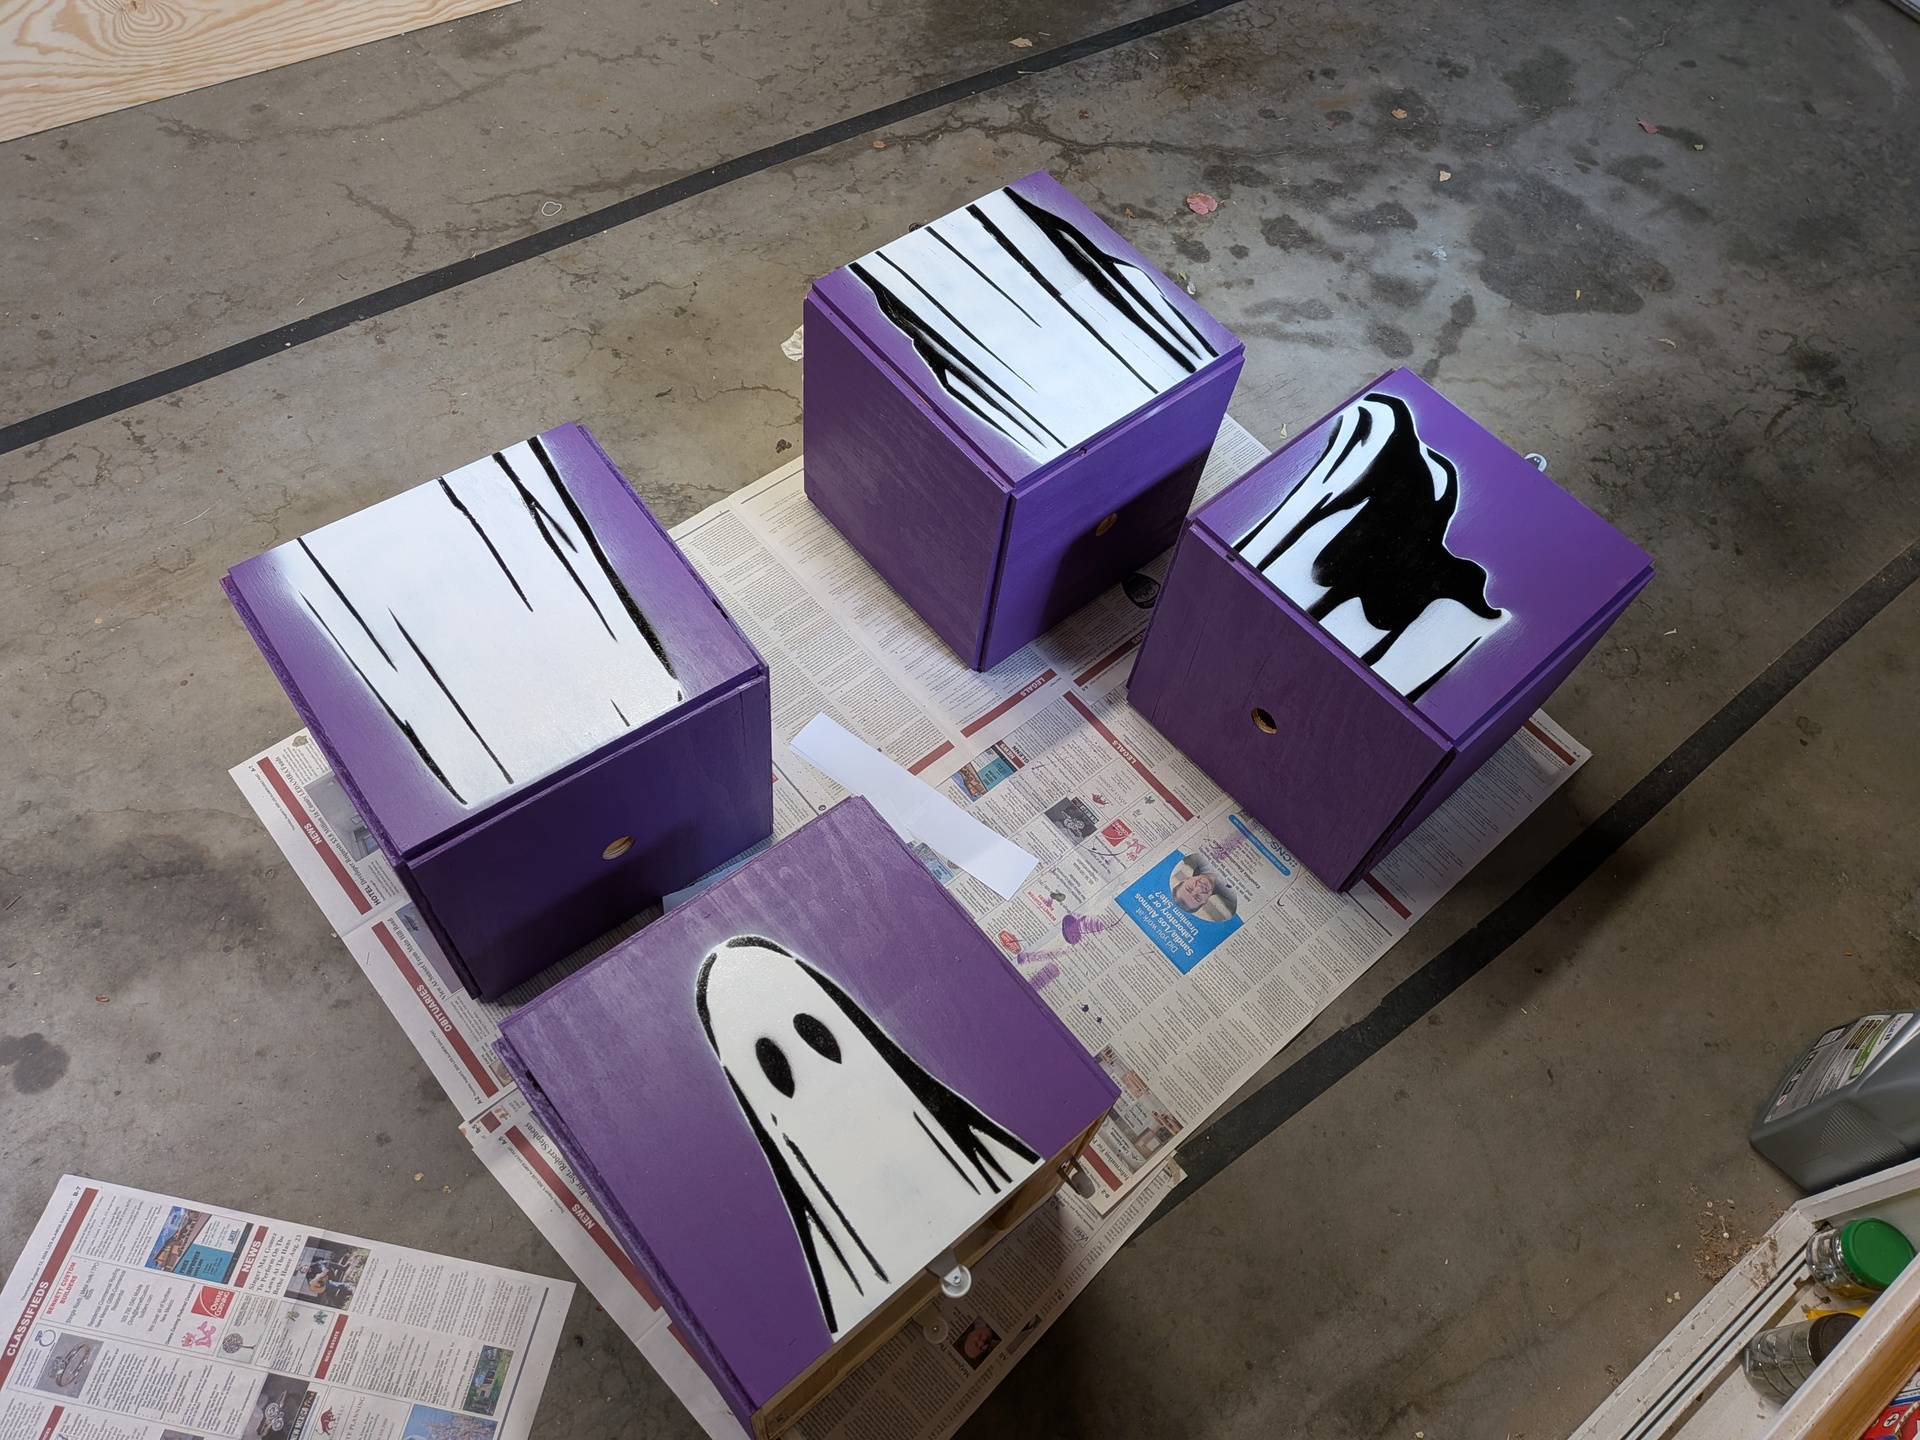
I taped the stencil layers together like a book to keep their images registered, and then painted them in a two-step process. I sprayed the white layer first, let it dry enough to close the black layer on top of it, and then sprayed the black. I pulled the stencils off while the paint was still tacky to get cleaner edges, and it all came out looking exactly like I wanted.
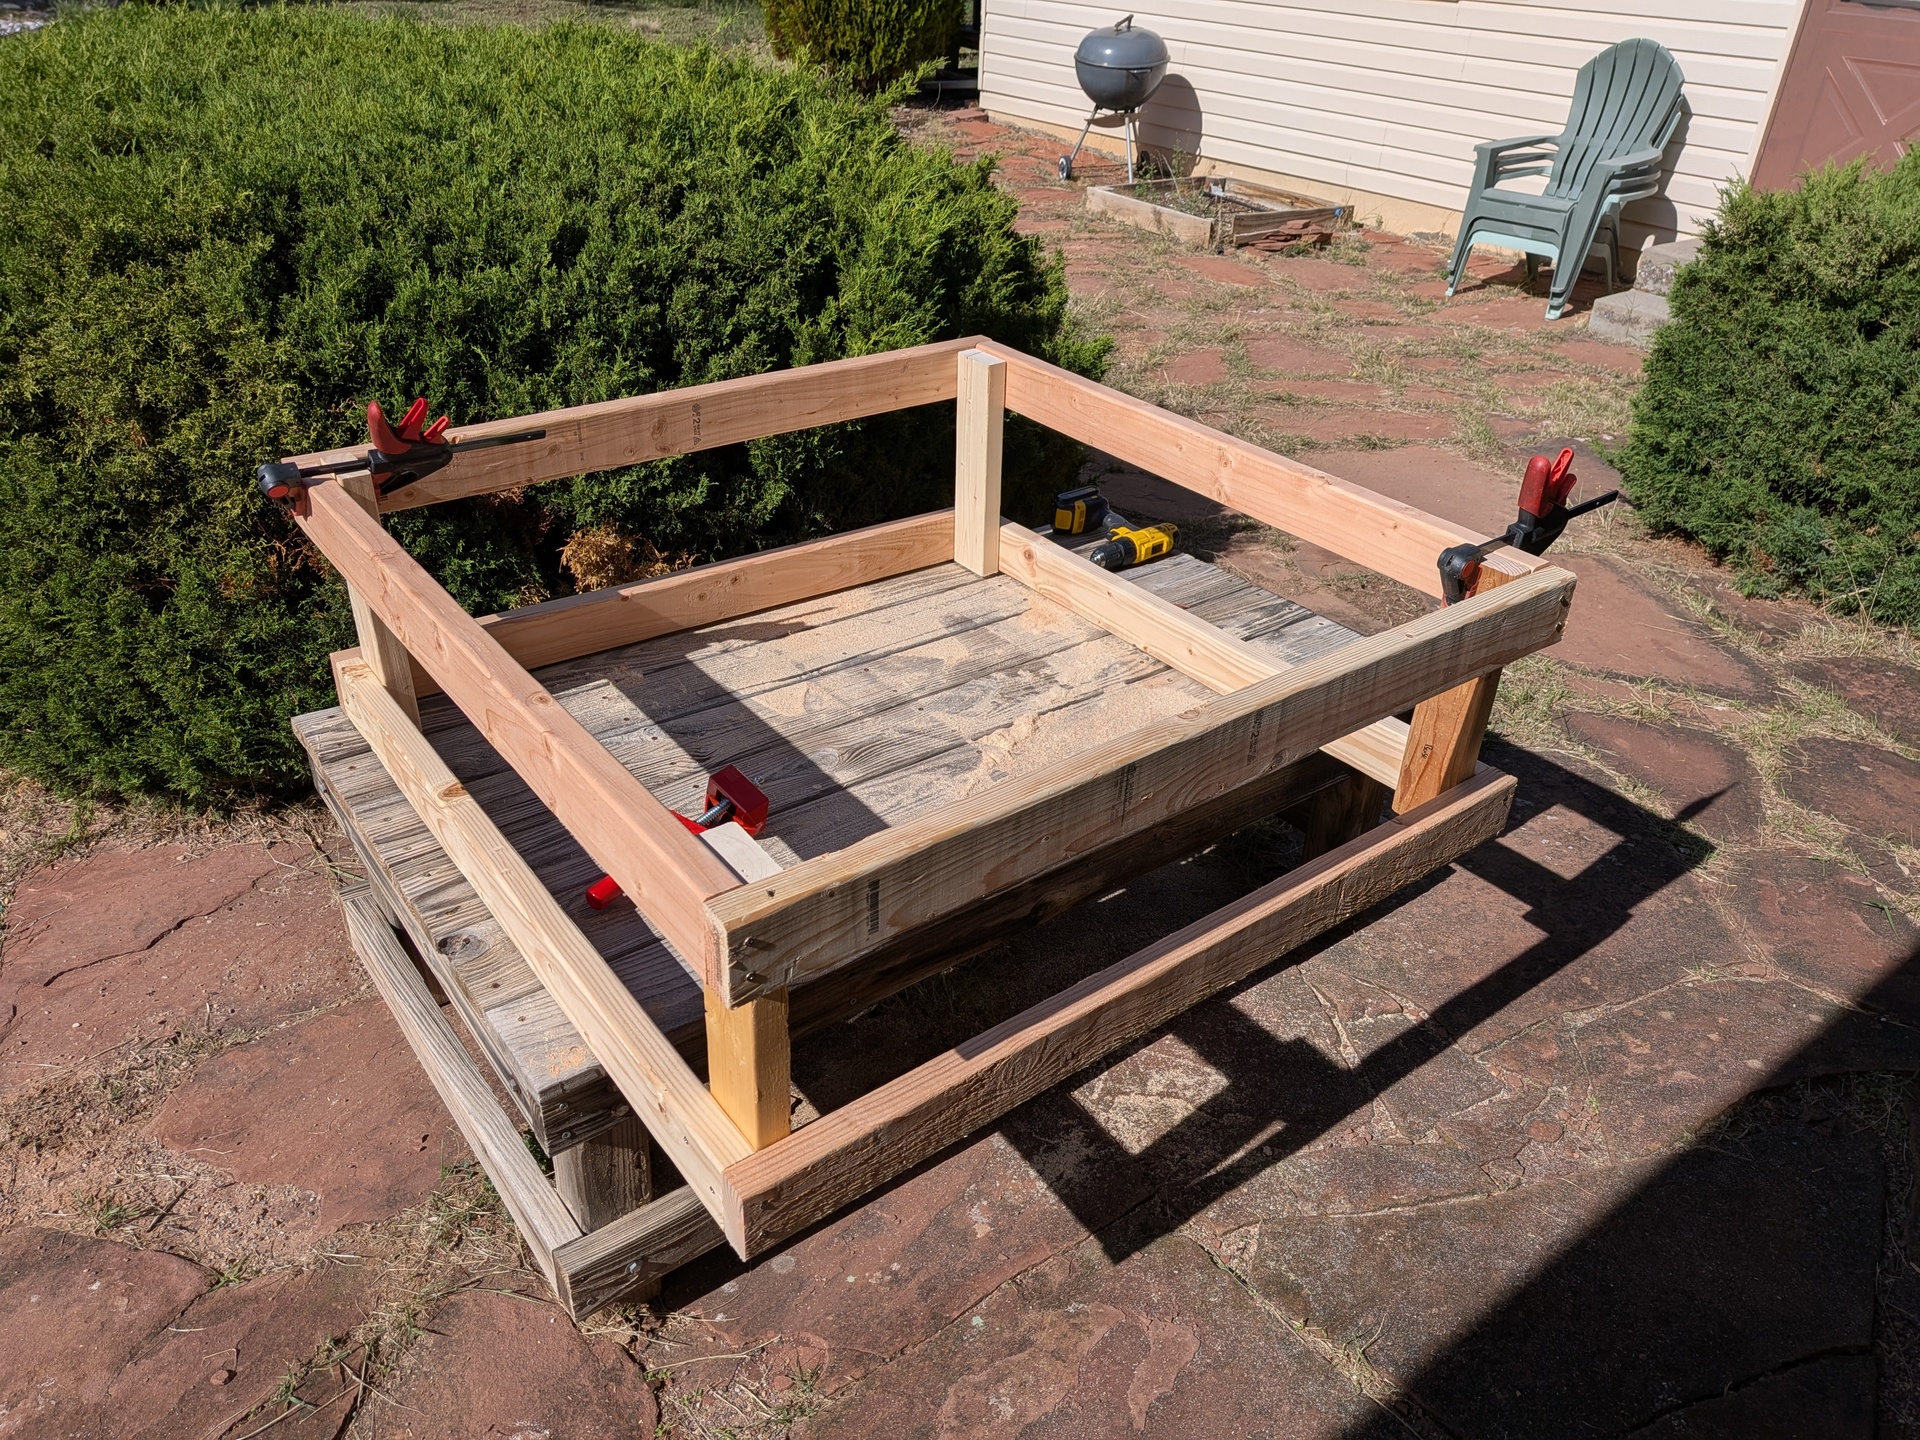
With the blocks done, I just needed to build the base. It’s a simple 2x4 frame with plywood sides and a hole in the top for the central pole to go through.
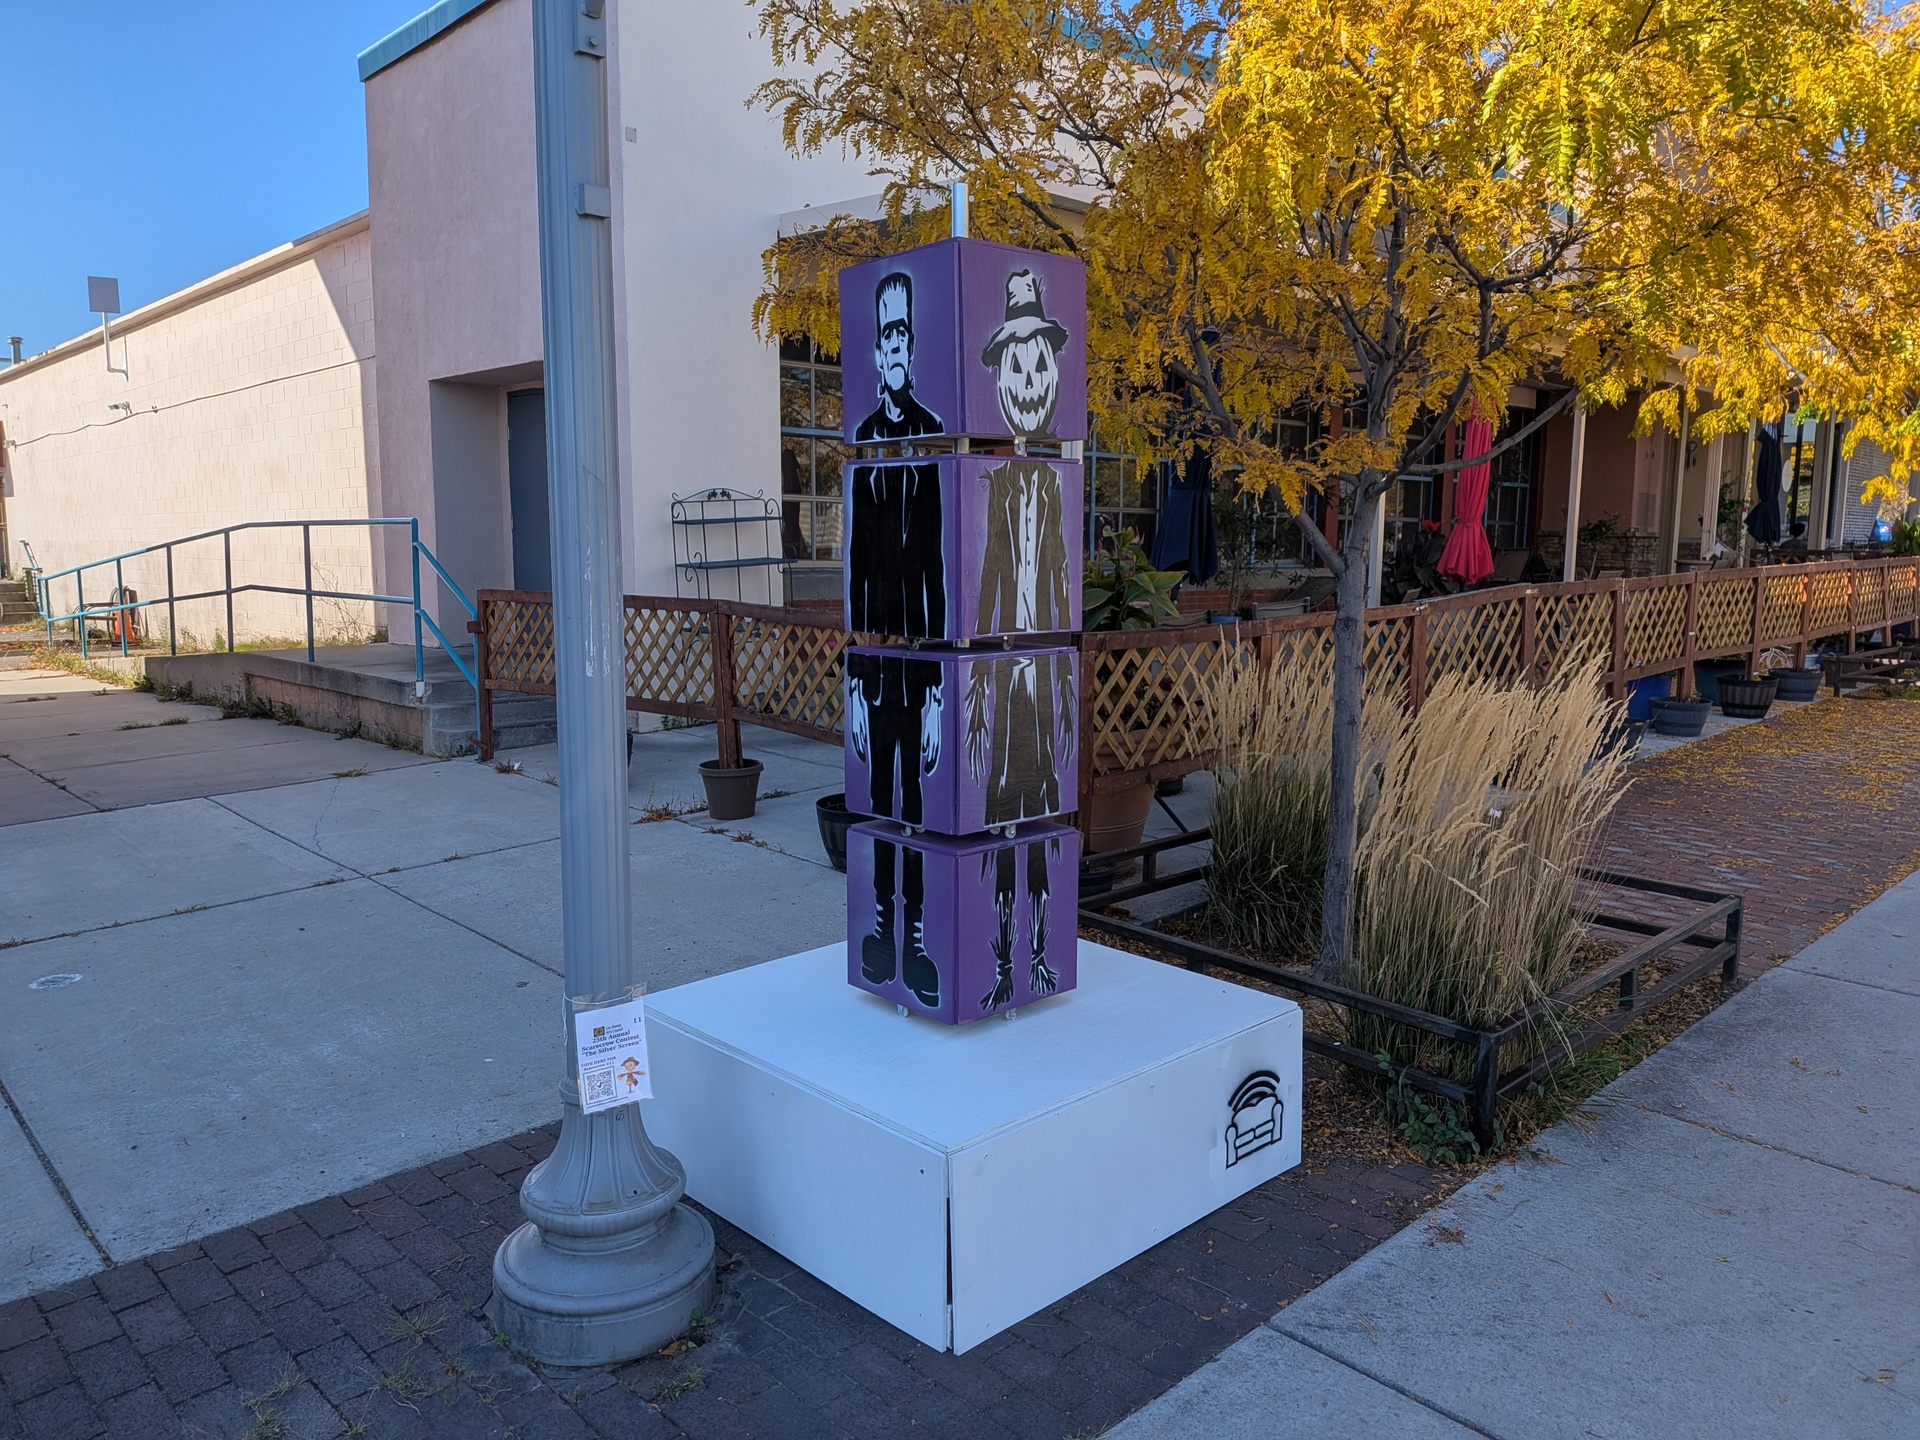
When I put it all together downtown, the whole thing looked great! I arranged them in proper monster order to start, but each time I went by after that they were in completely different configurations. It was great to have another interactive scarecrow out in the wild.