In early 2018, I got myself a Brompton with the primary intention of taking it with me when I traveled. To support that goal, one of the first additions I wanted to make was putting together a small tool kit that could easily travel along with the bike, but also have everything I might need to make adjustments, tighten loose bits, or repair a flat tire while away from home.
Brompton has their own version of this tool kit, and it’s quite fancy: it all fits together in a nice tube that slides into an empty spot on the bike’s frame. I really like the idea of having a small tool kit that easily slides into the frame, but the Brompton one is kind of pricy and I wanted more flexibility than it provided. So I set out to create something of my own that would fit in that same space. Coincidentally, I had access to a 3d printer right around the same time I started thinking about doing this, so I quickly settled on designing and printing a small tray that would fit in the front of the folded frame.

The first step was to draw up some plans. Armed with a set of digital calipers and a sticky note, I quickly had a rough idea of the space I could fill.

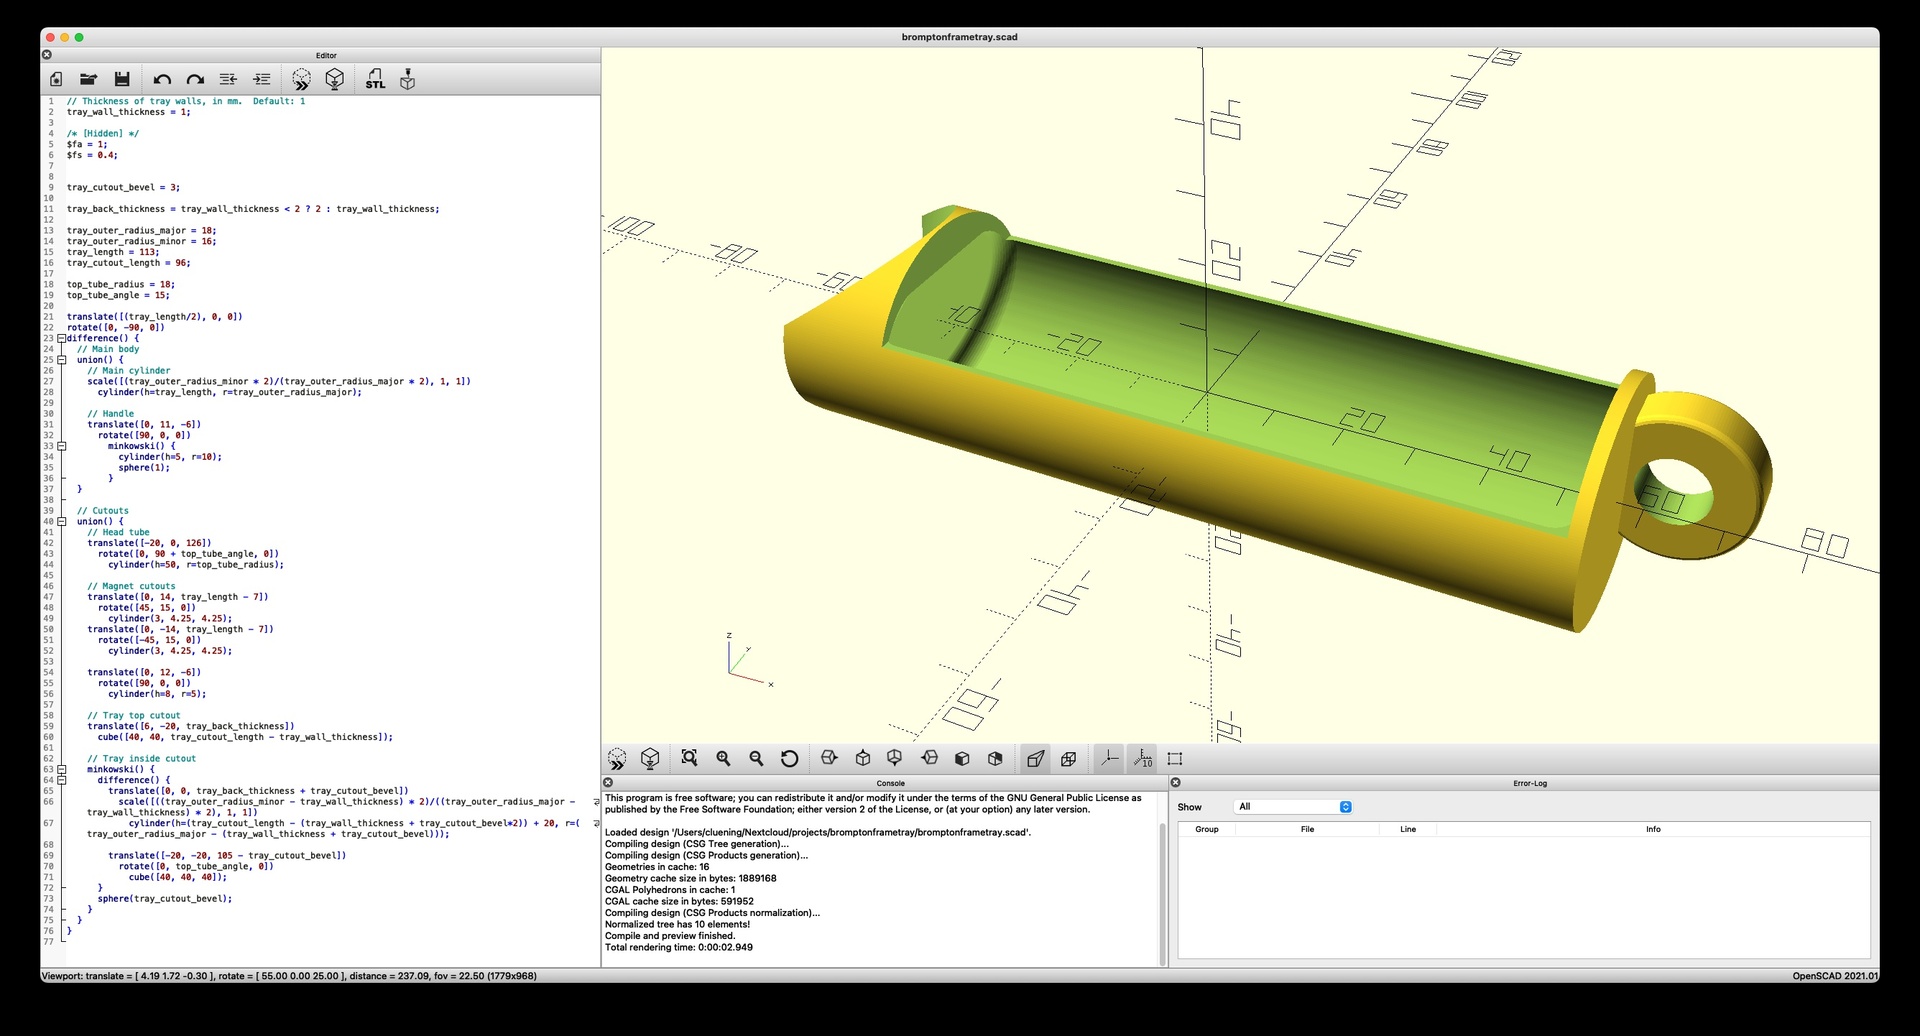
I designed the first version of the tray with Tinkercad, and that one served me well for several years. But it eventually melted in a hot car, so I took the opportunity to redesign it and fix some of the flaws in the first iteration. For v2, I decided to give OpenSCAD a try. It had a steeper learning curve, but gave really nice results in the end.

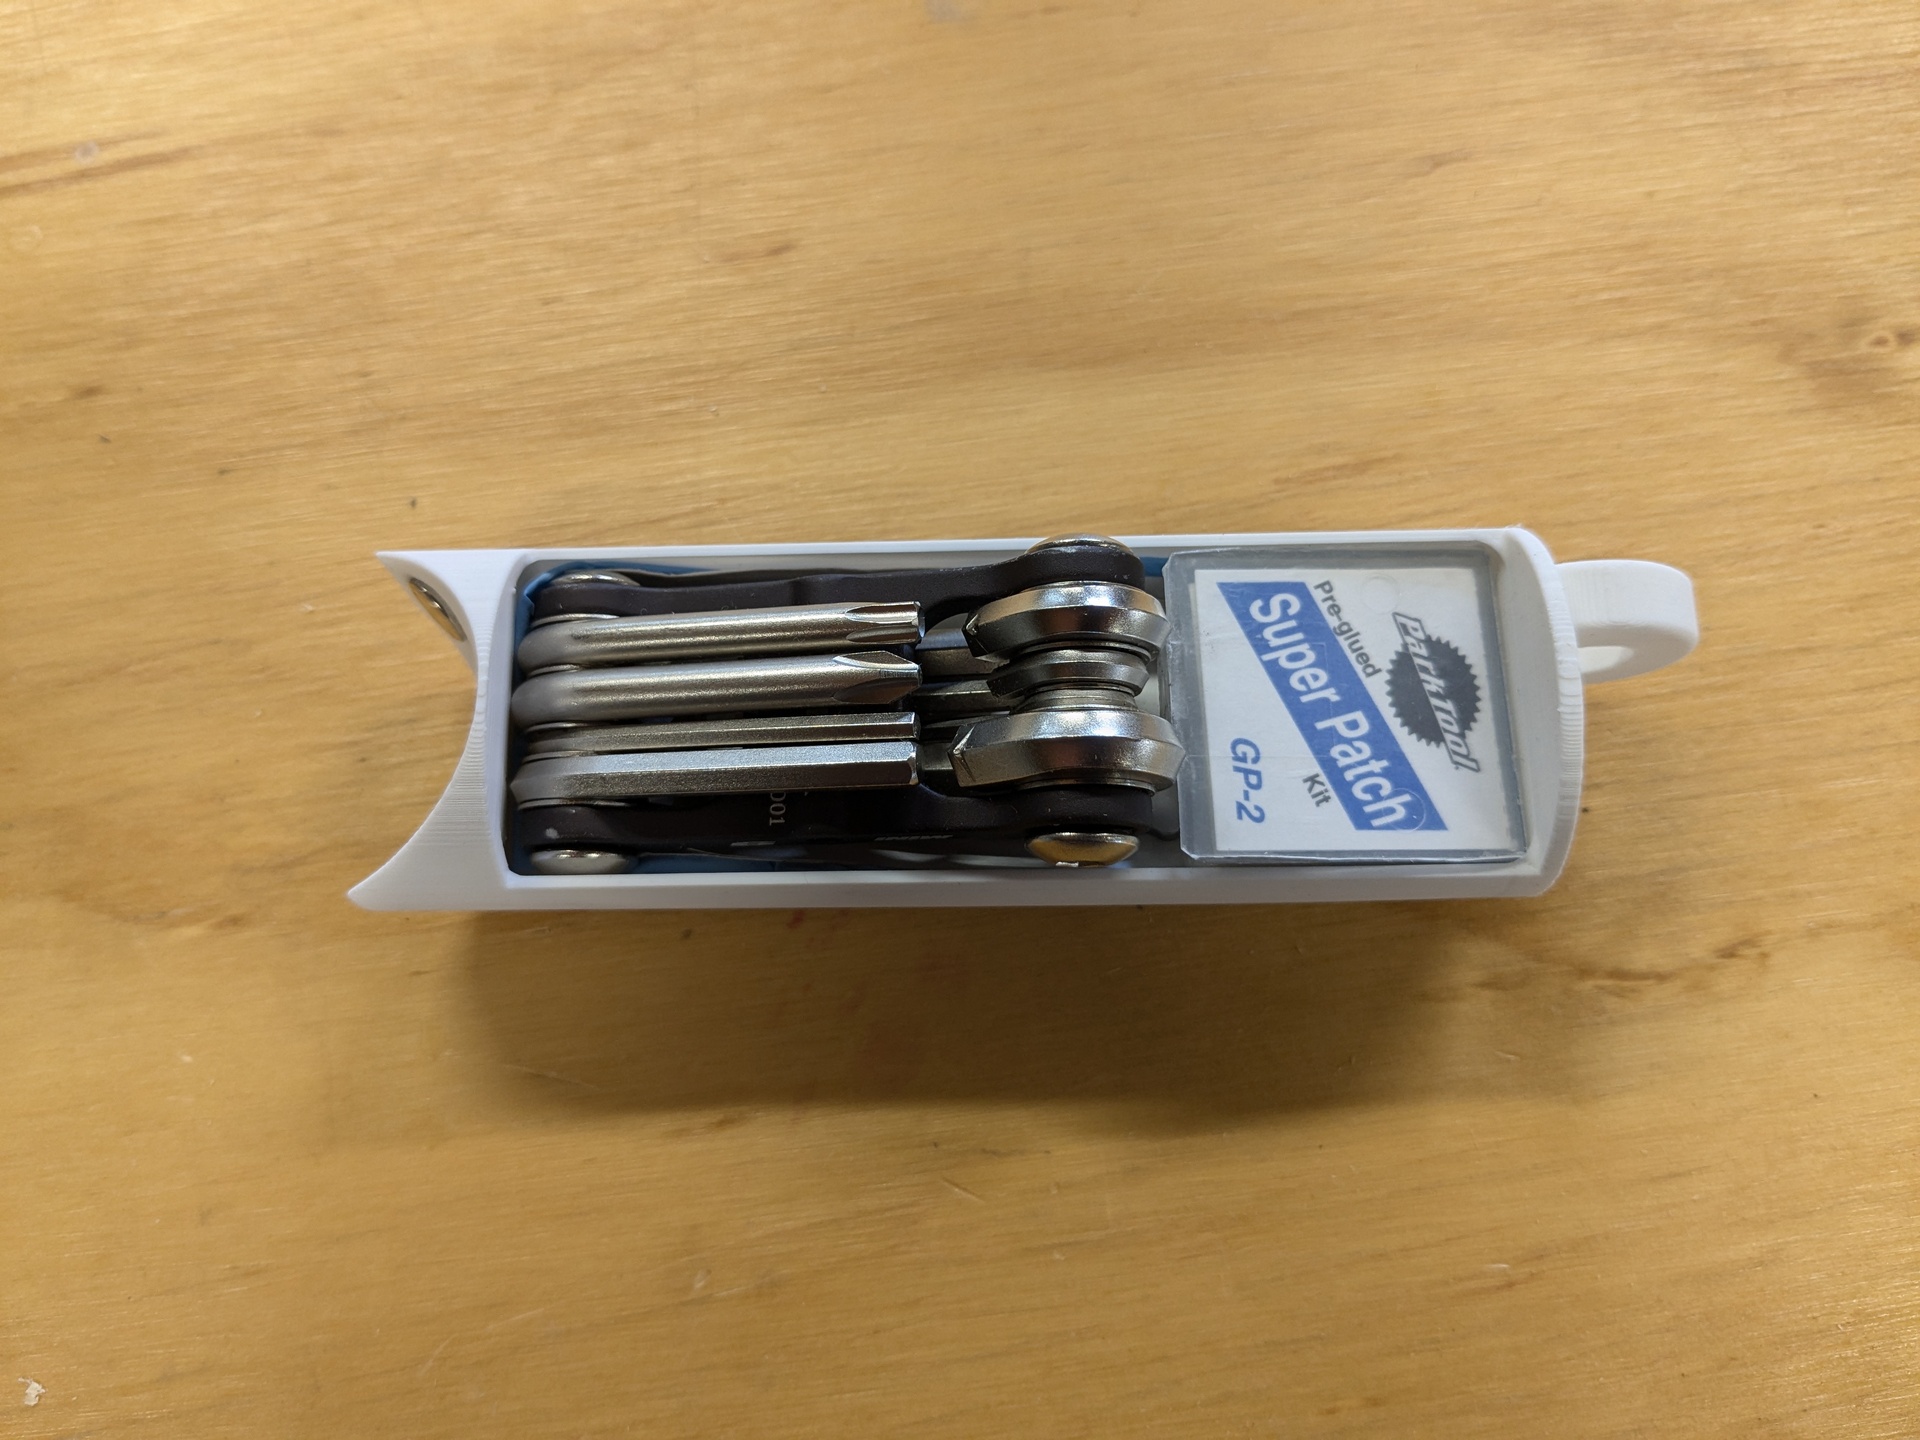
Here’s what I keep in the tray: a little Leatherman wrench, a glue-on tube patch, a Topeak Mini9, and a rubber glove. I also keep a spare tube, a small 15mm wrench, and some tire levers in the longer part of the split frame, giving me a pretty complete toolkit in total.

Everything fits nicely into the tray. In real life, I wrap the multitool in a bit of fabric, which keeps it from rattling around when riding.

The whole thing fits nicely into the front part of the frame, and is held in by some magnets on the curved end of the tray. With that, it’s ready to go! And wow, I must have used some cheap filament for that one. Look at how terrible those layers look! No matter. It’s functional.
Want your own? Grab the design from Thingiverse and get printing!
